Key takeaways
- A step-by-step guide to cutting embedded nails with an oscillating multi-tool, including blade choice, speed settings and the mistakes that ruin blades.
What's inside
As an Amazon Associate I earn from qualifying purchases. This post may contain affiliate links at no extra cost to you.
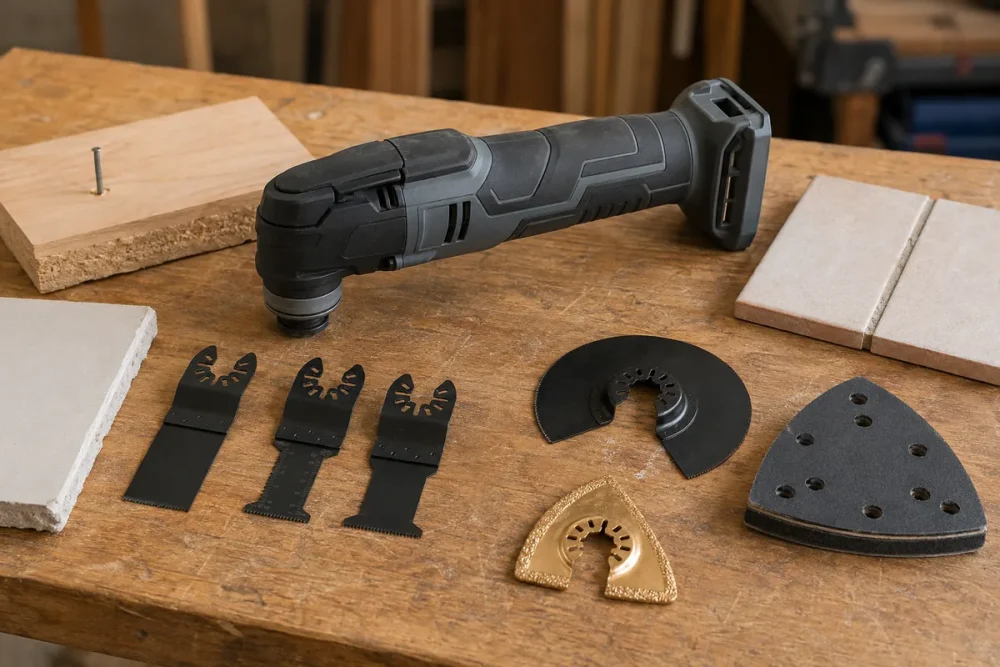
You pried the baseboard off and it came away clean, except for eleven finish nails still standing in the studs like tiny fence posts. Or the tub surround is out and the old flange nails are buried in the framing where no hammer claw will reach. This is the exact job an oscillating tool for cutting nails was built for: shearing fasteners flush in a spot where a reciprocating saw would gouge, a hacksaw won’t fit, and a nail puller would blow out the wood.
The tool makes it easy to do this badly, though. Most people burn through a $9 blade in ninety seconds, cook the teeth blue, and blame the blade. The procedure below is about heat control, blade choice and body position, in that order. Get those right and one good bi-metal blade will cut dozens of nails.
As an Amazon Associate we earn from qualifying purchases at no extra cost to you. Product prices and availability are accurate as of the date shown and are subject to change.


What you need before you start
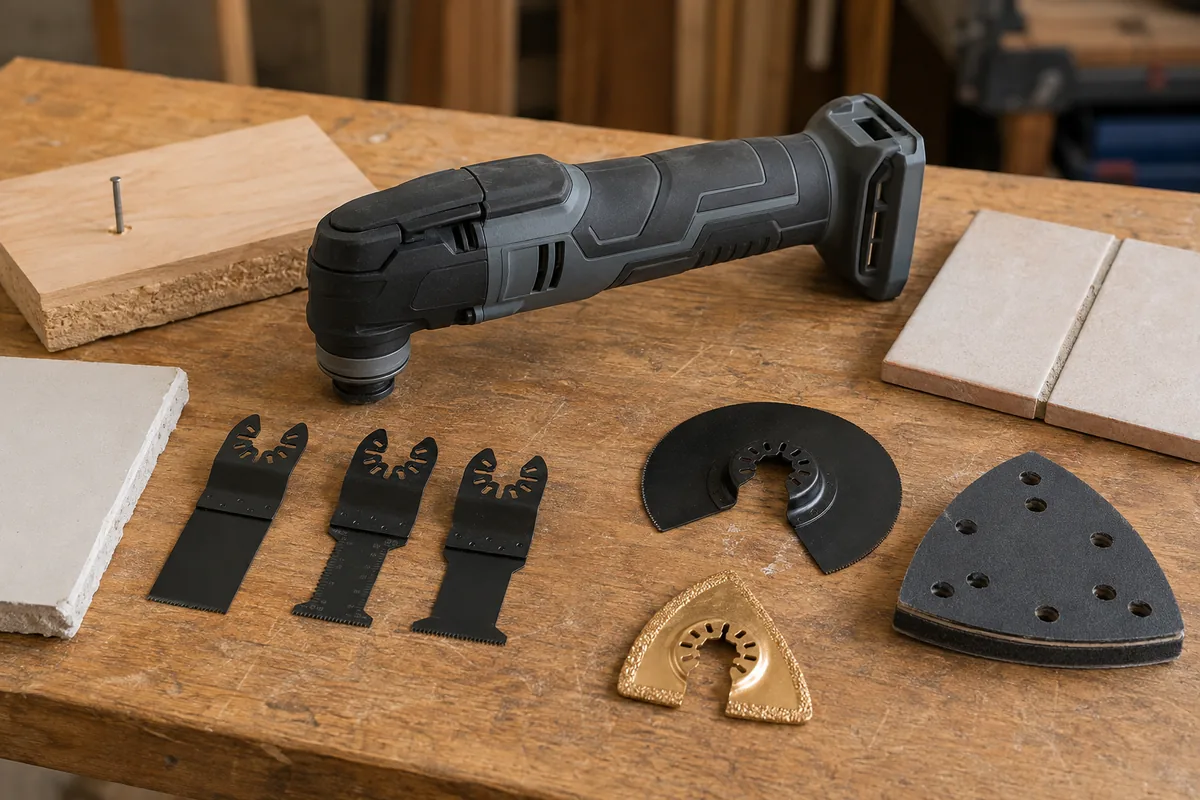
Nothing exotic. The blade is the part that matters most, and it is the part people cheap out on.
| Item | What to look for | Why it matters |
|---|---|---|
| Oscillating multi-tool | Variable speed, tool-free blade change, OIS/Starlock or universal arbor | You will change blades often and you need a low speed setting for metal |
| Bi-metal or carbide blade | Bi-metal for nails and screws, carbide grit for hardened or masonry fasteners | High-carbon steel blades cannot cut hardened nails and will strip teeth |
| Blade width | 1-1/8 in. to 1-3/8 in. flush-cut for trim, narrow 1/2 in. for tight bays | Wider blades track straighter, narrow blades reach into gaps |
| Cutting fluid or wax | Beeswax stick, paste wax, or a few drops of light oil | Cuts blade temperature dramatically and roughly doubles blade life |
| Eye and ear protection | Wraparound safety glasses, muffs or plugs | Nail shards come off hot and fast at 18,000 OPM |
| Work light | Headlamp or clamp light | You cannot cut what you cannot see, and most nails hide in shadow |
On blade thickness: standard oscillating blades run around 0.030 to 0.040 in. thick, so the kerf you leave in the wood is thin enough to fill with a swipe of putty. That is the whole reason to use this tool instead of a grinder.
Bi-Metal Oscillating Blades for Nails and Screws
Buy bi-metal blades in 5 or 10 packs from a name you recognize, and expect to spend more per blade than the bargain assortment kits. Those variety kits are mostly high-carbon wood blades with two token metal blades thrown in, and the metal ones are usually the thinnest in the box. If your tool takes Starlock or OIS, confirm the fitment before you click buy; universal-fit blades work but they can loosen under load on some clamp designs.
How to use an oscillating tool for cutting nails, step by step
Step 1: Identify the fastener before you touch it. A 15-gauge finish nail, a 16d sinker and a hardened masonry nail all behave differently. Bright common nails and finish nails cut easily. Ring-shank, cement-coated and galvanized framing nails cut slower. Hardened concrete nails and deck screws with hardened shanks will chew a bi-metal blade fast, and that is where a carbide-grit blade earns its price. Scratch the head with a screwdriver tip. If it skates and leaves no mark, treat it as hardened.
Step 2: Clear the wood around the nail. Give yourself 1/4 in. of open space on at least one side of the shank so the blade can enter with the teeth on metal and not half-buried in fibers. A chisel, a utility knife or the pointy end of a pry bar is enough. This matters because wood dust packs the gullets and stops the teeth from clearing chips, and packed gullets are what turns cutting into rubbing.
Step 3: Set the speed low, not high. Steel cuts at lower surface speed than wood. On a dial marked 1 to 6, run about 3 to 4. On a tool with just high and low, use low. If you have digital or numeric OPM, aim for roughly 11,000 to 14,000 OPM instead of the 20,000 top end. Full speed on a nail generates heat faster than the steel can shed it, and once the teeth pass their temper point they are done permanently. A blade that turns straw-colored is warning you; a blade that turns blue is already dead.
Step 4: Wax the blade. Rub a beeswax or paraffin stick along both faces and the teeth, or wipe on a drop of oil. Re-wax every two or three nails. This single habit is the biggest difference between people who get 20 nails per blade and people who get three.
Step 5: Set the blade flat and start with a nibble. For flush cutting, lay the blade flat against the surface you want to preserve, with the teeth just kissing the nail shank. Squeeze the trigger before contact, then bring the blade in. Starting under load makes the blade skate and can pop it loose from the clamp.
Step 6: Use light pressure and let it eat. Push just hard enough to feel the tool bite. Heavy pressure does not cut faster; it stalls the oscillation, which converts your motor’s work into heat instead of chips. If you see smoke from the wood, you are pressing too hard or running too fast.
Step 7: Cut in short bursts, and pause. Cut for 10 to 15 seconds, lift, count to five, re-wax if needed, and go again. Those pauses let the blade dump heat into the air instead of into its own teeth. On a 16d nail expect three or four bursts. If you are cutting more than a dozen nails, alternate between two blades so one is always cooling.
Step 8: Support the workpiece and control the cutoff. When the nail parts, the offcut is loose and hot. On overhead or vertical work, cover it with a gloved hand or a scrap of cardboard. Nail stubs love to land in shoes and shop vac hoses.
Step 9: Dress the stub. A cut nail usually leaves a burr proud of the surface by a hair. Hit it with a few passes of the same blade laid flat, then set it below the surface with a nail set if the area will be sanded, or knock the burr down with a file. Anything left standing will tear sandpaper and telegraph through paint.
Adapting the technique to three common jobs
Trim, baseboard and door casing
Use a wide flush-cut bi-metal blade and cut the nails off at the stud face rather than trying to pull them. Finish nails in pine cut in a couple of seconds each. Keep the blade flat with the shoe of your palm resting on the drywall so it cannot dive. If you plan to reuse the trim, cut the nails from the back of the board instead and drive the stubs out with a nail set.
Subfloor, sleepers and sistered framing
This is where 8d and 16d nails live, often ring-shank and often clustered. Rough cut the wood away first with a wood blade or recip saw, then switch to bi-metal for the fasteners only. Do not try to cut nails and wood with the same blade in the same pass; the tooth geometry that clears wood chips is the wrong geometry for steel, and you will lose teeth.
Demo in tight bays and against plumbing
A narrow blade, 1/2 in. to 3/4 in. wide, gets into stud bays and between pipes. Go slower here, because a narrow blade has fewer teeth in the cut and heats faster. Keep the blade square to the shank; a cocked blade cuts on the corner of the tooth line and cracks teeth off one at a time.
Cordless Oscillating Multi-Tools
If you are buying the tool rather than the blade, the two features worth paying for are true variable speed and a tool-free blade clamp. Brushless platform tools from the major lines, DeWalt XR, Milwaukee FUEL and Makita LXT, hold speed under load better than budget models, which sag exactly when you are cutting steel. Corded units still make sense for long demo days. A single-speed bargain tool will cut nails, but it will cost you in blades.
Common mistakes and why they wreck blades
- ✘ Running full speed on metal, which blues the teeth in seconds
- ✘ Leaning on the tool instead of letting the teeth cut
- ✘ Using a wood or high-carbon blade on a hardened fastener
- ✘ Cutting dry when a wax stick costs a few dollars
- ✘ Letting the blade rock or twist so it cuts on tooth corners
- ✘ Continuous cutting with no cooling pause
- ✘ Cutting a nail still surrounded by packed wood dust
Done properly, the same approach has real advantages over the alternatives.
- ✔ Flush cuts within a hair of a finished surface, unlike a recip saw
- ✔ Thin kerf that fills with a swipe of putty
- ✔ Reaches into bays and corners no other saw fits
- ✔ Vibration instead of rotation, so nothing grabs and kicks
- ✔ Same tool handles grout, caulk, drywall and undercuts
FAQ
Can an oscillating tool cut hardened nails and screws? Bi-metal handles common, finish, ring-shank and most galvanized nails, plus standard screws. For hardened masonry nails, hardened deck screws and lag bolts, switch to a carbide-grit or carbide-tooth blade and drop the speed further. A carbide blade grinds rather than cuts, so expect more heat and a slower feed, and expect to pay several times what a bi-metal blade costs.
How many nails should one blade cut? There is no universal number, but the range is wide and it is almost entirely down to technique. A waxed bi-metal blade run at moderate speed with cooling pauses will keep going through many fasteners, while the same blade run wide open and dry can be finished after two or three. Judge by performance, not count: when the blade stops making chips and starts polishing the nail, retire it.
Is a reciprocating saw better for cutting nails? It is faster and it is the right call for gross demolition where surface damage does not matter. It is the wrong call anywhere you want to keep the wood, because the blade flexes, the shoe marks the surface, and you cannot get truly flush. Use the recip saw to take the bulk out, then the oscillating tool for the fasteners near anything you intend to keep.
Putting it together
The procedure is short: identify the fastener, clear the wood, set a moderate speed, wax the blade, cut in bursts with light pressure, and dress the stub. Everything else is patience. Buy bi-metal blades in a multipack, keep a wax stick in the same pouch as the tool, and keep a carbide blade in reserve for the hardened fastener that will eventually show up in the middle of a job.
Check prices on Amazon →