What's inside
As an Amazon Associate I earn from qualifying purchases. This post may contain affiliate links at no extra cost to you.
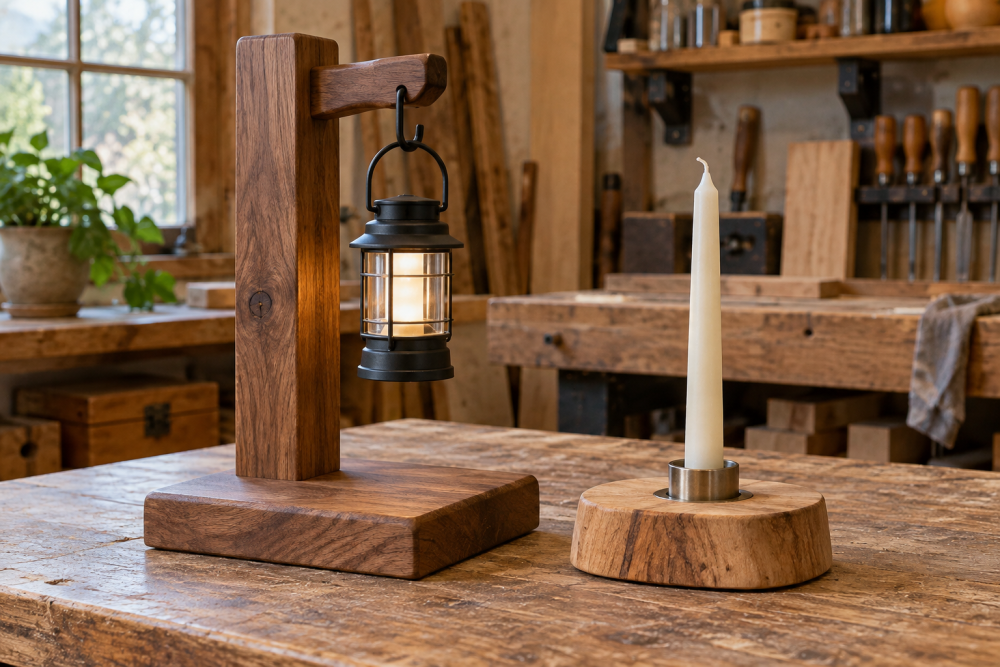
This holder is designed for one standard taper candle, with a shallow tray to catch drips before they reach the table. It’s a beginner-friendly project if you can drill a straight hole and safely use a saw. The finished piece is about 6 inches tall and 5 inches across; adjust the dimensions to suit your candle and the wood you have.
Contents
Materials and safety
You’ll need a dry hardwood block about 2 inches square by 6 inches long for the upright, plus a 5- to 6-inch-wide hardwood disc or a board blank from which to cut the base. A base around ¾ inch thick is sturdy without looking bulky. Choose straight-grained stock without cracks or loose knots, especially near the candle socket. Maple, cherry, and walnut work well; sound, dry pine is cheaper and acceptable, but it dents more easily.
Gather a drill or drill press, a Forstner bit sized to your candle’s base, a saw, sandpaper in 120, 180, and 220 grits, wood glue, and a finish. Check the candle before choosing a bit: taper candles vary, and a snug socket is safer than a loose one. A Forstner bit set is useful if you expect to make more than one holder; for a single project, buying one correctly sized bit is usually enough.
Work on a stable bench, clamp the stock, and keep hands away from the bit and saw path. This is a wooden candle holder, not a fireproof object: keep the flame well above the wood, never leave a burning candle unattended, and stop using the holder if wax reaches the candle socket or the wood chars.
Choose a base that catches drips
The tray needs enough width to catch wax that runs down the candle, but a very wide, thin base can warp or tip. A 5-inch diameter is a practical starting point for a taper; go to 6 inches if your candles tend to drip or you want more margin. A raised rim is optional. A flat, shallow dish is easier to make and clean, while a rim contains wax better but adds routing work.
| Base style | Good for | Trade-off |
|---|---|---|
| Flat disc, 5–6 inches wide | Quick build and easy sanding | Wax can run over the edge if the candle drips heavily |
| Shallow dish, about ⅛ inch deep | Keeping ordinary drips on the holder | Requires a router, carving tools, or careful sanding |
| Disc with a low rim | Containing larger drips | More parts and glue joints; can be harder to scrape clean |
For a first build, use a shallow dish rather than a separate glued-on rim. If you don’t have a router, a flat base still works; leave at least ¾ inch of clear surface around the upright so drips have room to land.
Cut and shape the parts
Cut the upright to 6 inches long and trim it square to about 2 inches by 2 inches. Cut the base to a 5- or 6-inch circle, or use a square blank and round its corners with a saw. A round base has no sharp corners to catch on a table, but a square one is easier to lay out and wastes less stock.
Mark the center of the base and upright carefully. If making a shallow dish, draw a circle about 1 inch smaller than the base diameter and route a recess no deeper than ⅛ inch. Leave a flat central area for the upright. A deeper bowl may look attractive, but it reduces the base’s thickness and can leave too little wood under the candle support.
Ease the base edges with sandpaper or a small round-over bit. Sand the upright and base through 120, 180, and 220 grit. Don’t round the bottom heavily; a flat bottom helps the holder sit without rocking.
Drill the candle socket
Measure the candle’s narrow end with calipers or compare it with drill bits. The socket should accept the candle firmly without splitting it or forcing it in. For most standard tapers, a socket around ⅞ inch wide and ¾ to 1 inch deep is a reasonable starting point, but measure your candle rather than relying on that range. A digital caliper makes the fit easier to check, though a ruler and test hole in scrap are fine for one holder.
Clamp the upright securely with its end grain facing up. Use a Forstner bit to drill straight down, checking the depth with tape on the bit. A drill press helps keep the socket vertical; with a hand drill, brace both hands and use a square to check from two directions. Clear chips as you go. Drilling too fast can burn the wood, while a socket drilled off-center can make the candle lean.
Test the fit with an unlit candle. If it’s loose, don’t compensate with a deep hole: try a slightly narrower socket or add a small amount of removable candle putty when in use. If the hole is too tight, widen it gradually with sandpaper wrapped around a dowel.
Assemble and finish
Center the upright on the base and mark its footprint. Apply a thin, even coat of wood glue within the mark, set the upright in place, and clamp it square. Wipe away squeeze-out with a damp cloth and let the joint cure according to the glue label, typically overnight. A small alignment error is obvious on a tall holder, so check that the upright is vertical before the glue sets. For extra strength, a dowel through the base is optional; it is not necessary if the joint has good contact and the holder will be used normally.
Finish with a hard-wearing, fully cured coating, such as a water-based polyurethane, or leave the wood unfinished. Follow the product’s cure time before using the holder; “dry to touch” does not mean ready for a flame nearby. Avoid waxy finishes around the tray because warm candle wax can soften or mix with them. A water-based polyurethane finish is easy to apply and keeps the grain visible, but it will not make the holder fireproof.
Test and use the holder
Set the holder on a level surface and check for rocking. Put in an unlit candle and verify that it stands upright. Before the first burn, confirm the candle is centered over the tray and that the flame will remain at least several inches from the upright and any nearby objects. Trim the wick to about ¼ inch and keep the candle away from drafts, which can cause uneven burning and spills.
Let wax cool completely before removing it. Lift brittle wax with a plastic scraper rather than a knife that could gouge the wood. If drips repeatedly reach the tray’s edge, use a wider base next time or choose a candle that burns more evenly; sanding a deeper dish into a thin base can weaken it and is not a good repair.