What's inside
As an Amazon Associate I earn from qualifying purchases. This post may contain affiliate links at no extra cost to you.
Contents
Project overview
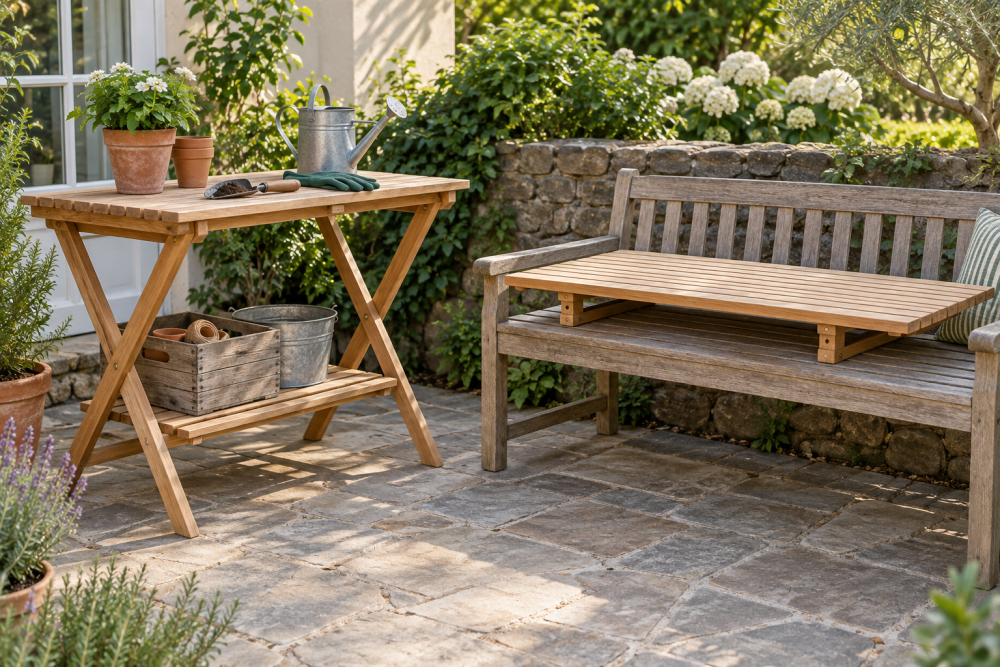
This folding outdoor planting bench gives you a waist-high surface for potting, a lower shelf for soil and pots, and legs that fold inward for storage. The plan suits a beginner who can make straight cuts and drill accurate holes. Allow a weekend for building and finishing, including drying time.
The dimensions below produce a bench about 36 inches wide, 22 inches deep, and 34 inches high. That height works for many people, but adjust the leg length if you prefer a lower work surface. Use exterior-rated lumber and fasteners; ordinary indoor screws and untreated wood are likely to rust or decay outdoors.
Materials and tools
Use kiln-dried cedar or pressure-treated lumber for the frame. Cedar is lighter and easier to work, while treated lumber usually costs less and handles ground-level dampness better. Either can split near the ends, so predrill screw holes. For the top, use five 1-by-4 boards cut to 36 inches, with roughly 3/8-inch gaps for drainage.
You will also need four 2-by-2 leg blanks, each 32 inches long; 2-by-2 stock for the frame and shelf supports; 1-by-3 boards for the lower shelf; two pairs of sturdy folding-leg brackets; exterior screws; and exterior finish. A folding bench leg brackets search is a useful starting point, but check that the brackets are rated for a workbench load and are intended for folding legs.
Basic tools are a tape measure, square, saw, drill-driver, and clamps. A circular saw makes repeated cuts faster, but a handsaw is adequate for this small project. A box of exterior deck screws is convenient; choose a length that passes through the top boards and bites at least 1 inch into the frame.
Cut list and layout
| Part | Quantity | Cut length | Purpose |
|---|---|---|---|
| Top boards, 1-by-4 | 5 | 36 in. | Planting surface |
| Legs, 2-by-2 | 4 | 32 in. | Folding supports |
| Long frame rails, 2-by-2 | 2 | 33 in. | Support top boards |
| End frame rails, 2-by-2 | 2 | 19 in. | Join the long rails |
| Shelf slats, 1-by-3 | 4 | 33 in. | Lower storage shelf |
These dimensions assume actual lumber sizes close to standard planed stock; measure your boards before cutting. The 33-inch rails leave room for the end rails between them, creating a frame about 33 by 22 inches. Arrange the top boards across that frame, centered with a small overhang at each end.
Build the frame and top
Cut the rails square and assemble them into a rectangle on a flat surface. Drill pilot holes and drive two exterior screws at each corner. Check both diagonals: if they match, the frame is square. A difference of more than 1/8 inch can make the top skew and cause the legs to fold unevenly.
Set the top boards across the frame, spacing them evenly. Use 3/8-inch spacers, such as scrap wood, to keep drainage gaps consistent. Predrill near board ends to reduce splitting, then fasten each board to both long rails. Avoid overdriving screws; crushed wood around the head can loosen as the bench dries and swells.
Fit the folding legs
Attach one leg to each corner using the folding brackets, following the bracket maker’s orientation and clearance instructions. Keep the legs inside the frame so they can swing inward without striking the rails. Before installing all four screws in each bracket, test the folding motion. A leg that binds may need its bracket repositioned, not forced.
Open the bench on a level surface and check that all four feet touch the ground. If one leg is short, trim the others to match it rather than shortening a single corner unevenly. Add the shelf supports between the legs, about 8 inches above the floor, then fasten the shelf slats across them with small drainage gaps. Do not treat the shelf as a step; folding joints are not designed for climbing loads.
Test the finished bench with a modest load first, then increase it gradually. Push sideways at the top and watch for bracket movement or frame racking. If it wobbles, check that the brackets are fully locked and their screws are tight. For extra stiffness, add a removable diagonal brace across the rear when the bench is open.
Choose a lumber option
| Material | Advantages | Trade-offs | Good fit |
|---|---|---|---|
| Cedar | Light, easy to cut, naturally more decay-resistant than untreated pine | Costs more; soft edges dent readily | Frequent folding and moving |
| Pressure-treated lumber | Often less expensive and suitable for damp outdoor use | Heavier; can be wet or warped when bought | A fixed spot or tighter budget |
| Untreated pine | Cheap and easy to find | Needs careful protection and may decay quickly outdoors | Covered patio or short-term use |
If the bench will live in a damp garden, cedar or treated stock is the safer choice. Cheap untreated pine can work under a roof if you keep it off wet soil and maintain the finish, but it is a poor choice for year-round exposure.
Finish and seasonal care
Round sharp corners with sandpaper and smooth splinters, especially on the top and leg ends. Apply an exterior oil or water-repellent finish according to its label, keeping it out of bracket pivots if the maker advises against coating them. A wood sealer for outdoor projects can reduce water uptake, but no finish eliminates seasonal inspection.
After the first month outdoors, tighten loose screws and check for cracked wood around the brackets. In fall, clean off soil, fold the legs, and store the bench under cover. Let treated lumber dry before applying a coating, and follow the product label for handling and finishing guidance.