What's inside
As an Amazon Associate I earn from qualifying purchases. This post may contain affiliate links at no extra cost to you.
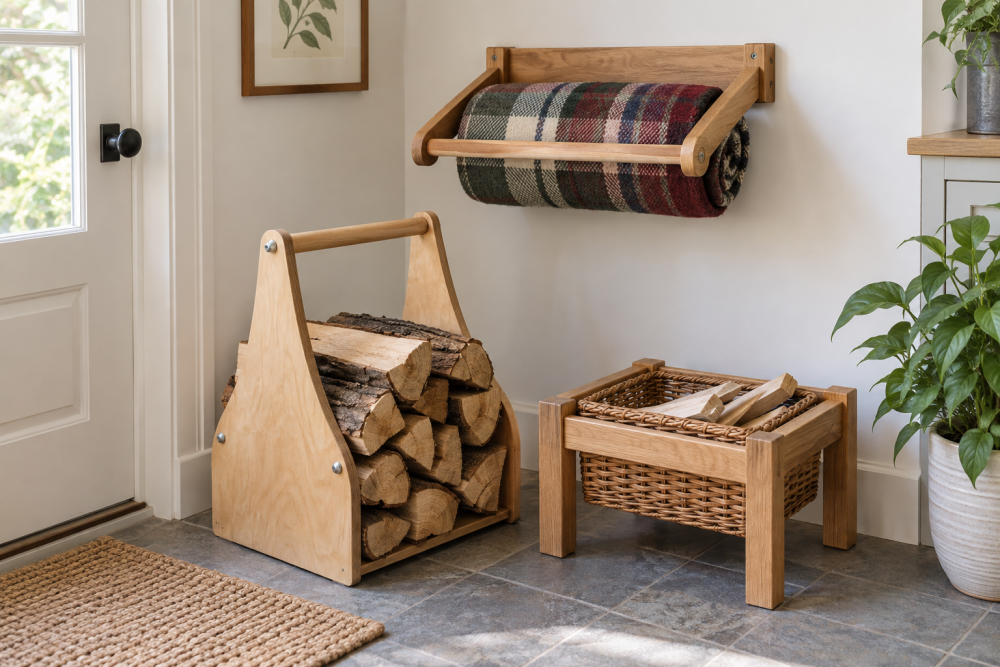
A simple carrier keeps a folded picnic blanket off the ground and easy to grab. This wall-mounted rack uses two wooden arms and a lower crossbar to hold a blanket rolled or folded into a bundle. It suits a beginner with a drill, saw, and a free afternoon; the main things to get right are the fit and the wall attachment.
Contents
Plan the rack around your blanket
Measure the blanket when folded or rolled the way you normally store it. This plan fits a bundle about 24 inches wide and up to 8 inches thick. The rack is 28 inches wide overall, with arms projecting 10 inches from the wall. If your blanket is wider, lengthen the crossbar and move the arms outward. For a bulky roll, increase the arm projection to 12 inches.
The rack has two vertical mounting boards, two horizontal arms, and one crossbar connecting the arm ends. The crossbar stops the blanket slipping forward. Keep the arms level and the space between them slightly wider than the bundle. A loose fit is easier to load than a tight one, especially when the blanket is damp or lumpy.
Materials and tools
Use straight, dry 1-by-3 lumber for the mounting boards and arms, and a 1-by-2 for the crossbar. Pine is inexpensive and adequate indoors; hardwood costs more and can take knocks better, but is unnecessary for a light blanket. Avoid boards with splits near screw locations or a noticeable twist. Cut pieces to these starting dimensions:
- Two mounting boards, each 18 inches long
- Two arms, each 10 inches long
- One crossbar, 28 inches long
You will also need wood glue, 2-inch wood screws for the joints, wall fasteners suited to the wall, sandpaper, and a finish if desired. A pair of wood clamps helps hold the crossbar in place while fastening it; for this small build, an extra set of hands can work just as well. Gather a tape measure, square, drill and bits, saw, and pencil. A stud finder is useful for locating solid wall framing.
Choose suitable stock
Board size and cost vary by store, so compare the actual pieces rather than relying on a label. The rack carries little weight, but weak or warped stock makes assembly harder and can pull away from the wall.
| Material | Advantages | Trade-offs | Good choice when |
|---|---|---|---|
| Common pine | Low cost, easy to cut and drill | Can dent or split; inspect for knots | The rack will stay indoors and hold one blanket |
| Hardwood offcut | Stiffer and more resistant to dents | Costs more and may be harder to drill | You already have suitable scrap or want a tougher finish |
| Outdoor-rated lumber | Better suited to damp locations | Can be rough, heavy, or prone to movement | The rack will be mounted in a covered outdoor area |
Cut and sand the parts
Mark the two mounting boards to 18 inches, the arms to 10 inches, and the crossbar to 28 inches. Cut square ends; uneven arm ends make the crossbar sit crooked. Check the pieces against each other before assembly. Sand faces and edges with 120-grit paper, then finish with 180-grit if you want a smoother surface. Ease sharp corners so they do not snag the blanket.
If the rack will be outside, use lumber and a finish rated for exterior exposure, and allow the coating to cure fully before hanging fabric on it. An indoor rack does not need a heavy finish. A coat of water-based polyurethane or paint can make cleaning easier, but bare, sanded pine is fine in a dry room.
Assemble the rack
Lay the mounting boards parallel on a flat surface, 24 inches apart, measuring from their outside edges. The 28-inch crossbar will extend about 2 inches beyond each board. Mark the arm position 2 inches down from the top of each mounting board. Center an arm on each board, with its back end flush to the board and the remaining 10 inches projecting outward.
Drill pilot holes through each arm into its mounting board. For typical 2-inch screws, a pilot hole around 1/8 inch is a reasonable starting point; match the bit to the screw’s core and test on scrap if unsure. Add a thin line of glue, then drive two screws per arm. Keep the arms square to the mounting boards. Pilot holes matter here: driving screws close to a board end without them can split the pine.
Fit the crossbar across the outer ends of the arms, with its top edge about 1 inch above the arm surface. This small lip helps keep the blanket from sliding off. Check that the crossbar is level, clamp it, and drill pilot holes before fastening it with one screw into each arm. Add glue at the joints if the rack will remain in place; skip glue if you may want to repair or disassemble it later. Wipe away squeeze-out and check that no screw point protrudes.
Mount it securely
Choose an indoor wall near the door or storage area, away from a heater or direct rain. The safest simple mounting is to drive suitable screws through each mounting board into wall studs. Mark the stud locations, hold the rack level, and drill clearance holes through the boards. Use screws long enough to pass through the board and drywall and engage the stud by about 1½ inches. Two screws per mounting board provide a solid attachment.
If the rack cannot line up with studs, use wall anchors rated for the wall type and expected load. Do not rely on short screws in drywall alone. Masonry, plaster, and hollow walls need different fasteners; check the anchor instructions rather than guessing. If you are unsure of the wall construction, a wall anchor kit is only useful if it includes the correct type and load rating for your wall.
Test the rack and use it
Before loading the blanket, pull down gently on each arm and check for movement, creaking, or screws backing out. Tighten loose fasteners and correct any rocking before use. Start with the blanket folded or rolled, place it between the arms, and rest its lower edge on the mounting boards. If it catches on the crossbar, smooth the edges or raise the bar slightly.
Check the rack after the first week and occasionally thereafter, particularly if children use it or the blanket is heavy. A split arm, loose wall connection, or crossbar that pulls away is a sign to unload and repair the rack before using it again. This design is for a blanket, not a person or a heavy bag of gear.