What's inside
As an Amazon Associate I earn from qualifying purchases. This post may contain affiliate links at no extra cost to you.
Contents
What a Face Frame Teaches You
A face frame is just a flat ladder of hardwood — two vertical stiles and two or more horizontal rails joined together — that gets attached to the front of a cabinet box. It squares up the opening, hides the plywood edges, and gives your doors and hinges something solid to mount to. For a beginner, it’s the perfect skill builder because every mistake shows immediately. If your joints aren’t flush, if the frame is out of square, or if a stile is bowed, you’ll see it before the glue dries.
Most beginners learn face frames with pocket-screw joinery. It’s fast, it doesn’t require perfect precision, and it holds well enough for everything from bookshelves to kitchen cabinets. Dowel and biscuit joints work too, but they need tighter alignment and don’t add much strength for this application. Learning on small, low-risk projects lets you practice milling stock to consistent width, cutting square ends, and clamping without twist.
As an Amazon Associate we earn from qualifying purchases at no extra cost to you.


Stick to poplar or soft maple for your first frames. Both are inexpensive, stable, and take paint well. Avoid big-box pine for learning — it dents easily and the grain reversal makes it hard to get clean pocket holes. Mill your stiles and rails to 1-1/2″ to 2″ wide and 3/4″ thick. That width gives you enough bearing surface for screws without looking chunky.
1. Simple Wall Cabinet With a Single Face Frame
This is the best first project. Build a basic 12″ deep x 24″ wide x 30″ tall wall cabinet box from 3/4″ plywood, then make one face frame to fit it.
Why it works for beginners: You only make one frame, with two stiles at 30″ and two rails at 21″ (for a 24″ wide box with 1-1/2″ stiles). That’s four joints total. You learn to cut all rails to the exact same length — within 1/32″ — and to keep the whole assembly flat on a known-flat surface like a tablesaw top or a sheet of MDF.
Cut your stiles first, then cut rails 3″ shorter than the overall frame width to account for the stile overlap. Drill two pocket holes on each end of each rail. Dry-fit without glue, check for square by measuring diagonals (they should match within 1/16″), then glue and screw. If you can build this frame flat and square, you can build any larger frame.
Cost is low: one half-sheet of plywood and about 8 linear feet of 1×3 poplar. Hanging it on the wall also forces you to think about how the frame overhangs the box — typically 1/4″ on the sides if the cabinet will sit alone, or flush if it will be ganged with another cabinet.
2. Open Shelving Unit With Face-Frame Front
Take the same box construction and skip the doors. Build a 36″ wide x 48″ tall open bookcase with a fixed face frame on the front and open shelves inside.
This project teaches you to handle longer stiles without bow. At 48″ tall, a 1-1/2″ wide stile can flex if you don’t select straight stock. Sight down each board before you buy. If it has more than about 1/16″ of bow over 4 feet, leave it.
You’ll also add a middle rail — so now you have five pieces and eight pocket joints. That middle rail has to sit exactly level or your shelf openings will look off. Use a story stick or a spacer block cut to the opening height rather than measuring each time. Clamp the frame to your flat surface while driving screws; pocket screws will pull the joint slightly if the pieces are not firmly held.
A good pair of face frame clamps is worth it here. They pull the faces flush while you drive screws, which is the most common failure point for beginners: a joint that is tight but offset by 1/32″ to 1/16″, leaving a lip you have to sand out and weakening the glue line.
3. Small Bathroom Vanity or Base Cabinet
A 30″ wide base cabinet introduces a center stile and a drawer opening. The typical layout is two stiles at 31-1/2″ (standard base height without top), a top rail at 1-1/2″ wide, a bottom rail at 3″ to 3-1/2″ wide to create a toe kick reveal, and a vertical divider stile in the middle.
This is where you learn to plan openings, not just outside dimensions. If you want a 15″ drawer opening, your opening between stiles must be 15″ plus 1/16″ to 1/8″ for clearance. Cut the divider stile to fit between the rails, with pocket holes top and bottom. Beginners often make the divider too tight and bow the rails when they force it in.
Use a pocket hole jig kit with a stop collar set correctly for 3/4″ stock — drill depth is critical. Too shallow and the screw won’t bite; too deep and it blows out the face. Test on scrap first and check that the screw tip exits centered in the end grain.
For base cabinets, attach the completed frame to the plywood box with glue and 1-1/4″ brads or 1-1/4″ pocket screws from inside the box. Don’t rely on glue alone — the frame takes racking load when you move the cabinet.
4. Mudroom Cubbies or Laundry Cabinet
Build a 48″ to 60″ wide unit with three or four vertical openings, each divided by a full-height stile. This looks like a lot of work but it’s just repetition, which is exactly what you need.
Each additional vertical divider multiplies your square-checks. The trick is to assemble the outer frame first, verify it is square, then add interior stiles one at a time using spacers. If you try to assemble everything at once, the frame will rack and lock in out-of-square.
This project is also forgiving. Cubbies are usually painted, and the openings don’t need doors, so small gaps are less visible than on a kitchen cabinet. It teaches you to batch-cut: cut all stiles at once, all rails at once, drill all pocket holes at once. Batch work reduces cumulative error. Aim for all same-length parts to be within 1/64″ of each other. A stop block on your miter saw is non-negotiable here.
Choosing Joinery and Project Difficulty
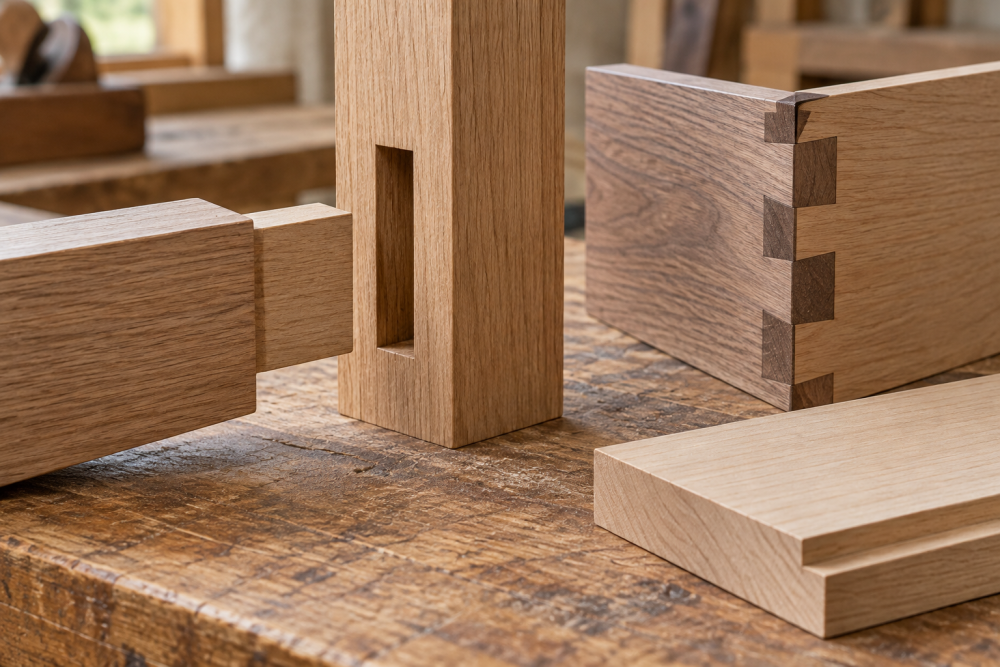
Most beginners overthink joinery. For painted face frames in plywood cabinets, pocket screws with glue are stronger than the wood itself in this application. Dowels and biscuits help with alignment but don’t add meaningful strength and slow you down. Save mortise-and-tenon for inset-door furniture later.
| Project | Joints | Build Time | Key Skill Learned | Material Cost (approx.) |
|---|---|---|---|---|
| Wall Cabinet (24″ x 30″) | 4 pocket joints | 4-6 hours | Cutting to length, squaring a frame | $60 – $90 |
| Open Shelving (36″ x 48″) | 8 pocket joints | 6-8 hours | Managing long stiles, adding a mid-rail | $80 – $120 |
| Base Vanity (30″ base) | 6-8 pocket joints | 8-12 hours | Planning drawer/door openings | $100 – $160 |
| Mudroom Cubbies (48″+ wide) | 12+ pocket joints | 12-16 hours | Batch cutting, repetitive assembly | $140 – $220 |
For screws, use fine-thread for hardwood and coarse-thread for softwood/plywood, both in 1-1/4″ length for 3/4″ stock. Pan-head screws made for pocket holes have a washer head that won’t pull through. A box of 1-1/4 inch pocket hole screws in the correct thread is cheaper than replacing split rails.
Mistakes That Ruin Face Frames
The most common failure is twist. You assemble on a slightly warped workbench and the frame dries with a 1/16″ to 1/8″ wind. It will never sit flush on the cabinet box without forcing it, which opens joints elsewhere. Always assemble on a verified flat surface and check for rock by pressing opposite corners after assembly.
Second is inconsistent stock thickness. If your stiles are 3/4″ and your rails are 13/16″ because you skipped planing, no clamp will make the face flush. Mill all frame stock in one batch and check with calipers.
Third is misaligned pocket holes. If the jig isn’t clamped tight or the drill speed is too high, the bit wanders and the hole exits too close to the edge, causing splits. Clamp the jig, drill at moderate speed, and clear chips between holes.
Finally, don’t sand the frame aggressively after assembly to “level” offset joints. You’ll create a dip that shows under paint and thin the wood at the joint. Fix offsets during clamp-up, not after. If a joint is off by more than 1/32″, back the screws out, realign, and re-drive rather than sanding it flush.
Start with the wall cabinet, then move to the open shelf. Once those two are flat, square, and flush without filler, you’re ready for any base cabinet or built-in. The skills scale directly — the only thing that changes is the number of openings you have to keep consistent.