What's inside
As an Amazon Associate I earn from qualifying purchases. This post may contain affiliate links at no extra cost to you.
Half-lap joints are a good early woodworking exercise because they teach layout, accurate cuts, and test-fitting in one small project. Each piece is notched halfway through its thickness, so the two parts overlap and finish nearly flush. The joint is useful for frames and light-duty supports, but it is only as strong as its fit and glue surface. Start with a project that has short, accessible joints rather than trying to learn on a large piece of furniture.
As an Amazon Associate we earn from qualifying purchases at no extra cost to you.

Contents
Choose a first project
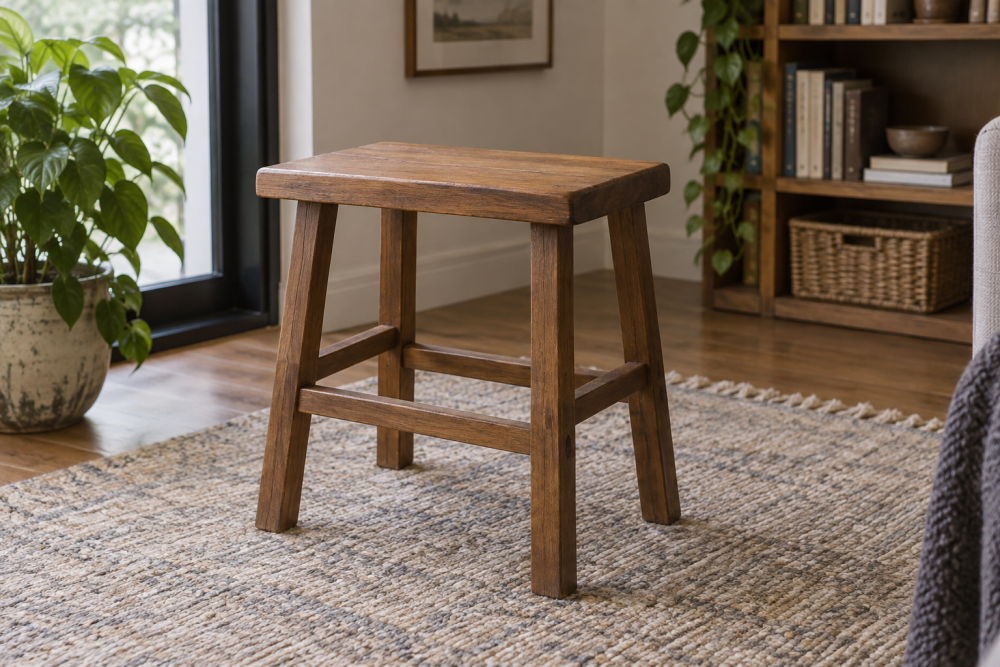
A small picture frame or a simple corner sample is the least expensive way to practise. For a useful first build, make a low stool, plant stand, or small side table with a square apron frame. These projects repeat the same joint, which makes it easier to spot whether your layout or cutting method needs adjustment.
Use straight, dry stock about 19 mm (3/4 in.) thick. Softwood such as pine is inexpensive and easy to cut, though dents and crushed fibres can make a joint look rough. Hardwood holds crisp edges but costs more and is less forgiving when you pare away too much. For a first project, choose clear, straight boards over a particular species.
Projects compared
| Project | Joint count | Difficulty | Why it works for practice |
|---|---|---|---|
| Corner sample | 2 | Easy | Tests layout and fit with little wasted wood |
| Small picture frame | 4 | Easy | Repeats one joint around a flat, visible frame |
| Plant stand | 8–12 | Moderate | Practises consistent notches in a compact structure |
| Low stool | 8 | Moderate | Adds squareness and load-bearing checks |
Best first build: a small plant stand
A basic stand with four legs and a square apron gives you repeated joints without requiring a complicated top. Make the legs from 38 × 38 mm (1 1/2 × 1 1/2 in.) stock and the aprons from 19 × 64 mm (3/4 × 2 1/2 in.) stock. Cut a half-lap at each apron end to meet its neighbour, or use half-laps where the legs and rails cross in a simpler frame design. A 300 mm (12 in.) square top is a manageable size.
Before cutting, mark every mating piece from the same reference face. For stock 19 mm thick, the notch depth is about 9.5 mm (3/8 in.); measure the actual thickness and divide by two rather than trusting the nominal size. A notch that is too deep leaves a low spot or a weak shoulder. One that is too shallow prevents the pieces from sitting flat.
Cut just to the waste side of your lines, then pare to the line with a sharp chisel. Test the fit dry. The pieces should meet with light hand pressure and no visible gap; do not rely on the clamp to force a poor fit closed. If a joint rocks, check the bottom of both notches for high spots before widening the whole cut.
Tools: buy for control, not speed
A backsaw and chisel are enough for a handful of joints. A mitre box can help keep short cuts square, but it is not essential if you can guide the saw carefully. For a larger batch, a table saw with a crosscut sled or a router with a straight bit speeds up repeated cuts, but both need careful setup and test cuts in scrap. A router can also leave rounded inside corners that need squaring with a chisel.
If buying a saw for this work, compare a fine-tooth backsaw with the tools you already own. A modest hand saw is fine for a small frame; there is little reason to buy a power tool solely for four joints. A sharp bench chisel is more useful across future projects, but inexpensive chisels may need extra sharpening before they cut cleanly.
Use a marking knife or a sharp pencil, a square, and a reliable way to hold the work. A marking gauge makes consistent shoulder lines easier on repeated joints; for a one-off project, careful pencil marks and a square are adequate.
Cutting and fitting without common errors
Mark the notch width from the mating piece, not from an assumed measurement. For a half-lap in the middle of a board, mark both shoulders square across the face and knife or pencil the waste area. Make several relief cuts inside the waste, stopping at the depth line, then remove the waste in small sections. Keep the chisel bevel oriented to control the cut and work from both sides when possible to avoid tearing out the far edge.
Common failures are easy to diagnose. A joint that sits proud usually has a notch that is too shallow or a chip trapped underneath. A visible shoulder gap often comes from an out-of-square cut or a shoulder line that wandered. If the joint is loose, do not fill a large gap with extra glue; recut the part if there is enough stock, or remake it. Thin shims can rescue a hidden, noncritical fit, but they are a poor fix for a visible frame corner.
Clamp the dry assembly first and check that the frame is square by measuring diagonals. If the diagonals differ, adjust the clamps before glue-up. Apply a thin, even coat of wood glue to the mating faces, assemble, and wipe away squeeze-out with a damp cloth. Avoid overtightening: clamps can bow light rails or pull an imperfect frame out of square.
When to build and what to build next
Half-lap practice works in any season, but a garage or shed that swings in humidity can move solid wood between cutting and assembly. Store stock in the room where you will build it for a few days, and make final fit checks shortly before glue-up. In winter, allow cold glue and wood to reach the temperature listed on the glue label; a chilled joint can take longer to cure.
After a plant stand, try a low stool or a garden potting bench apron. Those builds add longer rails and more opportunities for racking, so check each frame for square before attaching a top or shelf. Keep the first project small: accurate half-laps are learned by repeating the layout and cut, not by making the project larger.