What's inside
As an Amazon Associate I earn from qualifying purchases. This post may contain affiliate links at no extra cost to you.
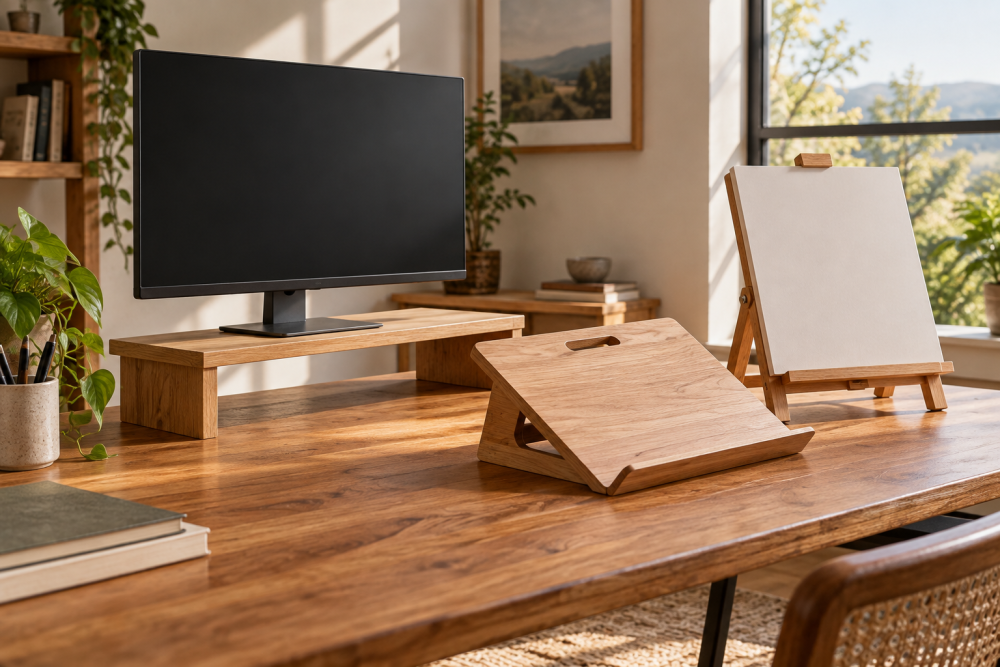
A small wooden tabletop easel is a useful first hardware-free project: it needs only straight cuts, a few drilled holes and a pivoting rear leg. This design holds a canvas or panel up to about 16 inches tall and uses a pin to set the working angle. It folds flat for storage, though it is not intended to hold heavy framed work or withstand hard studio use.
Contents
Dimensions and design
The easel has two front rails joined by a lower ledge, a hinged rear support and a removable adjustment pin. The front leans back at roughly 10 degrees from vertical. Five holes in the rear support provide a practical range of angles; make the holes closer together if you want finer adjustment.
Use straight, dry stock about 3/4 inch thick. Pine is inexpensive and easy to cut, but soft edges dent readily. Poplar costs more and holds its shape and finish better. Hardwood is unnecessary unless you expect frequent use or heavier panels.
Materials and tools
- One 1-by-3-by-6-foot board, preferably straight-grained
- One 1/4-inch hardwood dowel, about 3 inches long, for the adjustment pin
- Wood glue and four 1 1/4-inch screws
- Drill with 1/4-inch and 3/32-inch bits, saw, square, ruler, clamps and sandpaper
A combination square makes it easier to mark matching rails and keep the ledge level. A handsaw works for this project; a cordless drill-driver is convenient but not essential if you already have a suitable drill.
Cut list
| Part | Quantity | Finished size | Purpose |
|---|---|---|---|
| Front rails | 2 | 18 × 1 1/2 × 3/4 inches | Support the panel |
| Bottom ledge | 1 | 12 × 1 1/2 × 3/4 inches | Stops the panel sliding down |
| Rear support | 1 | 16 × 1 1/2 × 3/4 inches | Sets the easel angle |
| Pivot spacer | 1 | 3 × 1 1/2 × 3/4 inches | Joins the front rails at the top |
| Adjustment pin | 1 | 3 × 1/4-inch diameter | Supports the rear leg |
These dimensions assume a panel no wider than about 12 inches. For a wider panel, lengthen the ledge and increase the gap between the front rails only if the panel needs it; keep the rails aligned and the support centered.
Cut and drill the parts
Cut the parts square and sand the edges to 120 grit. Lay the two front rails parallel, with their outside edges 12 inches apart. Position the ledge across the bottom, flush with the lower ends, and the spacer across the top. Check that both crosspieces are square to the rails before marking their screw locations.
Drill pilot holes through each rail into the ledge and spacer, then screw and glue the joints. Keep glue off the ledge’s top surface, where it could mark artwork. Clamp the assembly flat while the glue sets. If the rails are not parallel, the panel may rock or sit crooked.
At the center of the top spacer, drill a 1/4-inch hole for the rear support pivot. Drill a matching hole about 1 inch from one end of the rear support. Avoid drilling too close to the end: a thin strip of wood around the hole can split under load.
Assemble the adjustable support
Set the rear support behind the front assembly and align its pivot hole with the spacer hole. Use a 1/4-inch bolt and locknut for a durable pivot, or a snug hardwood dowel if you want an all-wood build. The bolt is easier to tighten if the support develops side-to-side play; the dowel looks cleaner but may loosen with wear.
With the easel standing on a flat surface, swing the rear support open. Mark five pin positions along its lower half, spaced about 1 inch apart. Drill 1/4-inch holes at the marks. Start with a 3/32-inch pilot hole if your drill bit tends to wander, then enlarge each hole. Smooth the holes so the pin seats fully rather than resting on a splintered edge.
Drill a 1/4-inch hole through both front rails, about 2 inches above the base, keeping the drill level. Insert the dowel pin through the rails; the rear support should rest on it. Test each position before finishing. If the pin bends or the rear leg slips off, the pin is too thin, the support is misaligned, or the easel is being loaded beyond its intended use. A 5/16-inch hardwood pin is a sensible upgrade if the stock allows it.
Finish and test
Round the ledge’s front edge slightly so it does not dig into a canvas. Sand to 180 grit, remove the dust and apply a thin coat of water-based clear finish or paste wax. Leave the pivot and adjustment holes free of thick finish; buildup can make the support bind. Let the finish cure fully before placing artwork on the easel.
Test the easel with a scrap panel of similar size and weight. Push gently on the top edge and check for rocking, loose screws and pin movement. On a smooth tabletop, thin rubber pads under the rails help prevent sliding. Do not use the easel for a glass-fronted frame, a heavy board or anything likely to be knocked forward; a wider base and stronger bracing are needed for those loads.
If you want a smoother finish than a brush usually gives on small parts, water-based clear wood finish is easy to clean up and dries relatively quickly. For a shop easel that will see paint spills, an inexpensive coat of wax is fine, but it offers less protection from moisture and stains.