Key takeaways
- A step-by-step plan for building a rock-solid 8-foot heavy duty garage workbench with a laminated top, bolted frame and no wobble.
What's inside
- Step 1: Buy and sort your lumber before you cut anything
- Step 2: Cut the frame parts to matched lengths
- Step 3: Assemble the two end frames
- Step 4: Connect the ends with the long rails
- Step 5: Laminate and flatten the top
- Step 6: Level, load and add the shelf
- Common mistakes to avoid
- Heavy Duty Garage Workbench FAQ
- Step 1: Buy and sort your lumber before you cut anything
- Step 2: Cut the frame parts to matched lengths
- Step 3: Assemble the two end frames
- Step 4: Connect the ends with the long rails
- Step 5: Laminate and flatten the top
- Step 6: Level, load and add the shelf
- Common mistakes to avoid
- Heavy Duty Garage Workbench FAQ
As an Amazon Associate I earn from qualifying purchases. This post may contain affiliate links at no extra cost to you.
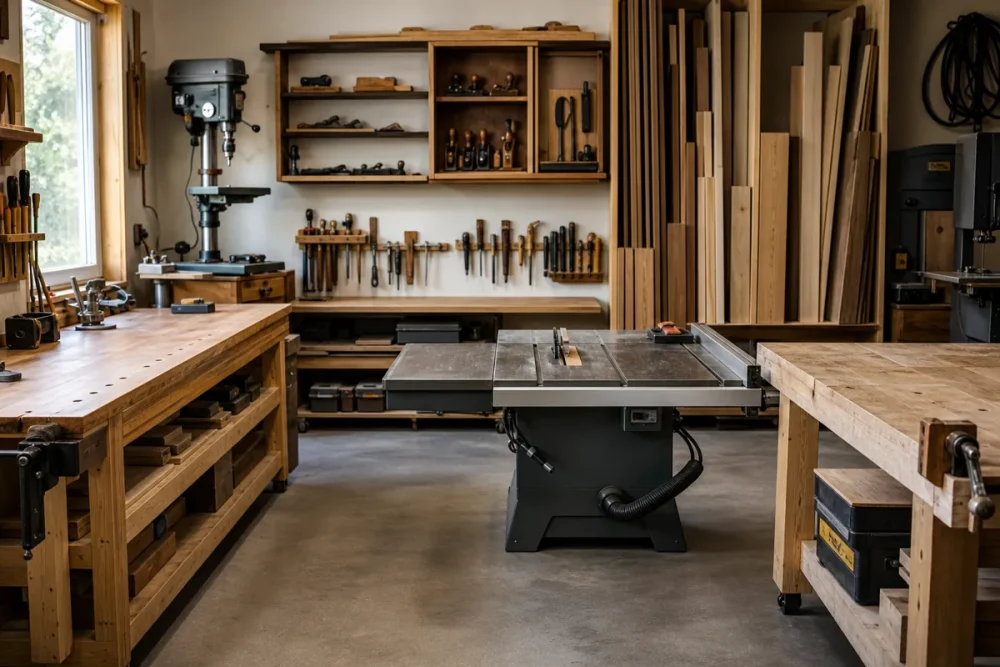
Most garage benches fail in the same two places: the top flexes when you plane or hammer, and the legs rack side to side until every joint loosens. A heavy duty garage workbench solves both problems with mass and mechanical connections, not with more screws. The build below uses construction lumber, a laminated top, and bolted rails so the frame can be snugged up years from now instead of replaced.
Target dimensions for this build are 96 inches long, 30 inches deep, and 35 inches to the top surface. That length matches an 8-foot board with no waste, 30 inches deep lets you reach the back without climbing on it, and 35 inches is a comfortable working height for hand tools and assembly if you are between 5’8″ and 6’1″. Adjust the leg length, not the frame design, if you need a different height. Expect roughly one full weekend, most of it spent on flattening the top and drilling accurate bolt holes.
As an Amazon Associate we earn from qualifying purchases at no extra cost to you. Product prices and availability are accurate as of the date shown and are subject to change.




| Component | What to use | Why it matters | ||
|---|---|---|---|---|
| Legs | 4× | 4 or doubled 2× | 4 | Resists racking under side load |
| Rails and stretchers | 2× | 4 kiln dried | Straight stock keeps the frame square | |
| Top | Two layers 3/4″ | MDF or plywood | Mass plus a replaceable sacrificial face | |
| Fasteners | 3/8″ | hex bolts, washers, nuts | Retightenable, unlike screws | |
| Feet | Adjustable levelers or shims | Kills wobble on a sloped slab |
Step 1: Buy and sort your lumber before you cut anything
For the 96 x 30 inch bench you need roughly ten 8-foot 2x4s, four 8-foot 4x4s (or eight more 2x4s if you are doubling), two sheets of 3/4 inch plywood or MDF, and a box of 3/8 inch by 4 inch hex bolts with washers and nuts. Buy a few extra 2x4s. Construction lumber at the big box stores is wet, twisted, and inconsistent, and you will reject some of it at the rack.
Sight down every board before it goes in the cart. Crown, the gentle bow along the wide face, is acceptable and can be oriented upward on rails. Twist is not. A twisted leg cannot be corrected once it is bolted in place. Let the stack sit in your garage for at least three or four days so the moisture content settles closer to your shop conditions, otherwise the frame will move after assembly and you will chase gaps that were not there on day one.
Step 2: Cut the frame parts to matched lengths
Cut list for the frame:
4 legs at 34 1/4 inches (35 inch finish height minus 1 1/2 inches of laminated top). 4 long rails at 93 inches. 4 short rails at 24 inches. 3 top joists at 24 inches for intermediate support.
The single most important habit here is cutting matched parts as a group with a stop block on your miter saw. Do not measure each leg individually with a tape. A 1/16 inch difference between legs is a wobble you will feel for the life of the bench. Set the stop, cut all four, then stand them side by side on a flat floor and confirm the tops line up. Same for the rails: all four long rails must be identical or the frame will not sit square.
Compact Miter Saw for Repeat Crosscuts
A 10 inch sliding miter saw handles 2x4s and 4x4s in one pass and lets you clamp a stop block for identical parts. If you already own a circular saw and a speed square, you can absolutely build this bench without buying one. Just cut a plywood crosscut guide and work slowly. The saw earns its keep on the third or fourth project, not this one.
Step 3: Assemble the two end frames
Each end frame is two legs plus two short rails, forming an H shape twice over. Position the upper short rail so its top edge is 3 1/2 inches down from the top of the legs, and the lower short rail with its bottom edge 8 to 10 inches off the floor. That lower gap keeps the shelf above spilled water and lets you park a shop vacuum underneath.
Clamp each joint, drill a 3/8 inch through hole in two places per joint, then bolt with a washer on both sides. Two bolts per joint is the minimum. One bolt is a pivot, not a joint. Tighten until the washer just begins to bite into the wood, then stop. Crushing the fibers gives you a joint that feels tight today and is loose in a month.
Check each end frame for square by measuring diagonals corner to corner. The two measurements must match within 1/16 inch. If they do not, loosen one bolt, rack the frame with a clamp, and retighten.
Step 4: Connect the ends with the long rails
Stand both end frames upright and clamp the long rails to the outside faces of the legs, flush with the short rails. Working on a flat garage floor is the trick here. If your slab slopes, shim the low corner until the frame sits without rocking before you commit to any bolts, because whatever twist is in the frame when you tighten is the twist you keep.
Drill and bolt two 3/8 inch bolts per leg per rail, which comes to eight bolts on each long side. Then drop the three intermediate joists into the top opening at roughly 24 inch centers and secure them with 3 inch structural screws. These joists are what stop the top from drumming and flexing in the middle span.
- ✔ Bolted joints can be retightened as lumber dries and settles
- ✔ Construction lumber and sheet goods cost far less than hardwood bench stock
- ✔ Laminated top adds mass that absorbs hammer and chisel shock
- ✔ Every dimension scales without redesigning the frame
- ✘ Roughly 250 to 350 pounds assembled, so build it in its final location
- ✘ Wet construction lumber needs acclimation time before assembly
- ✘ Drilling accurate through holes is slower than driving screws
- ✘ MDF tops swell badly if water sits on an unsealed edge
Step 5: Laminate and flatten the top
Cut both sheets to 96 x 30 inches. Spread an even coat of wood glue on the lower sheet with a notched spreader or a scrap of plywood, lay the second sheet down, and clamp or weight the whole field. Screws through the top face work as clamps, but drive them from underneath instead so the finished surface stays clean.
Once cured, run a straightedge across the top in several directions and mark any high spots. Sand with 80 grit on a random orbit sander to knock down proud areas, then move to 120 grit and finish at 150. Do not go finer. A polished bench top is a slippery bench top, and glue releases from it in ways you do not want mid assembly.
Seal it. Two or three coats of wipe-on polyurethane or a mix of boiled linseed oil and mineral spirits is enough. Skip film-building finishes that chip. Pay particular attention to the edges and the underside of any overhang, since that is where moisture gets in. Leave a 1 inch overhang on the front and both ends for clamping, and keep the back flush if the bench goes against a wall.
Random Orbit Sander for Top Flattening
A 5 inch variable speed random orbit sander with dust collection is the tool that makes a 20 square foot top realistic in an afternoon. Corded models in the mid range are plenty. Buy hook and loop discs in 80, 120 and 150 grit in bulk, because you will burn through more than you expect on MDF.
Step 6: Level, load and add the shelf
Install threaded leveling feet or glue hardwood shims to the low legs, then set a 4 foot level across the top in both directions. Adjust until a marble sits still. A level bench is not vanity, it is a reference surface for checking whether your assemblies are flat.
Add a lower shelf of 3/4 inch plywood cut to fit between the bottom rails. Keep heavy items low. A bench with 150 pounds of stored tools near the floor is dramatically more stable than the same bench with that weight on top. If the bench sits against a wall, drive two lag screws through the back rail into studs and lateral movement disappears entirely.
Common mistakes to avoid
Building too tall is mistake number one. Assembly work and hand planing want a surface at or slightly below wrist height, generally 33 to 36 inches. When in doubt, cut legs long, dry fit, work at the bench for an hour, and trim.
Second, using screws where bolts belong. Deck screws in end grain lose grip as lumber dries, and every retightening cycle chews the hole a little larger. Third, skipping the intermediate joists to save two boards. Without them a 96 inch top deflects under a hundred pounds and you feel it in every chisel strike. Fourth, assembling on an uneven floor without shims, which locks twist into the frame permanently.
Heavy Duty Garage Workbench FAQ
How much weight will this heavy duty garage workbench hold? Built as described with bolted joints and three intermediate joists, this frame handles well over 1,000 pounds of static load. The practical limit is the top’s deflection between joists, not the legs. Add a fourth joist if you plan to park an engine block or a heavy machine on it.
Should I use MDF or plywood for the top? MDF is flatter, cheaper, and easier to sand smooth, which makes it the better choice for the visible top layer if you seal it and keep water off. Plywood resists moisture and impact damage better and holds screws in its edges. A common compromise is a plywood base layer with an MDF sacrificial top you replace every few years.
Can I add a woodworking vise to this design? Yes, and you should plan for it before laminating. A front vise needs solid backing behind the mounting face, so glue an extra block of 2x lumber under the top where the vise jaw lands and keep the front rail clear of the mounting bolts. Retrofitting a vise onto a finished bench usually means drilling through your nice new top at an awkward angle.
Build the frame square, keep the mass low, and bolt what will move. Everything else on this bench is adjustable later.
Check prices on Amazon →