What's inside
As an Amazon Associate I earn from qualifying purchases. This post may contain affiliate links at no extra cost to you.
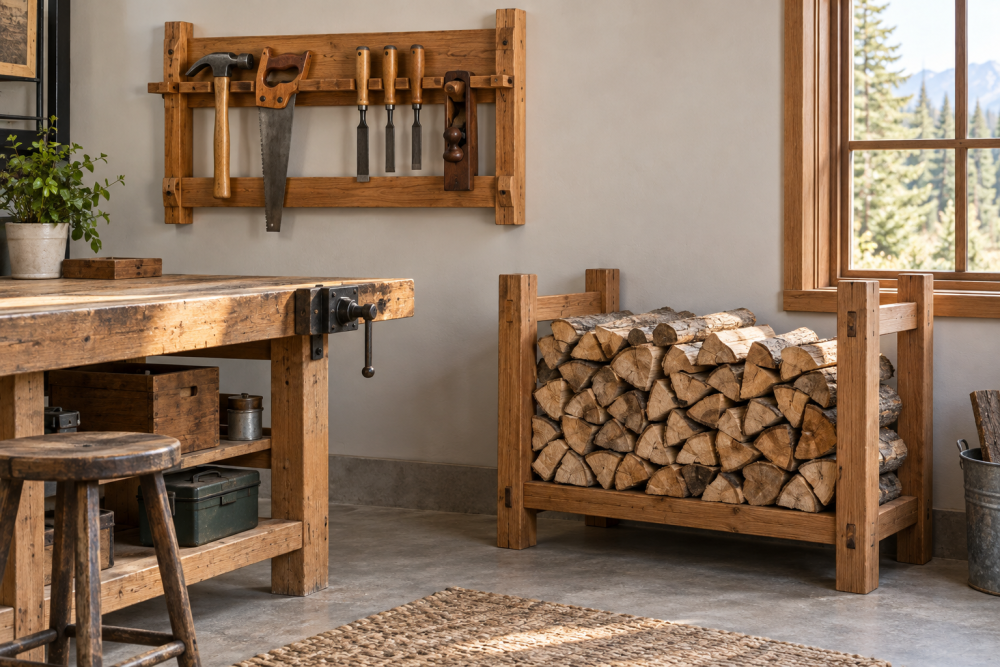
A covered porch keeps rain and snow off firewood, but it does not keep wood dry if air cannot move around the stack. A simple freestanding rack lifts logs off the floor, holds them in a stable row, and leaves space for ventilation. This design uses common dimensional lumber and suits a beginner who can make straight cuts and drive screws.
Contents
Choose the size and placement
Before buying lumber, measure the space and the logs you plan to store. A practical rack for a small porch is about 48 inches wide, 16 inches deep, and 36 inches tall. It holds a useful amount without being so tall that the stack becomes difficult to load. For a full face-cord-sized stack, build a longer rack or make two separate units rather than one unwieldy frame.
Standard firewood is often cut to 16 inches, so a 16-inch rack depth works for many loads. If your logs are longer, allow at least an inch of clearance at each end. Leave several inches between the rack and the porch wall, and keep it clear of doors, steps, heaters, and the path people use. Check that the porch floor can carry the combined weight of the rack and wood; firewood is heavy, especially when damp.
Use the rack for wood that is already seasoned. A roof overhead does not make freshly cut wood dry: it needs airflow and time. Keep the stack below the porch roofline and away from siding so it does not trap moisture against the house.
Materials and tools
For a 48-inch-wide rack, buy four pressure-treated 2×4s, each 8 feet long. Use them for the base, upright supports, and upper rails. Choose straight pieces without large splits or loose knots near the ends. Also get exterior-rated structural screws, about 2½ inches long for the frame and 3 inches long for joining the uprights to the base.
Pressure-treated lumber is a sensible choice where the rack may get wet or sit on concrete. For a fully sheltered porch, untreated lumber can be adequate if it stays dry and you seal or paint it. Do not use interior drywall screws: they can corrode outdoors and are more likely to snap under load. A box of exterior structural screws is a better choice than general-purpose indoor screws.
You will need a tape measure, square, pencil, saw, drill-driver, and safety glasses. A circular saw makes the cuts quickly, but a handsaw is fine for this small project. If you do not own a saw, ask a lumberyard to make the cuts; confirm measurements before leaving.
Cut list and frame choices
Cut the four 2×4s into these pieces: two 48-inch base rails, two 16-inch base end pieces, four 36-inch uprights, and two 48-inch upper rails. The two upper rails form the sides that keep the stack from tipping outward. This layout gives the rack an outside width of about 48 inches and a depth of about 19 inches, since the end pieces sit between the long base rails.
For a simpler rack with fewer parts, the comparison below helps decide how much support to build in.
| Design | Best for | Trade-off |
|---|---|---|
| Basic four-upright frame | Short stacks and sheltered porches | Uses less lumber, but a tall or uneven stack can push the uprights outward |
| Four-upright frame with corner braces | Heavier loads or a rack that may be moved | More cuts and screws; the braces stiffen the frame |
| Two separate shorter racks | Uneven floors or narrow storage areas | More pieces to build, but each rack is easier to move and load |
For most porches, add four corner braces if you expect to stack above about 30 inches or use the rack on an exposed edge. Cut each brace from a spare 2×4 into roughly 10-inch diagonal pieces. A circular saw is convenient for repeated cuts, but it is not worth buying solely for this rack if a handsaw or lumberyard cuts will do.
Build the rack
1. Cut the lumber and mark each piece. Measure twice, then check that matching pieces are the same length. Uneven base rails make the rack rock, while mismatched uprights leave the top crooked.
2. Lay the two 48-inch base rails parallel on a flat surface, about 16 inches apart. Place the 16-inch end pieces between them at each end, forming a rectangle. Drill pilot holes near the ends of the long rails to reduce splitting, then fasten each joint with two 2½-inch exterior screws. Check the frame for square by measuring both diagonals; they should be close to equal.
3. Stand one 36-inch upright at each corner, on the inside of the base. Keep each post plumb with a level or square, then attach it through the base rail with two 3-inch structural screws. Predrill near the ends, especially in dry or treated lumber that tends to split. Do not rely on one screw per joint; a single fastener can let the post pivot under the sideways pressure of a loaded stack.
4. Fit a 48-inch upper rail along each long side, connecting the tops of the uprights. Set the rails flush with the post tops and fasten each end with two 2½-inch screws. These rails help contain the wood, but they are not a substitute for a stable, evenly stacked load.
5. If adding braces, fit one diagonally at each corner between the base and upright, then fasten through each end. Keep screws away from the cut edges to avoid splitting. Check the rack for wobble and tighten or add a fastener where a joint moves.
Finish and load safely
Brush off sawdust and seal exposed cuts with a compatible exterior wood preservative, especially on pressure-treated lumber. Follow the product label for drying time. Avoid a finish that leaves the base slippery on smooth concrete. If the porch floor is uneven, shim the base with durable plastic or composite shims; do not use loose scraps that can crush or slide.
Load the rack evenly from side to side, placing larger, straighter pieces at the bottom. Leave small gaps between logs for airflow, and do not stack above the uprights. If the rack shifts, the base rocks, or the posts bow outward, unload it and correct the problem before using it again. A rack should stay stable under the intended stack—not just look sturdy when empty.