What's inside
As an Amazon Associate I earn from qualifying purchases. This post may contain affiliate links at no extra cost to you.
Contents
Build Overview
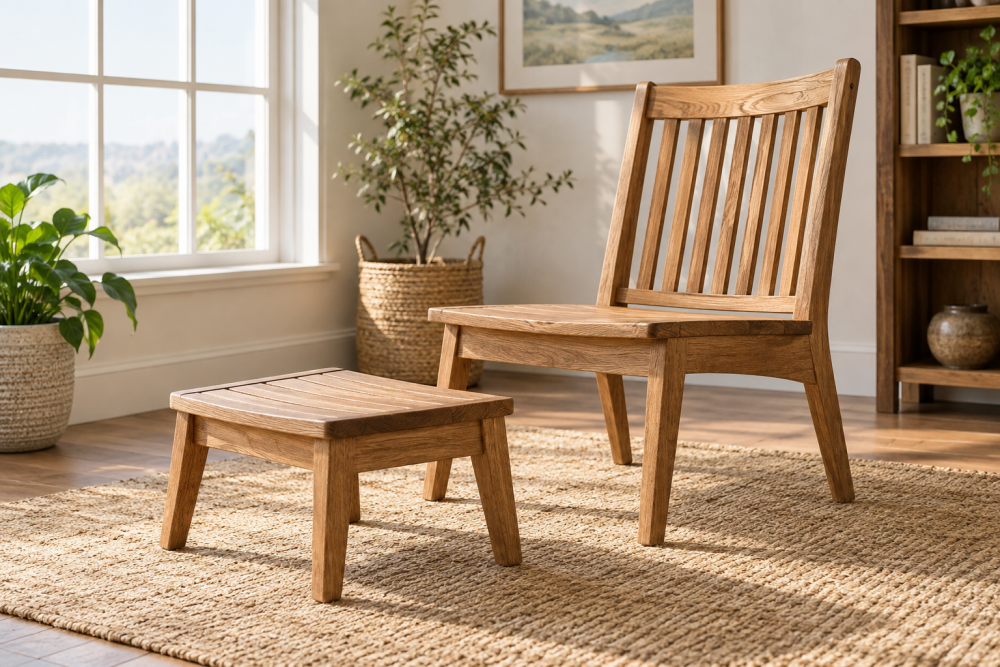
This slatted patio ottoman is a compact outdoor project with a removable cushion top. The frame is made from pressure-treated lumber or cedar, while the top uses evenly spaced slats that support a separate cushion. It works as a footrest, extra seating, or a small outdoor table when the cushion is removed.
The finished ottoman is approximately 24 inches wide, 18 inches deep, and 16 inches high, including a 3-inch cushion. Adjust the dimensions if you already have a cushion. Measure the cushion first, then make the slatted top about 1/2 inch wider and deeper than the cushion so it drops into place without binding.
This is a good intermediate beginner project. The cuts are straightforward, but accurate assembly matters. A frame that is even 1/4 inch out of square can make the slatted top look crooked and cause the cushion to sit unevenly. Build it in dry weather, ideally when temperatures are above 50°F so outdoor finish and glue behave properly.
Materials and Tools
For a 24-by-18-inch ottoman, gather the following:
- Two 1×4 boards, 8 feet long, for the frame and legs
- One 1×3 board, 6 feet long, for the slats
- Four 4×4-inch leg pieces, each 13 inches long
- Exterior-rated screws, 1 1/4 and 2 1/2 inches long
- Exterior wood glue, optional for protected joints
- Sandpaper in 80-, 120-, and 180-grit
- Exterior stain, paint, or penetrating outdoor oil
- Four rubber or plastic feet
You will need a tape measure, square, pencil, circular saw or miter saw, drill, countersink bit, clamps, and a random-orbit sander. A random-orbit sander saves time on the broad faces, but sanding by hand is fine for one ottoman.
| Material | Advantages | Drawbacks |
|---|---|---|
| Cedar | Light, attractive, naturally rot-resistant, easy to work | More expensive; dents easily |
| Pressure-treated pine | Cheapest and widely available | Often wet, twisted, and rough; must dry before finishing |
| Redwood | Stable and weather-resistant | Usually costs more and may be harder to find |
Cedar is the easiest choice for a clean-looking project. Pressure-treated lumber is perfectly acceptable when cost matters, but buy straight boards and let freshly treated stock dry for several weeks before applying film-forming paint or stain. For outdoor fastening, use exterior deck screws rather than interior drywall screws, which rust and snap.
Cut List
Cut these parts:
- Four legs: 4×4 lumber at 13 inches
- Two long frame rails: 1×4 at 24 inches
- Two short frame rails: 1×4 at 15 inches
- Two long top supports: 1×4 at 24 inches
- Six top slats: 1×3 at 18 inches
The 15-inch short rails fit between the 24-inch long rails, producing an outside frame approximately 24 by 18 inches. Actual lumber is smaller than its listed size, so dry-fit the parts and check the real dimensions before making all the cuts. If your boards are 3/4 inch thick, six 1×3 slats with 1/4-inch gaps will cover about 17 1/4 inches. Adjust the number of slats or gap size to suit your cushion.
Build the Frame
Begin by inspecting the legs. Put the least attractive faces toward the inside or bottom. Lightly sand the cut ends, then mark a line 1 inch down from the top of each leg. This line identifies the top edge of the lower frame rails.
Clamp one long rail between two legs, aligning its top edge with the marks. Drill two clearance holes through the rail into each leg, then drive 2 1/2-inch exterior screws. Repeat with the second long rail. Add the short rails between them, checking that the corners are flush.
Before tightening every screw, measure diagonally from corner to corner in both directions. The measurements should match within 1/8 inch. If they do not, push the frame sideways until it is square. A clamp can hold the correction while you drive the remaining screws.
Install the two top supports inside the frame, running parallel to the long rails. Position one near each end, with their top edges level with the frame. These supports prevent the slats from flexing. Do not rely on glue alone outdoors; seasonal movement can break that joint.
Fit the Slatted Top
Lay the six slats across the frame, running from front to back. Start with a 1/4-inch overhang at each end, then space the boards with a 1/4-inch gap. Use a scrap block as a spacer so the gaps remain consistent.
Check the overall width before fastening. The last slat should have the same overhang as the first. If not, distribute the difference across the gaps rather than leaving one noticeably wide opening. Predrill two holes at each slat-to-support intersection, then drive 1 1/4-inch exterior screws. Countersink the heads slightly, but do not bury them deeply enough to collect water.
A removable cushion should not be screwed or strapped permanently to the ottoman. The slats provide ventilation and let rain drain away. For windy locations, add two small strips of outdoor hook-and-loop fastener underneath the cushion. This holds it in place without making removal difficult.
Sand and Finish
Round every exposed corner with 80- or 120-grit sandpaper. Pay particular attention to the top slats, leg bottoms, and cut ends. Follow with 180 grit on hand-contact surfaces. Do not sand pressure-treated lumber aggressively enough to remove its surface treatment.
Apply finish to all faces, including the underside and end grain. End grain absorbs water quickly and is a common starting point for splitting. A penetrating exterior oil is easy to renew and less likely to peel, but it offers less color protection. Exterior paint gives the most uniform color but can flake if applied to damp pressure-treated wood. Exterior stain is a middle option.
Use an exterior wood stain or oil intended for decks and outdoor furniture. Apply two thin coats if the label calls for it, allowing the first coat to dry fully. Do not finish in direct sun when the boards are hot; the coating can dry before it penetrates.
Cushion Choice and Maintenance
A 24-by-18-inch outdoor cushion with a 3-inch thickness suits this design. Polyester-filled cushions are inexpensive and dry faster than dense foam, but they compress more quickly. Foam is firmer and better for frequent seating, though it stays wet longer after rain. A water-resistant outdoor ottoman cushion is the practical choice for occasional use.
Keep the cushion under cover during extended wet weather. Once or twice each year, tighten loose screws, inspect for cracks, and renew the finish on exposed end grain. If a leg begins to split, stop using the ottoman until it is replaced; a repaired decorative crack is not a reliable load-bearing repair.