What's inside
As an Amazon Associate I earn from qualifying purchases. This post may contain affiliate links at no extra cost to you.
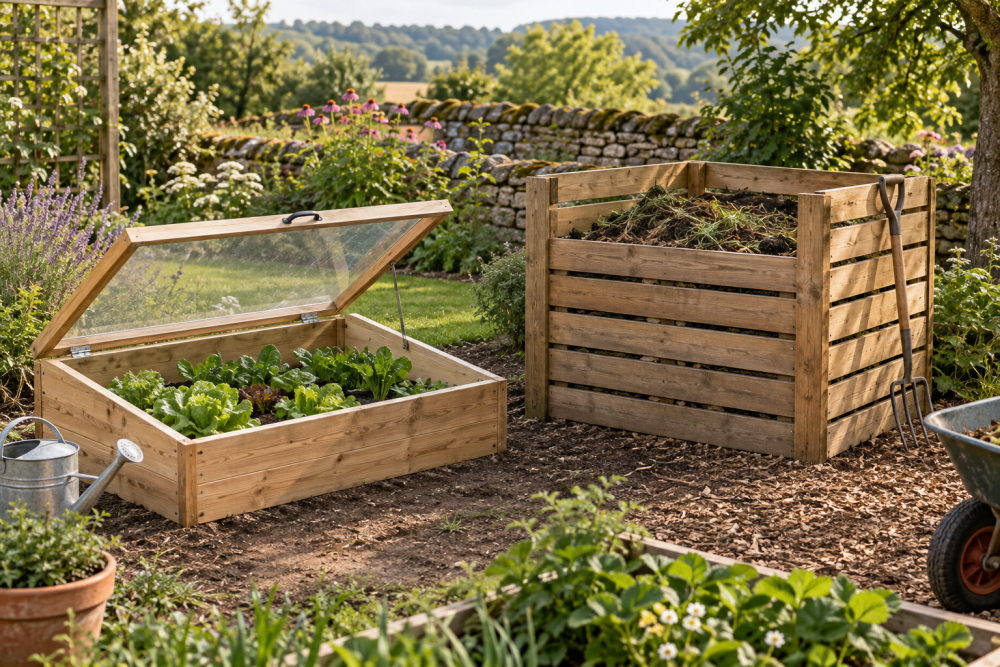
A small wooden cold-frame lid is a useful weekend project: it protects seedlings from frost, cuts wind, and lets you start crops earlier without building a full greenhouse. This design uses a simple timber rectangle, a clear panel, and hinged supports that hold the lid open for ventilation. It suits a cold frame about 24 by 36 inches, but the same method scales up or down.
Contents
Choose the design and materials
Keep the lid light. A heavy lid is awkward to lift and puts unnecessary strain on the hinges and frame. For a 2-by-3-foot lid, use 1-by-3 lumber for the outer frame and either twin-wall polycarbonate, greenhouse plastic, or a small piece of exterior-grade glazing. Polycarbonate is the safest choice around children and pets because it does not shatter like glass.
| Glazing | Advantages | Drawbacks | Best use |
|---|---|---|---|
| Twin-wall polycarbonate | Light, tough, good insulation | Costs more; needs capped or sealed edges | Frequent use and cold climates |
| Clear acrylic | Light and easy to cut | Can crack when drilled; scratches easily | Careful DIY builds |
| Glass | Clear, durable, excellent light transmission | Heavy and dangerous if broken | Existing salvaged panes with safe edges |
| Greenhouse plastic | Cheapest and very light | Sags, tears, and usually needs replacing | Temporary or low-cost frames |
For a first build, a twin-wall polycarbonate sheet is usually worth the extra cost. If this is a one-season experiment, greenhouse plastic stretched over a thin frame is perfectly reasonable.
Cut list and tools
For a 24-by-36-inch lid, cut two side rails at 36 inches and two end rails at 21 inches. The end rails fit between the sides, producing an outside dimension of approximately 24 by 36 inches when using 1-inch-thick stock. Measure your actual lumber; nominal dimensions are not exact.
You will also need four 1-by-1-inch corner blocks, exterior wood screws, exterior wood glue, two or three outdoor-rated butt hinges, and two hinged lid stays or support arms. A tape measure, square, drill, countersink bit, saw, clamps, and sandpaper cover the basic work. A pair of outdoor lid stays is more reliable than loose sticks that can be knocked out of position.
Build the wooden lid frame
Cut the rails square and dry-fit them on a flat surface. Check the rectangle by measuring both diagonals. If the diagonals differ by more than 1/8 inch, push the frame into square before fastening it.
Apply a thin bead of exterior wood glue to each joint. Drill two pilot holes through each side rail into the end grain of the end rail, then drive 2-inch exterior screws. End grain does not hold screws as well as face grain, so the corner blocks add useful strength. Glue and screw a block inside each corner, keeping it flush with the bottom edge so the lid can sit flat on the cold-frame box.
Sand the outside edges and slightly ease every corner. Sharp corners damage plastic glazing and are unpleasant to handle. Apply two coats of exterior paint or an exterior wood finish, allowing the first coat to dry fully. Pay particular attention to end grain and the bottom edges, where water tends to collect. Do not finish the glazing-contact surfaces until you have removed dust and dried the coating.
Fit the clear panel
Measure the finished frame before cutting the panel. Aim for a panel that overlaps the frame by about 1 inch on all four sides. For the example lid, the panel will be close to 26 by 38 inches, but confirm those numbers rather than copying them.
Lay the panel on the frame and mark screw locations every 8 to 10 inches. Keep holes at least 1 inch from the panel edge. With polycarbonate or acrylic, drill clearance holes slightly larger than the screw shaft so expansion does not cause cracks. Use roofing screws with sealing washers, or exterior screws with broad washers. Tighten only until the washer contacts the panel; crushing the sheet creates leaks and stress cracks.
If using twin-wall polycarbonate, orient the internal flutes so they run downhill toward the hinge side or front edge. Seal the upper edge with solid tape and use breathable vent tape on the lower edge if the manufacturer specifies it. This prevents insects and dirt entering the channels without trapping condensation.
Install hinges and hinged supports
Set the lid on the cold-frame box with the back edges aligned. Leave about 1/8 inch of clearance along the hinge side so paint and seasonal movement do not bind the lid. Mark two hinges about 4 inches in from each end. A third hinge in the center is sensible if the lid is wider than 36 inches or uses glass.
Pre-drill every hinge screw hole. Drive the screws into solid wood, not only into thin glazing or a cracked edge. If the box has a removable or weak back rail, add a full-width 1-by-3 support before fitting the hinges.
Mount the support arms near both sides of the lid, roughly 6 inches in from the ends. Open the lid to the desired maximum angle, usually 45 to 60 degrees, and mark the mounting positions. The supports should stop the lid before the hinges are forced against their leaves. Test the movement by opening and closing the lid several times before tightening all screws.
A stainless-steel continuous hinge can be a good alternative where the lid is long and flexible. It spreads the load, but it is less forgiving if the back edge is not straight.
Add ventilation and weather protection
The main failure mode with cold frames is overheating, not freezing. A sunny 50-degree day can push the interior well above 100 degrees. Open the lid on mild days, and close it before evening temperatures fall. The hinged supports make this quick, but they do not automate ventilation.
For unattended protection, install an automatic greenhouse vent opener. These wax-cylinder units open as temperature rises, but they are not a substitute for checking the frame during sudden weather changes. Leave enough clearance for the opener and use a lid that is light enough for it to lift.
Add a simple latch or hook to prevent wind from throwing the lid open. On stormy sites, a second hook-and-eye or a short chain can limit movement. Inspect the fasteners after the first week, because soft outdoor timber often compresses around screws.
Test the lid before planting
Close the lid and check that it bears evenly on the box. Gaps larger than about 1/4 inch invite drafts and pests; correct them by adjusting the hinges or adding a thin weather strip. Spray the panel with a hose and look underneath for leaks. Water entering through screw holes usually means the washers are missing, loose, or overtightened.
Recoat exposed wood when it begins to look dry or cracked. Replace split glazing promptly, and never rely on a support arm that is bent or loose. With those checks, this simple lid should provide several seasons of useful frost protection without becoming too heavy or complicated to maintain.