What's inside
As an Amazon Associate I earn from qualifying purchases. This post may contain affiliate links at no extra cost to you.
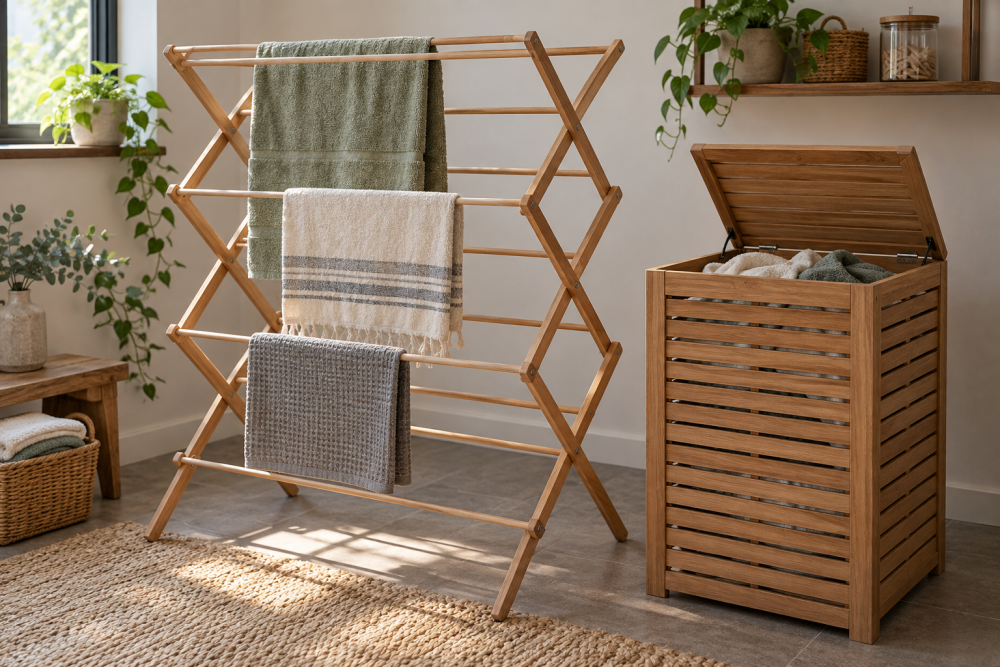
A wooden laundry hamper is a useful intermediate woodworking project: large enough to teach accurate panel assembly, but simple enough to finish in a weekend. This design uses a rectangular plywood body, solid-wood trim, and a lift-off slatted lid. The lid needs no hinges, so clothes can be loaded quickly and the entire hamper stays easy to repair.
Contents
Plan and materials
The finished hamper measures approximately 24 inches high, 18 inches wide, and 14 inches deep. That is large enough for several days of laundry without becoming difficult to move. Adjust the width or depth if your space is tight, but keep the lid overhang between 1/8 and 1/4 inch on each side.
| Material | Recommended choice | Why it matters |
|---|---|---|
| Body panels | 1/2-inch plywood | Stable, strong, and lighter than solid boards |
| Frame and trim | 3/4-inch pine, poplar, or hardwood | Covers plywood edges and stiffens the box |
| Lid slats | 1/2- to 3/4-inch boards | Resist warping better when kept narrow |
| Fasteners | 1 1/4-inch screws and wood glue | Reliable for a painted or finished project |
You will need two side panels at 24 by 14 inches, a front and back at 24 by 17 inches, and a bottom at 17 by 13 inches. These dimensions assume the front and back sit between the sides. Measure your actual plywood thickness before cutting; nominal 1/2-inch plywood may be slightly thinner, which changes the final width.
For the lid, prepare five slats measuring about 17 3/4 inches long by 2 1/2 inches wide. Add two underside cleats, each about 13 inches long. The cleats keep the slats aligned and sit inside the hamper’s opening. A set of woodworking clamps is useful here, but inexpensive bar clamps are adequate for this project.
Cut and prepare the parts
Break down the plywood with a circular saw and a straightedge, or use a table saw if you have one. Support the sheet on rigid foam insulation to prevent tear-out and keep the offcut from pinching the blade. Mark the best-looking face of every panel before cutting.
Sand the plywood faces with 120-grit paper, then 180-grit. Do not round the panel edges yet; square edges make assembly easier. If the plywood has ugly exposed layers, plan to cover them with solid-wood trim or iron-on edge banding. Edge banding is cheaper and faster, while solid trim tolerates bumps better.
Cut the trim pieces to fit the top edges of the four body panels. A simple option is four 3/4-by-1 1/2-inch rails, cut to the outside dimensions of the box. A more durable option is to add vertical corner posts, approximately 3/4 by 3/4 inch, running from the bottom to just below the top rails.
Assemble the hamper box
Dry-fit the front, back, and sides on a flat surface. Check that the diagonals match; if one diagonal is longer, push the box until both measurements are within 1/8 inch. Apply glue to the mating edges, clamp the panels, and drive 1 1/4-inch screws through the sides into the front and back. Predrill near plywood edges to prevent splitting.
Install the bottom from underneath. Apply glue to the lower edges, position the bottom flush with the outside faces, and drive screws every 6 to 8 inches. If the hamper will carry heavy wet towels, add two cleats beneath the bottom rather than relying only on plywood edge joints.
Check the box again for square before the glue sets. A box that is slightly out of square may still accept the lid, but the gap will vary and the lid can rock. Wipe away glue squeeze-out with a damp cloth, then let the assembly cure according to the glue manufacturer’s instructions.
Build the lift-off slatted lid
Lay the five lid slats side by side with a 1/8-inch gap between them. These gaps allow air to circulate and reduce the chance of trapped damp odors. Keep the total lid width about 1/4 inch wider than the hamper opening, not counting any trim that may be added later.
Apply glue to the top face of each underside cleat and position one near each end of the slats. Set the cleats perpendicular to the slats, approximately 1 inch in from the ends. Clamp the assembly flat and drive screws from the underside into each slat. Use screws short enough that they cannot break through the top; for 1/2-inch slats, 3/4-inch screws are generally safer than 1-inch screws.
Test the lid before finishing. The cleats should fit inside the hamper without binding, while the slats rest evenly on the top rails. If the lid sticks, do not force it. Plane or sand the cleat edges gradually, removing only enough material to leave roughly 1/16 inch of clearance per side.
Sand and finish the project
Round exposed corners lightly with 180-grit sandpaper. Progress to 220 grit on visible surfaces, but do not over-sand end grain or trim joints. Fill screw holes with matching wood filler if you want a painted finish. For a natural finish, use plugs or position screws where they will be less noticeable.
Paint is the practical choice for plywood and softwood. Apply a stain-blocking primer first, especially over plywood edges, knots, or filler. Two thin finish coats are better than one heavy coat, which can remain soft and make the lid stick. If you prefer a clear finish, a water-based polyurethane dries quickly and adds less odor than oil-based varnish. A water-based polyurethane is a sensible choice for a bedroom or small laundry room.
Seal the inside as well as the outside. Laundry can carry moisture, and unfinished plywood absorbs spills quickly. Two light coats on the interior are sufficient; sand lightly between coats and allow the finish to cure fully before adding clothes.
Common problems and buying choices
The cheapest materials are acceptable in several places. Construction-grade pine works for the trim if you reject boards with large knots or twists. Cabinet-grade plywood costs more but saves time on sanding and produces cleaner edges. MDF is inexpensive and smooth when painted, but it is a poor choice for the bottom or any area likely to get wet because swollen edges cannot be repaired neatly.
If the hamper will be moved often, install four low-profile furniture feet or small casters. Casters make cleaning easier but raise the center of gravity and can let the hamper roll when the lid is removed. Fixed feet are cheaper and more stable. Do not add a fabric liner until the finish has cured; a liner can trap moisture against the wood.
Finally, lift the lid by its slats rather than adding a large handle that defeats the clean, flat design. If the lid rattles, add thin felt pads to the top rails. If it smells musty, leave the lid off briefly and reduce damp clothing storage time—the slatted design improves airflow, but it cannot replace ventilation.