What's inside
As an Amazon Associate I earn from qualifying purchases. This post may contain affiliate links at no extra cost to you.
A wooden guitar stand is a manageable weekend project if you can cut straight, drill accurately, and smooth edges. The important part is not the shape: it is making sure the guitar rests on wide, stable, padded surfaces that will not scratch its finish or let the instrument tip over.
Contents
Plan the stand around your guitar
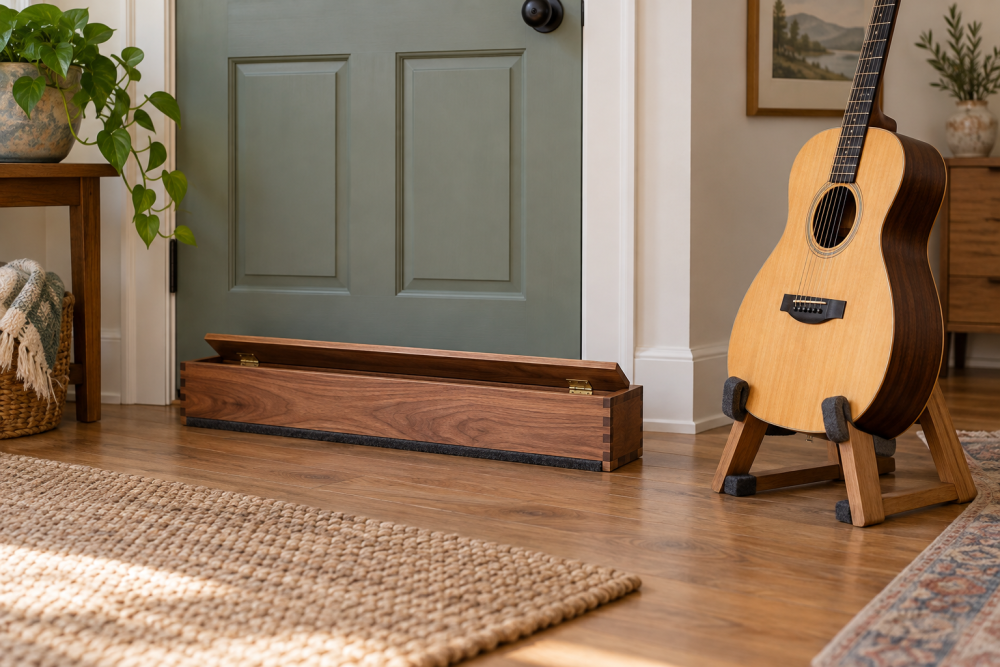
This design uses two padded supports for the body and a padded cradle for the neck. It suits most standard acoustic and electric guitars, but measure your instrument before cutting. In particular, check the body width where it will sit and the neck width at the intended cradle point. Avoid placing pressure on tuning machines, controls, or the strings.
The stand is about 16 inches wide, 18 inches tall, and 14 inches deep. Those dimensions are a starting point, not a guarantee of fit: a large-bodied acoustic may need a wider base, while a heavy guitar needs a broader footprint than a compact electric. Make a quick cardboard mock-up and test the guitar’s balance before building.
Materials and tools
Use straight, dry ¾-inch plywood or solid wood such as poplar. Plywood is dimensionally stable and economical; solid wood gives you a clean appearance but can split if you drive screws close to an edge. Avoid pressure-treated lumber and wood with loose knots near joints.
- ¾-inch plywood or straight stock for the base, uprights, and supports
- Wood glue and 1¼-inch screws
- ½- to 1-inch-thick closed-cell foam or upholstery foam
- Soft, non-dyed fabric or finish-safe instrument padding
- Sandpaper in 120- and 180-grit
- Drill, saw, square, clamps, and a countersink bit
A closed-cell foam sheet resists absorbing spills and holds its shape well, though it may feel firmer than upholstery foam. For the covering, soft, colorfast fabric is a practical choice. Skip rubber, vinyl, and unknown dyed materials where they touch the guitar; some finishes can react with them over time.
Choose padding that suits the finish
| Padding | Advantages | Trade-offs |
|---|---|---|
| Closed-cell foam | Does not readily soak up moisture; keeps its shape | Can be firm and needs a soft covering |
| Upholstery foam | Comfortable and easy to cut | Can compress or tear with use |
| Felt alone | Cheap and simple to wrap around small contact points | Offers little cushioning and may shift |
Whatever you choose, test a scrap against an inconspicuous area of the instrument or ask the manufacturer about finish compatibility. A material that feels soft is not automatically safe for a guitar’s finish. Keep the padding clean; grit trapped in fabric can scratch a glossy surface as the guitar moves.
Cut and assemble the wooden frame
Cut a base about 16 by 14 inches. Cut two side uprights about 18 inches tall, then shape their upper ends into shallow curves or rounded corners. Round the edges where the guitar may be lifted past the stand. A sharp corner can catch clothing or chip wood, while a narrow, pointed cradle can concentrate pressure on the neck.
Attach the uprights to the base, one near each side edge, with glue and screws. Drill pilot holes and countersink them so the screw heads sit flush. Use two screws per upright, spaced vertically by at least 2 inches. Clamp the parts square while the glue sets. If the stand rocks on a flat floor, correct the base now rather than relying on the guitar’s weight to hold it steady.
Fit a lower crosspiece between the uprights, roughly 5 to 7 inches above the base. This supports the guitar body and ties the sides together. Add a second padded support higher up, adjusted so the body leans back slightly instead of balancing upright. A backward lean of about 10 to 15 degrees helps the guitar settle into the stand, but the base must extend far enough to prevent a tip.
Make a broad neck cradle
At the top, connect the uprights with a crossbar or two short arms that form a wide, shallow U. Leave enough room for the neck, but not so much that the instrument can slide sideways. A useful starting point is a cradle opening about 2½ inches wide; check it against your guitar’s neck and headstock shape. Round every edge that could touch the instrument.
Do not make the cradle a narrow notch. If the guitar catches on the notch while being lifted, it may jerk free or scrape the neck. The cradle should support the back of the neck, not press against the strings or tuners. If you expect to use the stand with guitars of noticeably different sizes, make the opening broad and add thicker removable padding rather than forcing a tight fit.
Add and secure the padding
Cut foam strips to cover the lower supports and neck cradle. A thickness of ½ inch is often enough; use closer to 1 inch if the wood edges are broad but still feel hard under pressure. Wrap each strip in fabric, pull it smooth, and fasten it on the underside or back where staples cannot contact the guitar. Do not leave exposed staple points, adhesive blobs, or loose fabric on a contact surface.
For a simpler, replaceable setup, use instrument-stand foam padding cut to fit. It costs more than scrap upholstery foam but can save time and may be easier to replace. Whatever the material, press down firmly at each contact point and make sure it does not slide or bunch when you rub it by hand.
Finish and test the stand
Sand the frame with 120-grit paper, then 180-grit, paying special attention to corners and cut edges. Seal exposed wood with a fully cured finish, keeping finish away from the padded surfaces. Uncured coatings can transfer to the guitar, and strong odors are a sign the finish may need more time. When in doubt, leave the contact areas bare beneath the padding and allow the rest of the stand to cure according to the product label.
Test the stand first with a similar-weight object, not your guitar. Push gently from the front, back, and sides. If it tips, widen or deepen the base; if the guitar shifts, adjust the support spacing or add a small retaining lip covered in padding. Then place the guitar in the stand slowly and check that it rests on the padded supports without touching bare wood. Lift it out and inspect the finish for marks or transferred color. Recheck the padding after the first few weeks: compressed foam, loose fabric, and exposed fasteners are reasons to stop using the stand until repaired.