What's inside
As an Amazon Associate I earn from qualifying purchases. This post may contain affiliate links at no extra cost to you.
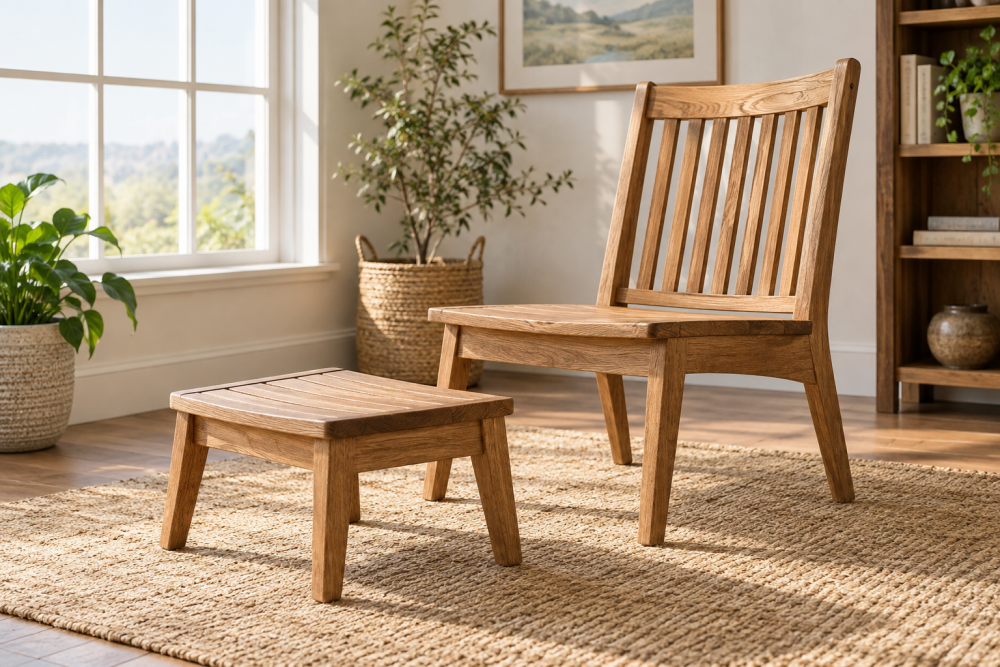
A wooden under-desk footstool is a small project, but the angled sides make it more comfortable and less likely to slide away from your feet. This version is sized for a typical desk: 18 inches wide, 12 inches deep, and about 6 inches high at the back. The top slopes slightly toward the front, so your ankles stay in a more natural position while you work.
The build uses two trapezoid-shaped side panels, a solid top, and two stretchers. It is suitable for a confident beginner with a circular saw or table saw. The angles do not need to be exact to a fraction of a degree; consistent layout and careful sanding matter more.
Contents
Materials and tools
Use 3/4-inch plywood for the sides and 3/4-inch solid wood or furniture-grade plywood for the top. Construction plywood will work, but its voids and rough face require more filling and sanding. A 1 x 6 board can also be ripped to make the top, though plywood is less likely to cup.
- One 24 x 24-inch sheet of 3/4-inch plywood
- One 18 x 12-inch panel for the top
- Two side panels, each 12 inches deep, 6 inches high at the back, and 4 inches high at the front
- Two stretchers, approximately 16 1/2 inches long by 3 inches wide
- 1 1/4-inch wood screws
- Wood glue
- Four rubber feet or a strip of non-slip drawer liner
You will need a tape measure, square, pencil, drill, countersink bit, clamps, and sandpaper. A circular saw and straight-edge guide are enough for the cuts. A table saw makes long, straight edges easier, but it is not necessary.
Choose the size before cutting
The dimensions above suit most office desks, but measure your own clearance first. Leave at least 1 inch between the finished footstool and the desk’s underside or center support. If your chair has a low foot ring or the desk is unusually low, reduce the back height to 5 inches.
| Design choice | Recommended measurement | Trade-off |
|---|---|---|
| Width | 18 inches | Fits both feet without taking much floor space |
| Depth | 12 inches | Enough room to shift foot position |
| Front height | 4 inches | Easy ankle angle, but less support for large feet |
| Back height | 6 inches | Supports the heels without making a steep ramp |
| Top slope | 2 inches over 12 inches | Comfortable for most users; steeper angles feel less stable |
If more than one person will use it, keep the slope moderate. A 1 1/2-inch rise from front to back is more neutral. A 2 1/2-inch rise gives stronger support but can feel like a wedge rather than a footrest.
Cut the parts
Start by cutting the top to 18 by 12 inches. Mark the two side panels on plywood. Each side is a four-sided trapezoid: the bottom is 12 inches, the back edge is 6 inches, the front edge is 4 inches, and the top edge runs between those heights.
Mark both side panels from the same reference corner so they mirror each other. Draw the sloping top edge with a straightedge, then cut just outside the line. Trim to the line with a second pass if necessary. Identical sides are important; even a 1/8-inch difference can make the top rock.
Cut the front and rear stretchers to fit between the sides. For 3/4-inch side panels, an initial length of 16 1/2 inches gives an overall width close to 18 inches. Measure between your actual panels before making the final cuts. The front stretcher should sit about 1 inch above the floor, while the rear stretcher can be 1 inch below the top. These pieces prevent the sides from spreading.
Assemble the frame
Sand the inside faces and all cut edges with 120-grit paper before assembly. It is easier to reach them now. Dry-fit the stretchers between the side panels and check that the assembly sits flat on a level surface.
Apply glue to each stretcher end, clamp the frame, and check it for square by measuring diagonally from corner to corner. Adjust until the two diagonal measurements are within about 1/8 inch. Drill pilot holes through the side panels, then countersink and drive two 1 1/4-inch screws into each stretcher end.
Do not rely on screws alone. Plywood edges split easily, and a dry joint can loosen as the footstool is kicked or dragged. Wipe away squeezed-out glue with a damp cloth, but avoid soaking unfinished plywood.
Fit and attach the sloped top
Set the top on the frame with its lower edge aligned with the front edges of the side panels. The rear edge should overhang evenly, usually about 1/4 inch on each side. Clamp it in place and test it under the desk before fastening it.
Drill pilot holes through the top into the side panels and stretchers. Use six to eight screws total, keeping each hole at least 3/8 inch from a plywood edge. Apply glue to the top edges of the sides and stretchers, then drive the screws until the heads are flush or slightly recessed. If you plan to leave the top natural, plug or fill the countersunk holes.
A common failure is attaching the top with one side reversed. Check that both tall edges are at the back and that the slope runs in the intended direction before applying glue.
Sand, finish, and add grip
Round every exposed corner with a few passes of 120-grit sandpaper. Follow with 180 grit on the top and any surface your feet may touch. Sharp plywood corners are uncomfortable and chip quickly.
For an inexpensive finish, apply two coats of water-based polyurethane, sanding lightly with 220 grit between coats. Paint is fine for the sides, but finish the top first if you want a smooth, durable surface. A water-based polyurethane dries faster and has less odor than oil-based finish, although oil-based products can give wood a warmer color.
Add four rubber feet near the corners, or use a piece of non-slip drawer liner beneath the entire base. Rubber feet are cleaner and more durable on hard floors. Liner is cheaper and works well on carpet, but it can collect dust and shift if the stool is dragged.
Test it before regular use
Place the footstool under the desk and press down with both feet, then push it forward and sideways. It should not rock, twist, or slide sharply. If it rocks, identify the high corner and sand it gradually rather than shortening a leg with a deep cut.
Inspect the screw heads after the first week. If one is lifting, remove it, inject glue into the pilot hole, and replace it with a slightly longer screw only if the material behind it is thick enough. Keep the footstool low and broad; adding extra height without increasing the base footprint makes it easier to tip.