What's inside
As an Amazon Associate I earn from qualifying purchases. This post may contain affiliate links at no extra cost to you.
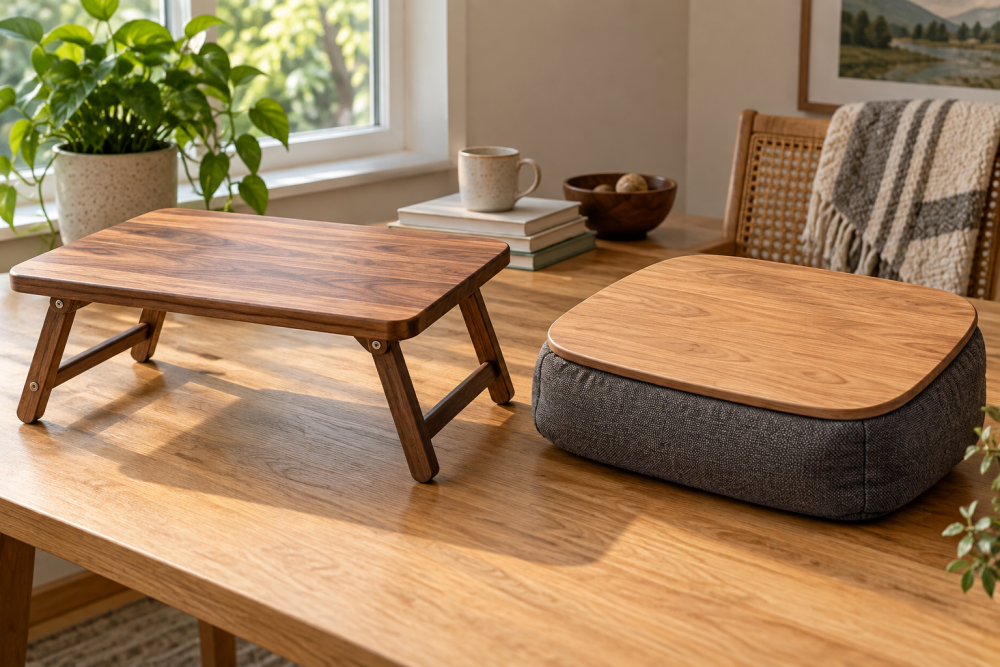
A wooden lap desk is a useful weekend project because it needs only a few parts: a stiff top, a soft underside, and one small detail that keeps a pencil from rolling away. This version measures 24 inches wide by 14 inches deep, large enough for a laptop, notebook, or tablet. The padded underside raises the desk slightly above your legs and makes it more comfortable to use on a sofa or in bed.
The build is suitable for a confident beginner. Straight cuts and careful sanding matter more than advanced joinery. Use hardwood plywood for the top if you want the most stable result, or choose a solid board if you prefer a traditional furniture look.
Contents
Materials and tools
You will need a 24-by-14-inch top, 1/2-inch thick or thicker. A 3/4-inch hardwood plywood panel is the least troublesome choice because it resists warping. A clear pine board can cost less, but inspect it carefully for twists, knots, and cupping. You will also need 1/2-inch upholstery foam, a piece of fabric at least 27 by 17 inches, spray adhesive or contact adhesive, and either staples or upholstery tacks.
For the pencil groove, use a router with a 3/8-inch or 1/2-inch straight bit, or a table saw with a fine-tooth blade. A router gives a cleaner-looking groove and makes it easier to stop the cut before the ends. Also gather a measuring tape, square, pencil, clamps, drill, 1/8-inch drill bit, sandpaper, and finish. A straight router bit set is useful if you do not already have a suitable bit.
| Top material | Advantages | Drawbacks | Best for |
|---|---|---|---|
| 3/4-inch hardwood plywood | Stable, flat, predictable | Edges need banding or careful finishing | First builds and painted desks |
| 3/4-inch solid pine | Inexpensive and easy to shape | More likely to dent, warp, or contain knots | Low-cost rustic projects |
| 3/4-inch hardwood board | Best appearance and edge detail | Costs more and can move with humidity | Furniture-quality builds |
Cut and prepare the top
Mark a 24-by-14-inch rectangle and cut it with a circular saw, table saw, or track saw. Support the panel fully so the offcut does not tear the last fibers or pinch the blade. Check both diagonals; if they are equal, the top is square. A difference of more than 1/8 inch will be noticeable when you lay a ruler or laptop on it.
Ease every exposed edge with 120-grit sandpaper or a small roundover bit. Do not leave sharp corners on a lap desk. Round the four corners to roughly a 1-inch radius using a cup, small can, or compass as a template. Cut just outside the line, then sand to the line. Progress through 120 and 180 grit. Sanding much finer than 180 grit before finishing can make some water-based finishes harder to apply evenly.
Cut the pencil groove
Place the groove about 2 inches from the front edge, centered from left to right. A 3/8-inch-wide groove is suitable for a standard pencil; make it 1/2 inch wide if you want it to hold a thicker mechanical pencil or stylus. Cut it 1/8 to 3/16 inch deep. Deeper is not automatically better: a deep groove collects crumbs and weakens a thin top near the edge.
For a stopped router cut, clamp a straightedge parallel to the front edge and set the bit to the correct depth with the router unplugged. Make a shallow test cut in scrap first. Start and stop with the router base firmly against the guide, and keep the cut at least 2 inches from each side. If you use a table saw, make several passes rather than forcing a wide blade cut. Sand the groove by folding 120-grit paper over a thin scrap block.
Attach the padded underside
Cut the foam to 22 by 12 inches, leaving a 1-inch wood border around it. This border keeps the fabric away from the top edges and gives the desk a stable perimeter. A 1/2-inch medium-density upholstery foam is a good compromise. Thicker foam feels softer but can make the desk rock on your legs. A 1/2-inch upholstery foam sheet works well for this size.
Cut the fabric with 1-1/2 inches of extra material on every side. Lay the fabric face down, center the foam on it, and place the wood top underside down on the foam. Spray adhesive is optional; it helps prevent shifting but can make repositioning difficult. Start at the center of one side and staple toward the corners, keeping the fabric snug but not stretched tight. Repeat on the opposite side, then the remaining sides.
Fold the fabric neatly at each corner and keep staples at least 1/2 inch from the edge. Trim excess fabric so it cannot show from the side. Avoid putting staples where they could protrude through the top. If your top is only 1/2 inch thick, use 1/4-inch staples or upholstery tacks instead. A manual upholstery stapler with short staples is sufficient; an electric stapler is faster but not necessary for one desk.
Finish the wood
Remove dust with a vacuum and a slightly damp cloth. For a painted desk, apply a sanding sealer or primer first, especially on plywood edges. For a natural finish, use two or three thin coats of wipe-on polyurethane, water-based polyurethane, or hardwax oil. Sand lightly with 220-grit paper between cured coats when the label calls for it.
Keep finish out of the pencil groove by brushing it lightly and wiping away puddles. Test the finish on an offcut: pine can turn blotchy under stain, while plywood edge layers may absorb color differently from the face. The cheaper option is clear polyurethane over well-sanded pine; it protects the desk adequately even if the grain is less refined.
Test and troubleshoot
Before using the desk, place it on your lap and check that the padded underside sits flat. If it rocks, the foam may be uneven or a staple may be pushing against the top. Remove the offending staple and replace it with a shorter one. Put a laptop and notebook on the surface and press near each corner. A slight flex is normal, but a 1/2-inch top that bends noticeably should be replaced with 3/4-inch material.
Finally, run a pencil through the groove and inspect every edge by hand. If you feel a sharp corner, sand it before applying another finish coat. Keep drinks in a sealed container: the padding protects your legs, not the electronics or the wood from spills.