What's inside
As an Amazon Associate I earn from qualifying purchases. This post may contain affiliate links at no extra cost to you.
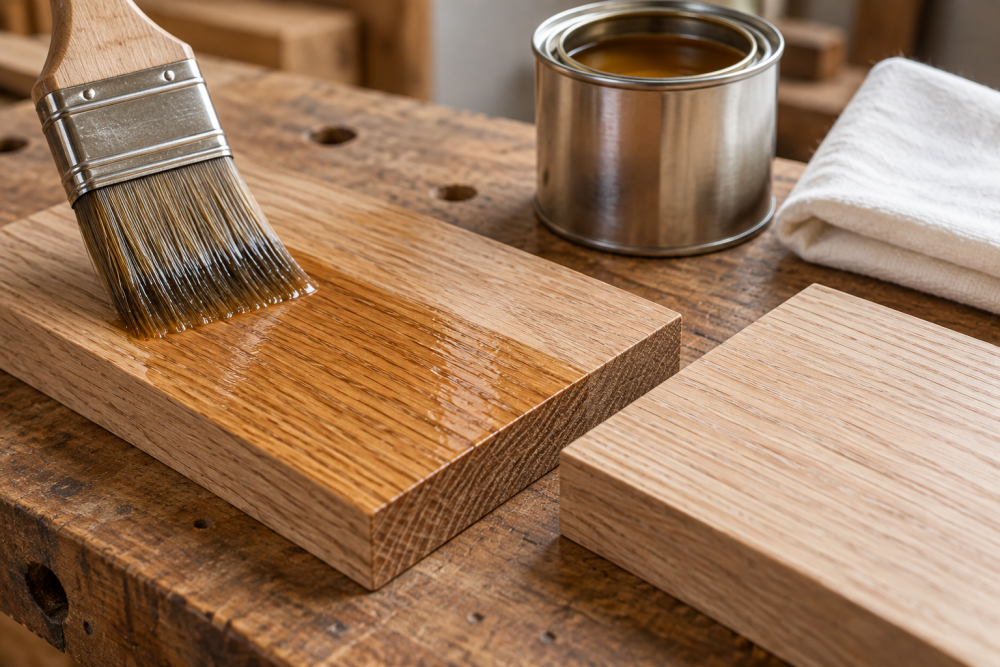
Oil and water-based finishes both protect indoor pine, but they change its color and feel in different ways. Oil-based finishes usually add amber warmth and give you more working time. Water-based finishes dry faster and keep pine closer to its fresh-sanded color. Neither hides knots, dents, or blotchy grain. Choose based on the look you want, how quickly you need to use the piece, and whether you can ventilate the room while it cures.
As an Amazon Associate we earn from qualifying purchases at no extra cost to you.


Contents
The short answer
For a shelf, bench, or side table where a warmer, slightly richer color is welcome, use an oil-based polyurethane. For a pale, natural look—or a project you need to recoat and handle quickly—use water-based polyurethane. If the project is decorative and gets little wear, a less expensive oil-based finish can be perfectly adequate. For a desk or tabletop, prioritize a finish labeled for floors or heavy-use surfaces, follow its full cure time, and use coasters or placemats rather than expecting any finish to prevent every mark.
Buy a clear finish rather than a tinted stain if you like the pine’s natural color. Stain is a separate color step and can make pine look uneven unless you prepare the surface for it.
Oil-based vs. water-based at a glance
| Factor | Oil-based polyurethane | Water-based polyurethane |
|---|---|---|
| Appearance on pine | Adds an amber or honey tone; deepens with age | Usually stays clearer and paler |
| Typical recoat wait | About 8–12 hours; check the can | Often 2–4 hours; check the can |
| Application feel | Longer open time, easier to brush out; strong odor | Dries quickly, so lap marks can form if you work slowly |
| Cleanup | Mineral spirits or the solvent listed by the maker | Soap and water while wet |
| Best fit | Warm color, longer working time, fewer coats in some products | Light color, low odor, faster recoating |
Dry time is not cure time. A finish may be dry to touch in hours but remain soft enough to dent for days. Many products need about a week or longer before normal use; some require more. Read the label for both recoat and cure times, and give a tabletop extra time before putting heavy objects on it.
Choose by the project and the room
For a bedroom bookcase or a decorative box, either finish will work. Choose based on appearance and convenience, not on claims that one is universally tougher. A small piece with a few light-use shelves does not need the fastest or most expensive coating.
For a desk, dining table, or frequently handled bench, polyurethane is a practical clear topcoat. Oil-based products often build a durable film with fewer coats, while water-based products can reach a similar protective role when applied in the specified number of coats. A typical plan is three coats, with a light scuff-sand between coats if the label calls for it. Do not assume a thick first coat will replace later coats: heavy coats can sag, wrinkle, or stay tacky.
Oil-based finishes have more odor and require good ventilation. Avoid using them near flames, pilot lights, or heaters, and follow the label’s fire-safety instructions. Water-based products are usually more comfortable to use indoors, but still ventilate the space and avoid breathing sanding dust or finish mist.
If you want the pine to stay pale, start with a water-based clear polyurethane. If you want a warmer tone and a slower, more forgiving brushing pace, compare oil-based clear polyurethane. Choose a product whose label matches the project’s use and your application method.
Prepare pine before finishing
Pine is soft, so sanding scratches and dents show easily under a clear coat. Sand evenly with the grain, typically moving from 120 grit to 150 or 180 grit. Going much finer can burnish the surface and reduce absorption if you plan to stain; for a clear film finish, follow the product’s preparation instructions. Vacuum the dust, then wipe with a clean cloth that will not leave lint. Avoid pressing hard or sanding through thin veneer if the project uses plywood.
Inspect knots for pitch, especially on boards that were not kiln-dried or have spent time in a warm room. Finish cannot reliably seal actively oozing sap; let the board stabilize or replace it. On ordinary sound knots, a clear finish may make them darker and more noticeable, particularly with oil-based products.
Pine can look blotchy when stained because its soft and dense areas absorb color differently. If you want a stained look, test the complete schedule—including conditioner or a thin sealer—on an offcut from the same board. A clear finish alone usually avoids that particular problem, though it will still emphasize natural color variation.
Apply the finish without common problems
Work in a clean room between the temperature and humidity limits on the label. Stir polyurethane gently; shaking can leave bubbles. Use a good synthetic-bristle brush for water-based finish or the applicator recommended for the product. Lay on a thin, even coat, keeping a wet edge. With fast-drying water-based finish, complete one section at a time rather than going back over areas that have started to tack up.
After the first coat, raised grain may make the surface feel rough. Let it dry fully, then sand lightly with 220-grit paper or a fine finishing pad, just enough to smooth the fibers. Remove the dust and apply the next coat. Do not sand the final coat unless you plan to polish it; sanding through the film can leave dull patches.
Runs usually come from applying too much finish to edges or vertical surfaces. Watch those spots for several minutes and brush out a sag while it is still wet. If a coat dries with dust nibs, let it harden before smoothing them. Applying another coat over a tacky layer can cause wrinkles, drag marks, or a finish that stays soft.
How much to buy and how to handle leftovers
Check the can’s stated coverage and calculate the project’s surface area, including the underside if you plan to coat it. A quart is commonly enough for several coats on a modest shelf or small table, but actual coverage varies with the wood and application. Buying a gallon for one small project is rarely necessary unless the price difference or future work justifies it.
Dispose of oil-soaked rags carefully. They can heat up and ignite if left crumpled. Follow the finish maker’s instructions—typically laying rags flat outdoors to dry safely or storing them submerged in water in a sealed metal container until disposal. Keep all finishes away from children and pets, and do not use a coating on food-contact surfaces unless its manufacturer specifically says it is suitable for that use after curing.