What's inside
As an Amazon Associate I earn from qualifying purchases. This post may contain affiliate links at no extra cost to you.
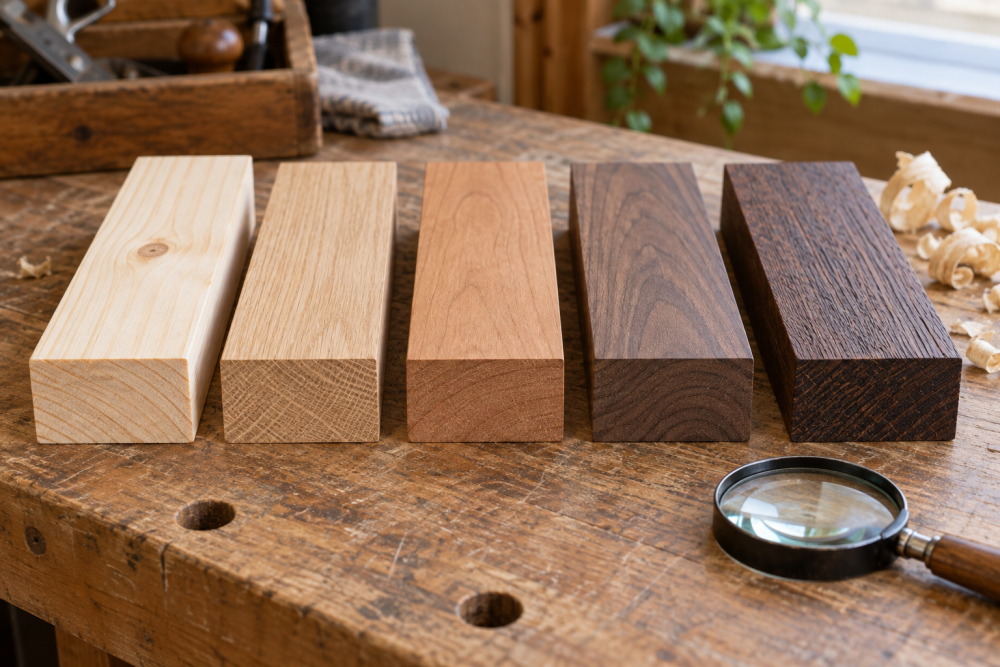
Seasonal wood movement is the reason a drawer that slid perfectly in August sticks solid in January, or a glued-up panel that looked flat in the shop cracks by March. Wood is hygroscopic. It swells as it picks up moisture and shrinks as it loses it, and indoor relative humidity swings hard between summer and winter. If you build without accounting for that swing, the wood will account for it for you.
As an Amazon Associate we earn from qualifying purchases at no extra cost to you.



Contents
Why Wood Moves and When It Matters Most
Wood moves mostly across the grain, very little along the length. Tangential movement (parallel to the growth rings) is roughly double radial movement, which is why flatsawn boards cup and plain-sawn panels grow wider in summer. The trigger is equilibrium moisture content (EMC). At 70F and 35% relative humidity, wood stabilizes around 7% moisture content. At 70F and 65% RH, that same wood stabilizes around 12%. A typical heated home in the northern US drops to 25-40% RH in winter and rises to 55-70% RH in summer without whole-house humidity control. That 5-point swing in moisture content is enough to cause real problems.
A practical rule of thumb: expect about 1% dimensional change across the grain for every 4% change in moisture content for most domestic hardwoods. That sounds small until you multiply it. A 12-inch wide flatsawn red oak panel moving from 7% to 12% MC can swell close to 1/4 inch. White oak, hard maple, and hickory move a bit more; quartersawn stock, soft maple, and mahogany move less. The failure modes are consistent: panels split when trapped in a rigid frame, tabletops crack at breadboard ends pinned too tightly, doors bind in their frames in summer and show gaps in winter, and mitered frames open at the corners.
Winter vs. Summer in the Shop and the Home
The season you build in affects the wood you are starting with and the conditions the piece will live in. Winter air is dry indoors, summer air is humid. Lumber stored in an unheated garage or shed will track outdoor conditions, while finished furniture lives indoors. The mismatch is where trouble starts.
| Factor | Winter Build (Heated Shop/Home) | Summer Build (Humid Shop/Home) |
|---|---|---|
| Indoor Relative Humidity | 25-40% RH, EMC 6-8% | 55-70% RH, EMC 10-13% |
| Wood Behavior | Wood shrinking, gaps opening | Wood swelling, joints tightening |
| Biggest Risk If You Ignore Movement | Building tight in dry conditions, then piece swells and binds, cups, or bows in summer | Building to summer width, then piece shrinks, cracks, and joinery opens in winter |
| Glue-Up Clues | Panels feel stable, but may be at their smallest dimension | Panels at max width; center joints under future tension when they shrink |
| Finish Curing | Low humidity helps curing but can cause rapid surface drying and uneven moisture | High humidity slows curing, extends dry times, risks blushing in lacquer |
This is also why acclimation matters more than the calendar. A board delivered in January from a damp warehouse can be at 12% MC while your shop is at 7% EMC. If you mill it straight away, it will shrink after you have cut your joinery. Let it sit stickered in the shop for a week or two and check it with a pinless wood moisture meter before you dimension it. For furniture, aim to build at 7-9% MC if the piece will live in a climate-controlled house. If the home is not humidity-controlled, 8-10% is a safer middle ground.
How Much Movement to Plan For: Real Numbers
Use published shrinkage numbers, but translate them to your project size. Tangential shrinkage from green to oven-dry for red oak is about 8.6%, for hard maple about 9.5%, for black walnut about 7.8%, for poplar about 8.2%. Quartersawn boards will move roughly half that across their width. For estimating seasonal change, not total shrinkage, use this shortcut: dimensional change = initial width x coefficient x change in MC. Coefficients are published by the Forest Products Lab, but for quick planning, flatsawn red oak moves about 0.00369 per 1% MC, hard maple 0.00353, walnut 0.00274.
Example: a 30-inch wide flatsawn red oak tabletop built in winter at 7% MC that will see 12% MC in summer. 30 x 0.00369 x 5 = 0.55 inches of total seasonal swell. That is more than 1/2 inch you have to accommodate. A quartersawn white oak top the same size moves about 0.27 inches. If you screw that top down solid with no allowance, something will give, usually the top itself or the screw holes in the aprons.
Building Methods That Actually Handle Movement
You do not need complex joinery to handle movement, but you do need to avoid trapping cross-grain wood. Solid wood panels floating in a frame are the classic solution. Size the panel 1/4 inch narrower than the groove depth allows for a 16-18 inch wide panel, deeper for wider panels. Do not glue the panel. Use space balls or small cork shims to keep it centered while letting it move.
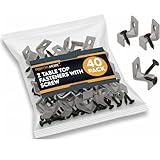
For tabletops, use elongated screw holes or metal figure-8 fasteners or Z-clips that let the top expand and contract over the base. One row of screws can be fixed at the center to keep the top centered, all other holes slotted across the grain. For breadboard ends, only pin or glue the center 3-4 inches. The outer tenons should have elongated holes with pan-head screws or draw-bore pins in slots.
Frame-and-panel doors need the same logic. Glue only the frame joints, not the panel. If you must glue up a wide solid slab, like a workbench top, orient the grain consistently and expect cupping if one face finishes differently than the other. Finishing all sides equally slows moisture exchange and reduces warp. It does not stop movement, it just buys time and evens the rate.
When you need dead-stable wide surfaces without this fuss, the cheaper option is often the better one. High-quality plywood or MDF with hardwood edge-banding does not move seasonally in any meaningful way and is perfectly fine for cabinet carcasses, painted built-ins, and shop furniture. Save solid wood for doors, face frames, and tops where you can detail for movement.
Shop Strategy: What to Do Differently by Season
In winter, your shop RH is low. Mill your lumber, then let it rest overnight before final dimensioning, because case-hardened or dry-surfaced boards can release tension after the first cuts. Leave extra 1/32 inch on tenon thickness and re-fit in the morning. Pre-finish panels before assembly when possible so seasonal gaps do not show raw wood. And keep an indoor hygrometer with humidity meter at bench height. If it reads 30% in January, do not cut that tabletop to a friction fit in its frame. Leave room.
In summer, high humidity means slower glue cure and a higher chance of mildew on lumber stacks. Use a dehumidifier if you can hold the shop near 45-50% RH, which is close to a typical year-round indoor average. Dry lumber slowly. Do not bring 12% MC boards into an air-conditioned house and build immediately. Give them a week inside. When you do glue-ups, a set of parallel clamps for panel glue up helps keep wide panels flat while the wood is at its most swollen and prone to creeping.
For storage, sticker lumber with 3/4 inch spacers and weight the top. Cover the top but leave the sides open for air. Do not store hardwood directly on concrete. Even in a dry winter garage, concrete wicks moisture into the bottom boards.
Common Mistakes That Cause Cracks and Stuck Drawers
The most common failure is screwing a solid wood top down tight with no slots, then the top splits the following winter. Next is gluing a solid panel into a groove or mitered frame. Third is building drawers to exact summer dimensions with no side clearance. Give inset drawers at least 1/16 inch total side clearance for a 16-inch wide drawer in a stable species, 3/32 inch for oak or hickory in a house with wide RH swings. Use drawer slides with side adjustment if you want tighter reveals.
Another mistake is finishing only the show face before assembly. The unfinished back picks up moisture faster in summer and the panel cups toward the finished side. Seal end grain well. End grain exchanges moisture 10 to 12 times faster than face grain. A quick coat of shellac or thinned PVA on ends during acclimation helps prevent end checks.
If you already have a piece that is binding in summer, do not plane it flush in August. You will create a gap in January. Instead, relieve non-visible areas, ease drawer runners with paste wax, and wait for the dry season to do final fitting. If you have a winter crack, do not flood it with epoxy in January when it is at its widest. Wait until the humid season when it closes somewhat, then assess whether a flexible repair or a proper panel replacement is needed.
What to Measure Before You Cut
You do not need expensive climate control to build stable furniture, but you do need numbers. Check incoming lumber with a moisture meter, check the shop and house with a hygrometer, and build to the middle of the expected EMC range, not to the day you happen to be in the shop. When in doubt, assume more movement for flatsawn oak and ash, less for quartersawn or walnut and cherry. Detail your joinery to let wood do what it is going to do anyway, and you will spend far less time fixing seasonal problems later.