What's inside
As an Amazon Associate I earn from qualifying purchases. This post may contain affiliate links at no extra cost to you.
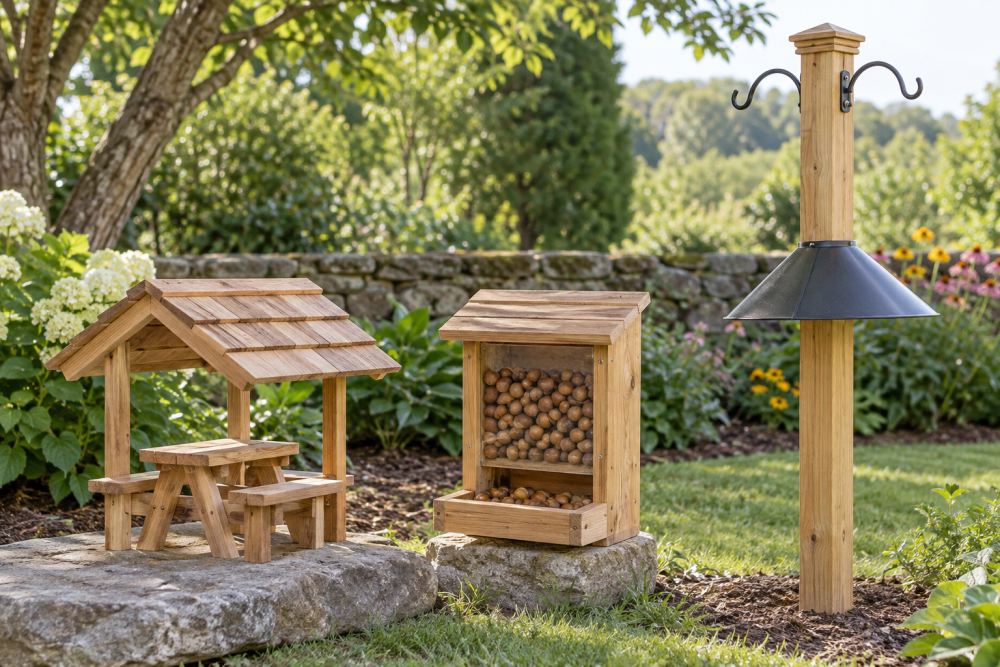
A small roofed picnic table is a forgiving first outdoor woodworking project: the parts are short, the joints can be simple, and a slightly imperfect cut won’t stop a squirrel from using it. This plan makes a table about 12 inches long, 8 inches wide, and 12 inches tall to the roof peak. Adjust the size to suit your yard, but keep the platform broad enough for a squirrel to sit and turn around.
Contents
Materials and tools
Use untreated cedar, redwood, or another rot-resistant, untreated wood. Cedar is easy to cut and reasonably durable; inexpensive untreated pine works too if you accept that it may need replacing sooner. Avoid pressure-treated lumber, painted scraps, and wood with unknown chemical coatings where wildlife will feed.
You’ll need one 1-by-6-inch board at least 6 feet long for the platform, roof, and braces, plus a 2-by-2-inch piece about 2 feet long for the legs and roof supports. Actual board sizes are smaller than their nominal dimensions: a 1-by-6 is usually about ¾ by 5½ inches. Gather 1¼-inch exterior screws, a drill and driver, a saw, a tape measure, a square, and sandpaper. A basic cordless drill and driver is enough; you don’t need a table saw for this build.
| Material choice | Cost and ease | Trade-off |
|---|---|---|
| Cedar or redwood | Costs more; easy to work | Better resistance to weather without a coating |
| Untreated pine | Usually cheapest and widely available | Can check, soften, or rot sooner outdoors |
| Pressure-treated wood | Durable and readily available | Not the right choice for a feeding surface |
Cut list and layout
Cut the following pieces: one platform, 12 by 8 inches; two roof panels, 12 by 5½ inches; four legs, 10 inches each; two short crosspieces, 6½ inches each; and two roof supports, about 8 inches each. The platform and roof panels can come from 1-by-6 stock. Make the legs and supports from 2-by-2 stock.
For the roof supports, cut one end of each piece at roughly 45 degrees so the pair can meet near the peak. Exact angles aren’t critical. Hold them together over the platform and mark the fit before fastening. If you don’t have a miter saw, a handsaw and a marked square line will do. Check cuts with a combination square rather than trusting the edge of a rough board.
Build the platform
Set the four legs near the platform’s corners, with their top ends flush with the underside of the board. Keep each leg inset about ¾ inch from the edges so screws won’t split the platform edge. Predrill two holes through the platform into each leg, then drive 1¼-inch exterior screws. Predrilling matters here: screws driven close to the end of a narrow leg can split it, especially in dry cedar.
Fasten one 6½-inch crosspiece between the front legs and the other between the rear legs, about 2 inches below the platform. These braces reduce side-to-side wobble. Check that the table sits flat before tightening everything. If one leg is short, trim the other three to match; don’t try to correct a badly uneven base by driving screws harder.
Add the roof
Center the two roof supports on the platform, one near each end, and attach them upright with exterior screws. Their angled ends should meet above the middle of the table. Predrill the support ends and use two screws at each base if there is enough wood to keep the screws separated. Set the roof panels across the supports with their long edges meeting at the peak. Let the roof overhang the platform by roughly 1½ inches at the sides and about 1 inch at each end.
Drive screws through each panel into both supports, using at least two fasteners per support. A small gap at the roof peak is acceptable, but large gaps let rain through. If the panels don’t meet cleanly, add a narrow strip of wood over the seam rather than forcing them together and splitting an edge. Sand sharp corners and splinters, especially around the platform and roof edge.
Mounting and weather
Mount the table to a sturdy post or tree-side bracket where squirrels can reach it from a branch, fence, or nearby surface. A height of about 4 to 6 feet keeps it away from many ground-level disturbances while remaining practical to refill. Use exterior-rated mounting hardware, and make sure the table doesn’t wobble when pressed by hand. Don’t fasten it where people need to climb or where falling food will create a hazard.
Leave the wood unfinished if you want to avoid coatings near food. If you choose a finish, use a product labeled for exterior use and follow its cure time exactly before putting food on the table. Roofs reduce direct rain, but they don’t keep the platform dry in wind-driven weather. Check the screws and wood every few months; looseness, soft spots, and splintering are signs to repair or replace parts.
Common problems and fixes
The most frequent beginner mistake is using screws that are too long. A screw that pokes through a ¾-inch board can injure an animal and snag hands during cleaning, so inspect the underside and choose fasteners that stop inside the joined piece. Another common problem is a roof that leans: mark its centerline, clamp or hold both supports in place, and compare their height before adding the panels.
If the table rocks, check the mounting point first, then check the leg lengths on a level surface. A roof that catches wind can also loosen a lightly attached table, so use a solid post or bracket rather than relying on a single small screw into a tree. Keep the structure simple: extra trim and decorative cutouts add work without making it more useful.