Key takeaways
- Organisation systems fail when they are harder than dropping the tool on the bench. Here is what survives real use.
What's inside
As an Amazon Associate I earn from qualifying purchases. This post may contain affiliate links at no extra cost to you.
Every shop organisation system works for two weeks. The ones that last are the ones where putting a tool away takes less effort than leaving it out.
That is the whole test, and it is worth being blunt about it before you spend money on storage. Friction is measured in steps and in hands: how far you walk, how many things you move out of the way, and whether you can hang the tool one-handed while the other hand is still holding a workpiece. A drawer you have to unload to close is friction. A hook twenty feet from the bench is friction. Every idea below gets judged on that, not on how it photographs.
As an Amazon Associate we earn from qualifying purchases at no extra cost to you. Product prices and availability are accurate as of the date shown and are subject to change.


The second thing worth saying up front is that shops are not static. You buy tools, you sell tools, you take on a run of cabinet work and suddenly need six feet of clamp storage you did not need last year. So the systems that survive are the ones you can change cheaply. That is why the cleat wall keeps beating better-looking alternatives.
French cleats: the system that adapts
A French cleat wall is a series of horizontal strips ripped at 45 degrees, screwed to the wall, with matching cleats on the back of every holder. Holders hang, lift off, and move anywhere along the wall in seconds.
Why it wins: your shop changes. You buy tools, you sell tools, your workflow shifts. A pegboard commits you; a cleat wall lets you rearrange in an afternoon using scraps.
The mechanics are worth understanding, because they explain the failure modes. Gravity pulls the holder down, the mating bevels pull it back into the wall, and the load ends up in the screws as shear rather than pull-out. That is why a cleat wall carries cabinets and pegboard does not. It also means the bevel direction is not optional: the wall cleat’s point faces up and out, the holder’s cleat faces down and in. Get one holder backwards and it will sit proud of the wall and fall off the first time you bump it.
The other thing the geometry tells you is that tall holders want two cleats, not one. A shallow tool rack is happy hanging from a single strip. A cabinet, a clamp rail, or anything that sticks out more than a few inches wants a second cleat lower down, or at least a spacer block the same thickness as the cleat so the bottom of the holder bears against the wall instead of levering off it.
Build it from offcuts
Rip 3/4″ plywood into 4-inch strips at 45 degrees on a table saw or with a guided circular saw. Screw them to studs, spaced about 8–10 inches apart vertically. Every holder you build from then on gets a matching angled cleat on its back.
A few details make the difference between a wall you trust and one you eye nervously. Use void-free plywood if you can get it, because a bevel cut through a void leaves a knife edge that crushes under load. Hit studs, two screws per stud, with screws long enough to bite well past the drywall into solid framing. Cut a scrap spacer to your chosen vertical spacing and use it as a story stick between strips instead of measuring each one, which keeps every cleat parallel and means holders drop on cleanly anywhere on the wall.
Ripping bevels is the one step where people get careless. The offcut side of a 45-degree rip is a thin wedge that likes to climb the blade, so use a splitter or riving knife, keep the fence on the correct side, and rip long strips before cutting them to length rather than after. If your table saw fence will not tilt-clear the blade guard comfortably, a track saw or a circular saw on a straightedge is genuinely the better tool here.
Standardise the cleat width and angle across the whole shop from the start. Mixed angles are the quiet way to end up with holders that only fit one wall, and the entire point of the system is that everything fits everywhere.
Cleat hardware and screws
Mostly plywood and screws. Ready-made cleat hardware exists if you want to skip the ripping.
How to weigh the options
There are three price bands and they suit different people:
- Plywood and screws. The cheapest and the most flexible. Suits anyone with a table saw or track saw and a supply of sheet offcuts. Skip it only if you genuinely cannot rip bevels safely.
- Interlocking cleat hardware and Z-clips. Metal or moulded strips that do the same job without ripping. Worth it for renters, apartment shops, and anyone hanging a handful of cabinets rather than building out a full wall. The tradeoff is cost per foot and less depth for screws.
- Proprietary track and rail systems. Clean, adjustable, and expensive per foot. They make sense where the wall is already finished and you want it to stay that way, or where you need to hang heavy items at precise heights. In a working shop, the money is usually better spent on clamps.
The criteria that matter, in order: does it hold weight in shear, can you make a holder for it out of scrap in ten minutes, and can you move a holder without tools. A system that fails the third test will slowly stop being used.
Clamp storage: the perpetual problem
Clamps are heavy, awkward and multiply. The two solutions that work: a mobile clamp rack on casters that rolls to the glue-up, or cleat-mounted rails on the wall right beside the assembly bench. Storing clamps far from where you glue guarantees they end up on the floor.
Match the rail to the clamp. F-style and bar clamps hang from a slot or a pair of rails that catch the fixed jaw. Parallel clamps are heavy and want a wide, well-supported rail rather than individual hooks. Pipe clamps are best stored with the heads on and the bars supported at two points, because a long pipe hanging off one hook bends the rack, not the pipe. Spring clamps live happily clipped to a length of scrap dowel or the edge of a shelf.
If you go mobile, judge the rack on the boring things: locking casters big enough to roll over a cord or a sawdust ridge, a low centre of gravity with the heaviest clamps at the bottom, and a footprint narrow enough to get down the aisle you actually have. A clamp cart that tips when you pull a parallel clamp off the top rail is worse than a wall rail. Mobile suits shops where glue-ups happen on different surfaces; wall rails suit anyone with one fixed assembly bench and limited floor space.
Clamp racks and storage
Mobile is better than wall-mounted if your glue-ups happen in different places.
Lumber and sheet goods
Vertical storage for sheet goods against a wall; horizontal racks for boards, ideally off the floor and away from exterior walls where moisture collects. Sticker stacks with spacers if you are storing rough lumber to acclimatise.
Lumber racks are the one place not to improvise from offcuts. Arms need to land on studs, and the span between uprights is what determines whether boards sag: closer uprights carry more with less deflection, and a long unsupported span will put a set in your stock over a season. Whatever brackets you buy or build, work out the load per arm honestly and then add margin, because a lumber rack failure lands on whatever is below it.
Sheet goods want to stand close to vertical, leaning only slightly, resting on battens rather than bare concrete so the bottom edge does not wick moisture. If you handle full sheets alone, a low cart with casters that doubles as a cutting support is worth more than a fixed rack. And if your shop is small, the honest answer is to stop storing material at all: buy for the project, break sheets down at the store or in the driveway, and give the wall to tools instead.
The offcut problem
Every woodworker keeps too many offcuts and cannot find the one they need. The system that works: three bins by size — small (under 12″), medium, and long — and a hard rule that anything below a threshold goes straight in the burn pile or the bin. Sorting by species sounds smart and never survives contact with a busy shop.
Set the threshold by what you build. Someone making boxes and cutting boards keeps shorter pieces than someone building furniture, but everyone needs a number they will not argue with at the end of a long day. Put the bins on casters, park them under the bench or the outfeed table, and empty them on a schedule rather than when they overflow. The bins are not the system; the discard rule is.
Small tools and consumables
Consumables are where shops quietly lose the most time, because a missing drill bit or the wrong grit stops work in a way that a messy wall never does. The fix is always the same: one visible home per item, sized so returning it is a single motion.
- ✔ Drill bits in an index, not a drawer
- ✔ Sandpaper sorted by grit in labelled slots — you will not sort by grit later
- ✔ Router bits in a drilled block, not the plastic cases
- ✔ Screws in stackable organisers with the size on the front
- ✔ Blades stored flat and protected, not stacked loose
When buying organisers, the deciding features are clear fronts or clear lids so you can identify contents without opening anything, dividers that actually lock into the case instead of sliding under load, latches that survive being carried, and compatibility with the ones you already own so the stack grows instead of fragmenting. Cheap bins fail at the dividers and the latches; mid-range cases fix both; the expensive modular systems mainly buy you the ability to clip a box onto a cart or a track wall, which is only worth paying for if you work off-site or move tools around the shop constantly.
Label the outside, not the inside, and label by what you look for. “8 x 1 1/4 screws” beats “screws”. A grit number on the front of a sandpaper slot beats a neat stack of unmarked sheets every time.
Small parts organisers
Clear-front stackable bins with labels. Boring, and the single biggest time saver in a busy shop.
Mistakes that quietly ruin a good system
- Building the wall before knowing the workflow. Work in the space for a few weeks, notice where you keep setting things down, and put storage there.
- Storage that needs two hands. If you cannot hang it while holding something else, you will put it on the bench instead.
- Closed doors and deep drawers everywhere. Fine for consumables, poor for the ten tools you touch hourly. Deep drawers turn into archaeology.
- One giant holder for everything. Small, single-purpose holders are the whole advantage of a cleat wall; a monolithic cabinet throws that away.
- Filling the wall to the last inch. Leave open cleat space. New tools arrive, and a wall with no slack forces you to demolish something to add anything.
- Ignoring dust. Open racks over a sander or a lathe collect grit that ends up on the next finished surface. Put a lid or a door on anything near a dust source.
Who each approach suits
A shared garage that still parks a car wants everything on the walls and on wheels, cleats high enough to clear a bumper, and nothing permanent on the floor. A dedicated basement or outbuilding shop can afford fixed benches and a full cleat wall, and should spend its effort on getting tools within arm’s reach of the operation that uses them. A rented space wants freestanding cleat panels — a plywood sheet with cleats screwed to it, leaned or bolted to a frame — so the whole wall moves out with you. And a shop that doubles as household storage should draw a hard line: shop walls for shop things, or the Christmas boxes will win.
The rule that makes it stick
Store tools where you use them, not where they look tidy. The chisels belong beside the bench even if the “tool wall” is across the shop. Systems that fight your workflow lose to your workflow every time.
A useful habit: at the end of a project, look at what is still sitting out on the bench. Those tools are telling you their home is wrong. Move them, build a holder in ten minutes from a scrap and a cleat, and repeat after the next project. A shop organised that way is never finished, which is exactly why it keeps working.
FAQ
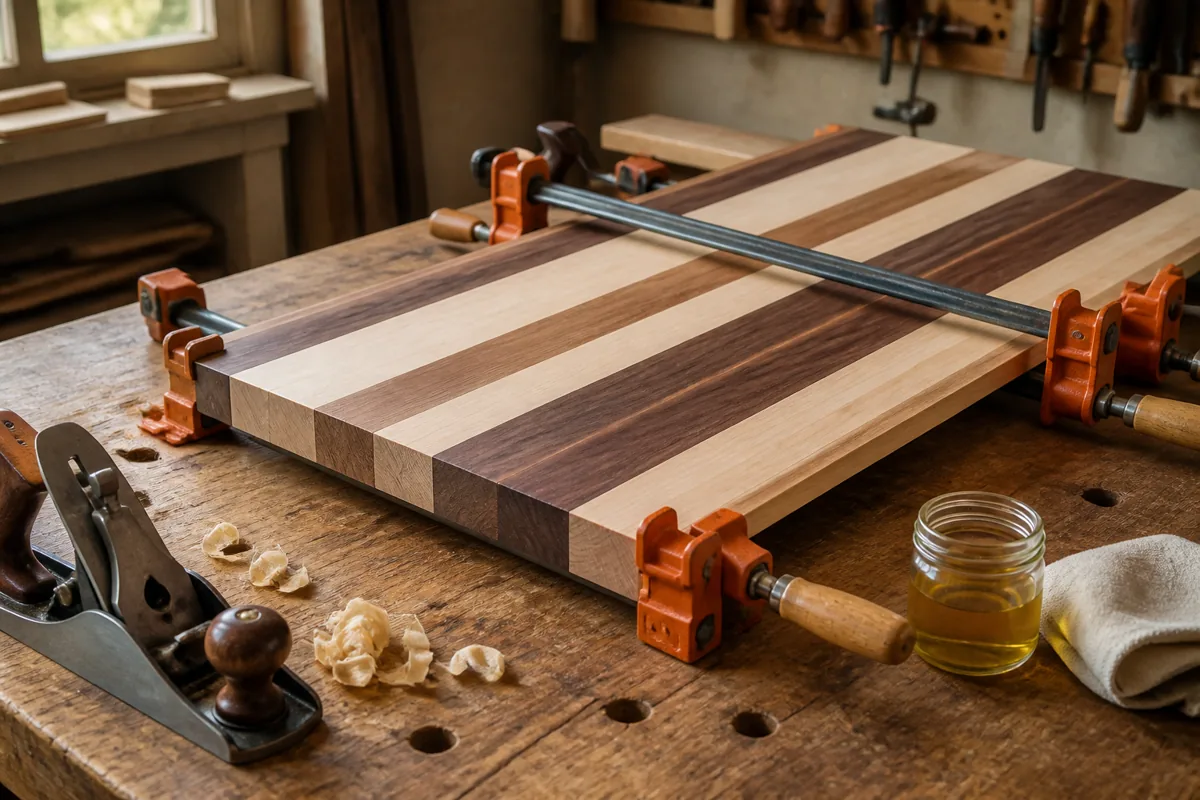
Pegboard or French cleats? Cleats. Pegboard sags under weight and hooks fall out constantly.
How high should the cleat wall start? Around bench height, running up to about 7 feet. Below bench height is for rolling storage.
Is a dedicated sharpening station worth the space? If you use hand tools, yes — a sharpening setup you have to assemble each time is a sharpening setup you never use.
What if the wall has no studs where I need them, or is masonry? On masonry, use appropriate concrete anchors and keep the cleats tight to the wall. On drywall with awkward framing, screw a plywood backer across the studs first and mount the cleats to that — it spreads the load and lets you place holders anywhere.
See shop storage gear →