What's inside
As an Amazon Associate I earn from qualifying purchases. This post may contain affiliate links at no extra cost to you.
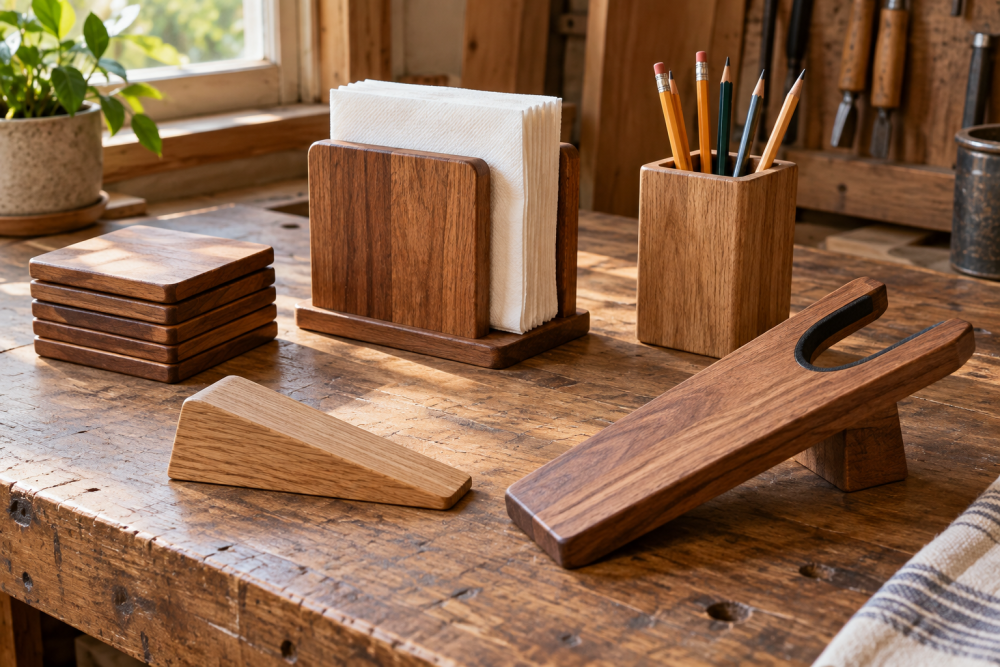
A wooden doorstop is a small project, but it teaches several useful basics: measuring an angle, making a clean taper, drilling accurately, and smoothing edges. This version uses a short hardwood wedge with a leather or webbing carrying loop. It is sturdy enough for an interior door and can be made with hand tools in an afternoon.
Contents
Materials and dimensions
Use a piece of hardwood approximately 2 inches wide, 4 inches long, and 1-1/2 inches thick. Oak, maple, beech, ash, and walnut all work well. Softwood such as pine is cheaper and easier to cut, but the pointed end can dent or crush under a heavy door.
| Material | Advantages | Trade-offs |
|---|---|---|
| Hardwood offcut | Resists dents, holds screws well, looks better with clear finish | Costs more and takes slightly longer to shape |
| Pine or other softwood | Cheap, easy to cut, suitable for light interior doors | Can split, dent, or wear at the wedge tip |
| Leather strip | Comfortable, durable, attractive | Usually requires punching or pre-drilling holes |
| Nylon webbing | Inexpensive, strong, easy to cut | Looks more utilitarian and must be heat-sealed at the cut ends |
For a normal interior door, a 4-inch-long wedge is enough. If the gap under the door is unusually large, increase the thickness to 2 inches rather than making the wedge much longer. A long, thin wedge is more likely to slide or split.
Tools and supplies
You need a pencil, ruler or combination square, handsaw or jigsaw, clamps, drill, sandpaper, and a screwdriver. A block plane makes the taper easier to refine, but it is optional. A woodworking combination square is useful for marking a straight, repeatable cut.
Gather two small wood screws, about 3/4 inch long, and washers if the loop material is thin. Use screws short enough that they cannot emerge through the opposite side. You will also need wood glue if you choose to make the loop from two overlapping layers, plus your preferred finish.
For a basic project, an inexpensive assorted-grit sanding sponge is fine. There is no need to buy a power sander for one doorstop; it can round over the small edges too aggressively.
Mark the wedge
Inspect the scrap and orient the grain so it runs from the wide back toward the pointed front. Avoid knots near the tip. Put the 4-inch length on the bottom edge of the board and mark the back as 1-1/2 inches high. Mark the front at roughly 1/8 inch high, leaving a small flat rather than cutting to a fragile knife edge.
Connect those two height marks with a straight line. This is the sloping top of the doorstop. A 1-1/2-inch drop over 4 inches gives a useful angle for most interior doors. If you want more holding power, make the slope steeper by leaving the front at 1/4 inch and keeping the rear height the same.
Transfer the same layout to both sides of the blank. Matching marks matter: if the lines disagree, the finished wedge will twist or have one side thicker than the other.
Cut and shape the wood
Clamp the blank securely to a workbench with the waste side supported. Cut just outside the marked line, then bring the surface down to the line with a block plane, rasp, or coarse sandpaper. If using a jigsaw, select a blade intended for clean wood cuts and let the blade do the work. Forcing it can produce a wavy slope.
Check the wedge against the actual door before doing the final sanding. Open the door about 2 inches, slide the stop underneath, and confirm that the door contacts the slope without lifting hard against the frame. If it slides out, increase the contact area by leaving the bottom flat and roughening it lightly with 80-grit paper.
Round every exposed edge with a few sanding strokes. Start with 80 or 100 grit where saw marks remain, then use 150 grit and finish with 220 grit if you plan to apply a clear finish. Do not heavily round the bottom edges; a flat base is more stable than a polished, curved one.
Add the carrying loop
Cut a loop 6 to 8 inches long. A 1-inch-wide strip makes a comfortable handle, but 3/4-inch webbing is adequate. Fold both ends together at the back of the doorstop so the loop rises from the wide end. Position the screw holes at least 3/8 inch from the rear edge and at least 1/2 inch apart.
Mark the holes through the loop, then drill pilot holes into the wood. For hardwood, use a drill bit slightly smaller than the screw’s solid shaft. For softwood, a bit about 1/16 inch smaller than the shaft is generally sufficient. Clamp a scrap block against the opposite side if drilling near an edge; this reduces breakout.
Install the screws with washers over the loop. Stop when the washer holds the material firmly. Over-tightening can cut leather or crush webbing. If using leather, a small punched hole gives a neater result. If using nylon webbing, pass the cut ends briefly near a flame to melt the fibers, or they will fray quickly. Do this outdoors or in good ventilation and avoid touching the melted edge.
Finish and test
Remove sanding dust with a dry cloth. Wipe-on oil, hardwax oil, or water-based polyurethane are suitable finishes. Oil is the simplest choice and makes the grain visible, but it offers less protection from wet cleaning. Polyurethane gives better resistance to grime and occasional moisture, though it can look slightly more plastic.
Apply two thin coats rather than one heavy coat, following the product’s drying instructions. Lightly sand raised grain between coats with 220-grit paper. Keep finish off the bottom if possible; a slick film there can reduce grip on smooth flooring.
Test the completed stop on the door it will serve. Push the door against it several times and check that the wedge does not creep, the loop screws remain tight, and the wood does not contact the floor with a sharp corner. If the stop slips on tile or finished wood, attach a thin rubber pad to the bottom with contact adhesive. On carpet, the bare wooden base usually works better.
Common mistakes to avoid
A doorstop that is too short may disappear under the door and be difficult to remove. One that is too tall can prevent the door from closing normally or stress the hinges. Cutting the point completely sharp creates a weak end that splits under pressure. Finally, placing the carrying-loop screws too close to the edge is a common cause of splitting. Keep the pilot holes centered in the rear block, and use a shorter screw if the wood is thinner than planned.