What's inside
As an Amazon Associate I earn from qualifying purchases. This post may contain affiliate links at no extra cost to you.
Rabbet-and-dado joints are among the most useful assemblies in beginner woodworking. A rabbet removes material from the edge of a board, while a dado cuts a channel across its face. Together, they let you build square, strong boxes without depending entirely on screws or complicated joinery. The projects below start with simple cuts and gradually introduce layout, repeatability, and plywood construction.
Contents
What You Need to Learn
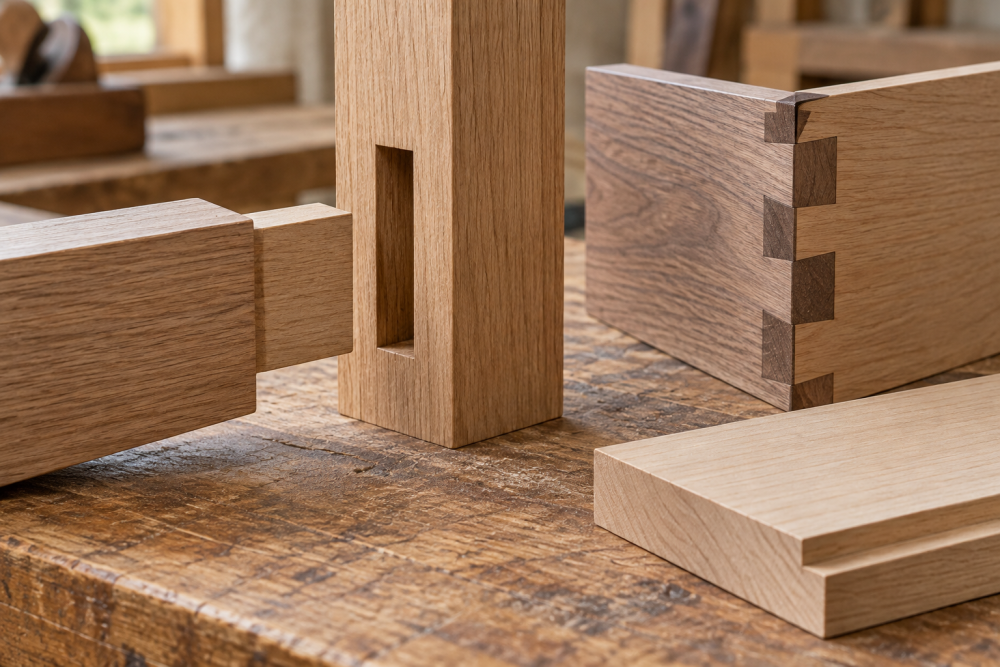
A rabbet is usually cut along an edge or end. It creates a shoulder that another board can fit against. A dado runs across the grain or face of a panel and supports a shelf, divider, or bottom. For plywood projects, a dado about 1/4 inch deep is common. For solid wood, keep the cut around one-quarter to one-third of the board’s thickness; cutting deeper weakens the panel.
Accuracy matters more than fancy equipment. A dado that is too narrow leaves a loose joint. One that is too wide allows the parts to shift while glue dries. Cut test pieces from the same material before touching your project parts. Check that the joint assembles with firm hand pressure and does not require hammering.
For a basic setup, you need a square, sharp marking knife or pencil, clamps, sandpaper, and a router or table saw. A straight router bit set is useful if you own a router. A table saw with a dado blade makes repeatable grooves, but a router and edge guide are often more approachable for a first project.
Three Projects Compared
| Project | Main joints | Material | Best lesson | Typical time |
|---|---|---|---|---|
| Wall-Mounted Mail Cubby | Rabbeted back, dadoed dividers | 1/2-inch plywood | Layout and repeated dados | 3–5 hours |
| Small Bookcase | Top and bottom rabbets, shelf dados | 3/4-inch plywood | Keeping a cabinet square | 5–8 hours |
| Workshop Parts Tray | Corner rabbets, bottom dado | 1/2-inch plywood or pine | Fast, forgiving assembly | 2–3 hours |
Project One: Wall-Mounted Mail Cubby
This is the best first project because the parts are small and mistakes are inexpensive. Build a box approximately 24 inches wide, 10 inches high, and 4 inches deep. Use two side pieces, a top, a bottom, a back, and two dividers. The exact dimensions are flexible; the important feature is that both dividers receive matching dados.
Cut 1/2-inch plywood for the carcass and 1/4-inch plywood for the back. Mark the divider locations from one reference edge rather than measuring each one from a different side. For example, place the first divider 8 inches from the left side and the second 16 inches from the left side. Clamp a straightedge or use a router guide to cut dados 1/4 inch deep.
Cut a rabbet around the rear inside edge of the box to accept the back. A 1/4-inch-wide by 1/4-inch-deep rabbet works well for a thin back. Dry-assemble everything before applying glue. If a divider is tight, pare the dado gradually with a chisel or make one light router pass. Do not force it; a forced divider can split plywood layers.
Glue the dividers into the bottom first, then add the top and sides. Measure diagonally from corner to corner. If the two diagonal measurements differ by more than 1/8 inch, adjust the clamps before the glue sets. Pin nails are optional. A small bar clamp set is enough for this project, and the cheaper versions are fine if the clamp screws turn smoothly and the pads stay aligned.
Project Two: Small Bookcase
Once you can cut matching dados, build a short bookcase about 30 inches high, 24 inches wide, and 10 inches deep. Use 3/4-inch plywood for the sides, top, bottom, and shelf. Cut the back from 1/4-inch plywood. This size is manageable for one person and does not require a full sheet to be broken down into many narrow parts.
Cut dados 1/4 inch deep for one fixed shelf and the bottom. The bottom can also sit in rabbets cut across the lower ends of the sides. That joint gives the case a positive shoulder and makes assembly easier. If your plywood is exactly 3/4 inch thick, do not assume a nominal dado blade will match it. Measure the actual panel with calipers or a ruler; plywood thickness often varies between 23/32 and 3/4 inch.
Dry-fit the case on a flat surface. Check that the shelf slides fully into both dados and that the top edges align. Apply glue to the dado walls and the rabbet shoulders, then clamp across the width. Install the back while the case is square. The back acts as a large diagonal brace, but it cannot correct a severely twisted assembly after the glue cures.
For books, a fixed shelf is stronger than adjustable hardware and teaches the basic joint clearly. If you want adjustability, add shelf-pin holes later rather than complicating the first build. A combination square helps transfer consistent dado locations, and an inexpensive one is adequate if its blade is straight and the head locks without movement.
Project Three: Workshop Parts Tray
For a quick seasonal project, make a shallow tray for screws, sanding discs, or garden hardware. A practical size is 12 by 18 inches with 3-inch sides. Use 1/2-inch plywood or solid pine. Cut the side ends with rabbets so the long and short walls overlap at the corners. Cut a 1/4-inch-wide dado near the bottom inside edge of each wall to hold a 1/4-inch plywood base.
Assemble the four walls around the base rather than attaching the base afterward. This keeps the bottom captured and makes the tray resistant to racking. A thin coat of glue in each rabbet is enough; excess glue in the bottom dado can prevent the base from seating fully. Clamp with tape, corner clamps, or ordinary bar clamps. Since this is a shop tray, visible fasteners are acceptable if you predrill to prevent splitting.
Tools, Materials, and Common Failures
A trim router with an edge guide is convenient for short dados and rabbets. A table saw is faster for repeated parts, but it demands careful setup and push-stick use. A router edge guide is a worthwhile accessory if you already own the router; buying a router solely for one small tray may not be economical.
The most common failure is measuring from opposite edges, which puts matching dados out of line. Mark one face and one reference edge on every part. Another is sanding a tight joint aggressively. Remove material from the joint gradually and keep the shoulders square. Finally, avoid finishing before assembly unless the design requires it. Finish inside a dado can make the fit too tight, while glue on a finished surface can leave shiny, uneven spots.
Start with the mail cubby in spring or winter when a short indoor project is useful. Move to the bookcase once your test joints fit consistently. These projects build the same core habits: accurate layout, shallow controlled cuts, dry fitting, and clamping while checking the assembly for square.