What's inside
As an Amazon Associate I earn from qualifying purchases. This post may contain affiliate links at no extra cost to you.
Pocket-hole assembly is one of the quickest ways to build useful projects from straight boards. It is also easy to learn badly: holes drilled at the wrong depth, screws that break through the face, and joints that look tight until the clamp comes off. The best practice projects are small enough to finish in an afternoon but varied enough to teach alignment, material thickness, and screw selection.
As an Amazon Associate we earn from qualifying purchases at no extra cost to you.



Contents
What you need to learn first
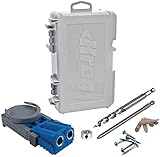
A basic pocket-hole setup needs a jig, a stepped drill bit with a stop collar, a square-drive bit, clamps, and pocket-hole screws. A single-hole jig is adequate for repairs and occasional projects. A two-hole jig is faster for building several parts and usually makes it easier to keep the workpiece steady. If you are starting from nothing, compare pocket-hole jig kits, but check what is included. Some inexpensive kits omit a clamp or provide only a short driver bit.
Most beginner projects use 3/4-inch stock. Set the jig and drill-bit collar for that thickness, then use screws intended for 3/4-inch material. The screw should cross the joint without emerging from the outside face. For softwood such as pine, coarse-thread screws grip well; fine-thread screws are generally better in hardwood. Always test on a cutoff from the same material.
Use a face clamp or pocket-hole clamp while driving screws. Without clamping, the boards can shift sideways as the screw threads pull them together. A regular bar clamp can work if its pad reaches the joint, but a dedicated pocket-hole clamp is more convenient for repeated assemblies. The cheaper option is fine for one or two projects; the dedicated clamp earns its cost when you build several frames.
Choose a project by what it teaches
| Project | Typical time | Main lesson | Best material |
|---|---|---|---|
| Simple picture frame | 1–2 hours | Keeping corners square | 1×2 boards |
| Wall-mounted shelf | 2–3 hours | Edge alignment and load direction | 1×8 board and 1×2 supports |
| Small planter box | 2–4 hours | Outdoor protection and repeated joints | Cedar or treated lumber |
| Stool or plant stand | 3–5 hours | Strength, racking, and long joints | Poplar, pine, or plywood |
1. A simple picture frame
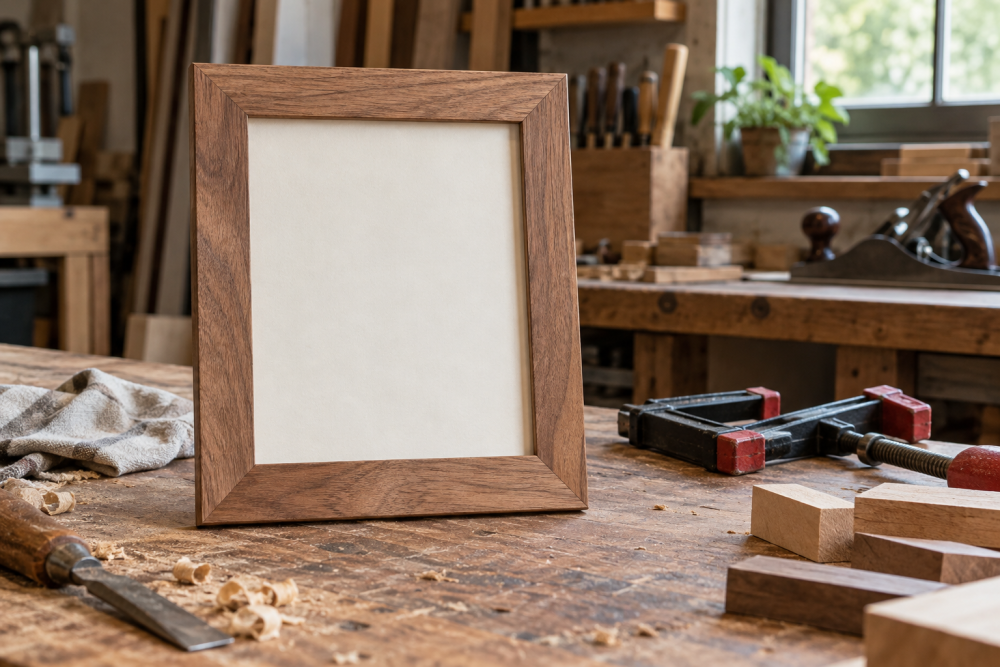
A rectangular frame is the best first exercise because every joint is visible and the parts are easy to replace. Cut two rails and two stiles from 1×2 stock. For an 8-by-10-inch opening, make the inside dimensions slightly larger than the artwork and account for the actual board width rather than its nominal size.
Drill two pocket holes on the back of each rail, then assemble one corner at a time on a flat surface. Measure diagonally from corner to corner in both directions. The measurements should match within about 1/16 inch. If they do not, loosen the joint, push the frame square, and retighten while clamped. Sand the front edges before assembly; sanding a finished frame corner is awkward.
The common failure is a frame that twists because one board is cupped or the screws were driven without a clamp. Use straight stock and keep the pocket holes on the back. A thin plywood back and glass can be added later, but the frame alone teaches the important part: pocket holes hold a joint, while clamps keep it aligned.
2. A small wall-mounted shelf
Build a shelf from a 1×8 top and two 1×2 or 1×3 supports beneath it. Pocket holes attach the supports to the underside of the shelf, leaving the top face clean. Drill from the support pieces into the shelf, and keep the holes at least 2 inches from the ends to reduce splitting.
Cut the shelf about 24 inches long for a manageable first project. Attach the supports near the ends, but leave enough room for wall hardware. Before driving screws, mark a consistent setback—about 1 inch from each end is a useful starting point—and use a straightedge to keep both supports parallel.
This project exposes a different mistake: misaligned supports can make the shelf rock or sit visibly crooked. It also teaches that pocket holes are not a substitute for proper wall attachment. Use screws or anchors rated for the wall and expected load. For books or heavy tools, locate studs and fasten into them. A cheap pocket-hole jig is perfectly adequate here because the joints are short and hidden.
3. A small planter box
A planter box gives you four sides and several repeated joints without requiring fine furniture precision. Use cedar for a naturally weather-resistant box, or use exterior-rated lumber and accept that it may move more. Avoid ordinary indoor pine if the box will stay wet.
Make a box roughly 18 inches long, 7 inches wide, and 6 inches tall. Drill pocket holes on the inside of the end pieces, then screw them to the long sides. Add a bottom made from slats with 1/4-inch drainage gaps. Do not seal the drainage holes with a solid panel unless you add several openings.
Outdoor projects punish poor screw choices. Use exterior-rated pocket-hole screws, not standard interior screws, because moisture can cause corrosion and staining. Predrill near board ends if the wood is dry or prone to splitting. The pocket holes can remain hidden inside, but plugging them is unnecessary for a utility planter.
4. A low plant stand or stool
Move to a plant stand after you can assemble square frames consistently. A simple version uses a square top, four legs, and two lower stretchers. Pocket holes attach the stretchers to the legs, while the top can be fastened from underneath.
Keep the stand modest—about 12 inches square and 12 to 16 inches tall. Longer legs magnify small errors and make racking more obvious. Assemble the legs and stretchers as two side frames first, checking that each frame is square. Join the frames with the remaining stretchers, then test the stand on a flat floor.
For a seat or anything that may support a person, do not treat a beginner plant stand as a finished stool design. Pocket holes are strong when the joint is properly clamped and the screw length is correct, but a load-bearing stool also needs sound stock, adequate stretchers, and testing. Start with a plant stand, where a small amount of movement is inconvenient rather than dangerous.
Buying and troubleshooting
Spend first on a jig that has a reliable thickness setting and a sharp stepped bit. A bargain assortment of pocket-hole screws is useful while learning, but do not mix screw lengths casually. If the screw breaks through, reduce the length or recheck the material setting. If the joint gaps, clamp closer to the hole and inspect whether the board edges are square.
For clean results, drill at full speed with moderate pressure, clear chips before the bit overheats, and drive screws at a low-to-medium drill setting. Stop when the joint closes; overdriving can strip the hole or dimple the board. Make one test joint before cutting an entire project. That five-minute check prevents most pocket-hole failures and costs far less than rebuilding a completed frame or shelf.