What's inside
As an Amazon Associate I earn from qualifying purchases. This post may contain affiliate links at no extra cost to you.
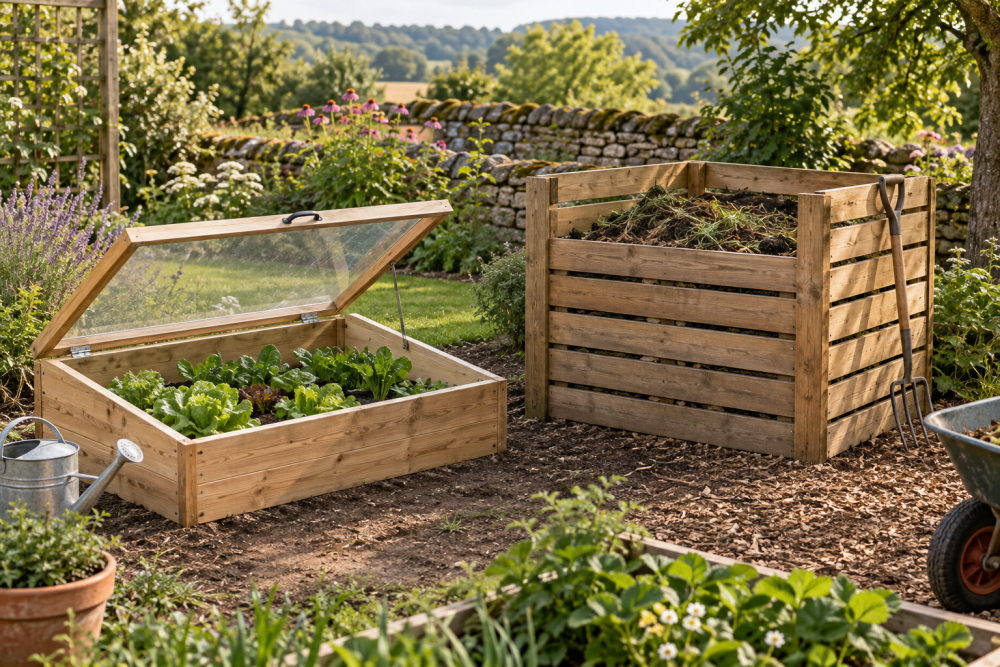
A basic three-sided compost bin is a practical use for scrap lumber. It holds a pile in one place while leaving the front open for turning and removal. This design uses four corner posts and spaced horizontal boards; it needs no special joinery and can be built in an afternoon with a saw, drill, and common fasteners.
Contents
Choose a size and layout
A bin about 3 feet wide, 3 feet deep, and 3 feet high is large enough to hold heat and still manageable to turn by hand. The plan below makes a bin with three fixed sides and an open front. If you want easier access, add removable front boards or build a second bin beside it for turning finished compost.
Use untreated lumber wherever it will touch the compost. Scrap cedar, fir, or other sound, untreated boards are suitable. Avoid painted, stained, pressure-treated, or unknown salvaged wood: compost stays damp, and you do not want uncertain coatings or preservatives in material destined for a garden. Boards with a little weathering are fine; discard pieces that are rotten, badly split, or contaminated.
Materials and tools
For a roughly 36-by-36-inch bin, gather four corner posts about 36 inches long and enough scrap boards to cover the back and two sides to a height of around 30 inches. Boards 1-by-6 inches or wider work well. Leave gaps of about 1 inch between courses for airflow. Actual board widths vary, so measure your stock and adjust the number of courses.
You’ll also need exterior-rated deck screws, about 2½ inches long, a tape measure, square, drill, and saw. A box of exterior deck screws is a sensible buy if your scrap pile does not include corrosion-resistant fasteners. Plain indoor screws can rust or snap in a damp bin. A pair of work gloves is useful when handling rough reclaimed boards, but heavy-duty gloves are not essential for smooth, clean lumber.
| Scrap lumber | Advantages | Trade-off |
|---|---|---|
| 2-by-2 posts with 1-by-6 boards | Light, easy to cut and move | Thin posts may loosen if the bin is overfilled or bumped |
| 2-by-4 posts with 1-by-6 boards | Sturdier corners and good screw-holding | Heavier and takes more space |
| Mixed-width boards | Good way to use what you already have | Requires measuring each course to keep the sides reasonably even |
Prepare the site
Set the bin on level, well-drained soil, not on a paved surface if you want worms and other decomposers to move up from the ground. Choose a spot with some access for adding scraps and removing compost. Avoid a low area where rainwater pools; a saturated pile smells and breaks down slowly. If the ground is uneven, level the footprint with a shovel before assembly rather than trying to force the frame square on a slope.
Build the three-sided frame
Cut four posts to 36 inches, or use sound scrap posts already close to that length. Lay two posts parallel on the ground, 36 inches apart, to form one side. Screw horizontal boards across them, starting near the bottom and leaving about a 1-inch gap between boards. Use two screws at each post for every board. Keep the board ends flush with the outside edges of the posts.
Build the second side the same way. Stand both sides upright and connect them with boards across the back. Check that the corners are close to square before driving the final screws. If you are working alone, temporarily brace the sides with a scrap offcut or ask someone to hold them; a loose frame can rack while you fasten it.
Space the boards for airflow, but do not leave very large openings. Gaps much wider than 1½ inches let loose leaves and small material spill out. If your scrap boards vary in width, lay them out first and adjust the gaps so each side reaches a similar height. Keep the lowest board a few inches above soil if the site is especially wet; on well-drained ground, a small gap or board close to the soil is fine.
Make the front removable
The open front makes turning the pile easier, but it can let material slump forward. A simple fix is to screw short scrap cleats inside the front edges of the side panels, leaving a channel between each cleat and the front corner post. Slide loose boards into those channels as the pile rises. Use boards cut to the inside width of the opening, leaving enough clearance to lift them out without wedging.
Alternatively, leave the front open and use a garden fork to keep the pile pulled back. That costs nothing and works for a modest pile, though it offers less support when the bin is full. A hinged gate looks tidy, but adds hardware and is more likely to bind as the wood swells or the frame shifts.
Fasteners and common failure points
Predrill near the ends of dry or brittle scrap boards to reduce splitting. Keep screws at least ¾ inch from an edge where the board allows it. If a screw spins without tightening, move it an inch or two into sound wood rather than driving a longer screw into the same damaged hole. Do not overtighten: a screw head driven deeply into soft lumber can weaken the joint.
The most common problems are rotten posts at ground level, sides that rack because the corners were never squared, and boards that split when screwed too close to an end. If the bin wobbles after loading, add a diagonal brace across the back or replace weak corner posts. Do not use flimsy, narrow offcuts as the main supports just to avoid buying lumber. If your scrap is too short or damaged for posts, it is reasonable to buy four sound posts and use the scraps for the walls.
Fill and maintain the bin
Mix dry “browns,” such as leaves and shredded cardboard, with “greens,” such as vegetable scraps and fresh grass. Chop bulky material into smaller pieces, keep meat and dairy out of a simple outdoor bin, and aim for a pile that feels like a wrung-out sponge. If it smells sour or stays soggy, add dry leaves and turn it. If it is dry and barely breaking down, add water and mix the contents.
Check the boards once or twice a year, especially near the soil. Replace any that soften or split badly. A basic scrap-lumber bin will not last as long as one made from rot-resistant new lumber, but repairs are simple: unscrew the failed board, cut a replacement to size, and keep the frame in use.