What's inside
As an Amazon Associate I earn from qualifying purchases. This post may contain affiliate links at no extra cost to you.
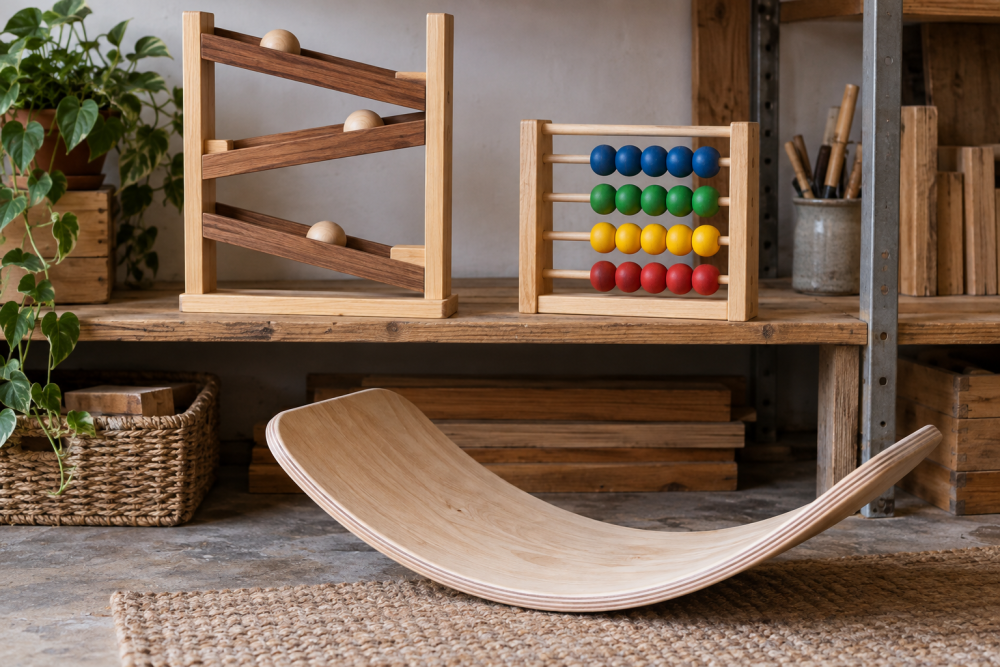
A wooden balance board for toys is a simple curved rocker: a flat deck rests on two rounded runners, letting a child rock a toy figure, vehicle, or small doll without powered parts. This version uses a plywood deck and solid-wood runners. It is sized for toys, not for a child to stand on. Keep it that way unless you redesign and test it for human weight.
Contents
Choose a size and gather materials
For small toys, make the deck about 16 inches long by 5 inches wide. Two runners, each 14 inches long by 1½ inches wide and ¾ inch thick, give the board a slight overhang at the ends. Use ½-inch plywood for the deck; it is less likely to split than a narrow strip of solid wood. For runners, choose straight-grained hardwood or sound construction lumber without knots near the curved edges.
You will also need wood glue, four 1¼-inch screws, sandpaper in 80-, 120-, and 180-grit, and a child-safe finish if you want one. A half-inch plywood panel is a practical choice for the deck; a small offcut is usually enough. Avoid MDF and particleboard, which can crumble at the edges or swell if exposed to moisture.
Tools and trade-offs
| Choice | Best for | Trade-off |
|---|---|---|
| Jigsaw | Cutting curved runners at home | Affordable and flexible, but the edge may need extra sanding |
| Bandsaw | Repeatable, smoother curves | Faster and easier to control, but not worth buying for one small project |
| Hand saw and rasp | Basic tool kits | Works on soft wood; takes longer and needs careful shaping |
A jigsaw with wood-cutting blades is enough for this build. A bandsaw is convenient if you already have one, but the cheaper option is fine: leave extra material around the curve and sand to the line. A drill, clamps, square, and tape measure complete the basic setup.
Draw and cut the runners
Mark the centerline along each runner’s length. To draw a smooth rocker arc, put a mark ¾ inch up from the bottom edge at each end, then mark the bottom edge at the center. Bend a thin, flexible strip of wood between the end marks so it passes through the center mark, and trace the curve. This gives a shallow arc with a gentle rock. If you do not have a flexible strip, use a long ruler and draw a broad, shallow curve by hand; avoid a sharp hump, which makes the board tip abruptly.
Clamp the runner to a stable bench and cut just outside the line. Keep both runners stacked and cut together only if you can clamp them securely and keep the saw blade perpendicular; otherwise, cut them separately and compare their profiles. Sand to the line, then place the runners side by side. Their curves should match closely, especially at the center. A mismatch can make the board wobble sideways.
Cut and sand the deck
Mark a 16-by-5-inch rectangle on the plywood and cut it square. Ease the corners with a ¼-inch radius; rounded corners are less likely to snag fabric or chip. Sand the faces and edges, starting at 80 grit only where saw marks need removal, then moving to 120 and 180 grit. Run your fingers over every edge. Toy parts and small hands can catch on splinters, so do not skip the end grain.
Attach the runners
Position one runner beneath each long side of the deck, with its outside face roughly flush with the deck edge. Center each runner along the board’s length so the ends of the deck overhang evenly. Check that both arcs face down and that the runners are parallel. Mark two screw locations per runner, about 2 inches in from each end.
Drill pilot holes through the deck and into the runners. A countersink keeps screw heads below the surface, where they cannot scratch toys. Spread a thin, even layer of wood glue on each runner’s top face, clamp it in place, and drive the screws gently. Do not overtighten: stripping the pilot hole weakens the joint. Wipe away squeezed-out glue before it dries. If the board rocks unevenly after assembly, check for a twisted runner or a screw head that is not fully seated.
Finish and check the board
For a natural surface, leave the wood unfinished after thorough sanding. If you apply a coating, use one labeled for children’s toys and follow its curing instructions; “dry to the touch” does not necessarily mean ready for play. A toy-safe wood finish can make cleaning easier, but it is optional. Keep the board out of use until the finish has fully cured.
Set the board on a flat floor and press each end slowly. It should rock without scraping the deck or tipping sharply. Check for loose screws, glue gaps, rough spots, and sharp corners. Test it with the intended toys, not with a child’s weight. Inspect it occasionally; if a runner cracks, a screw loosens, or the wood splinters, stop using it until repaired. Store it dry, since damp wood can warp and make the board rock unevenly.