What's inside
As an Amazon Associate I earn from qualifying purchases. This post may contain affiliate links at no extra cost to you.
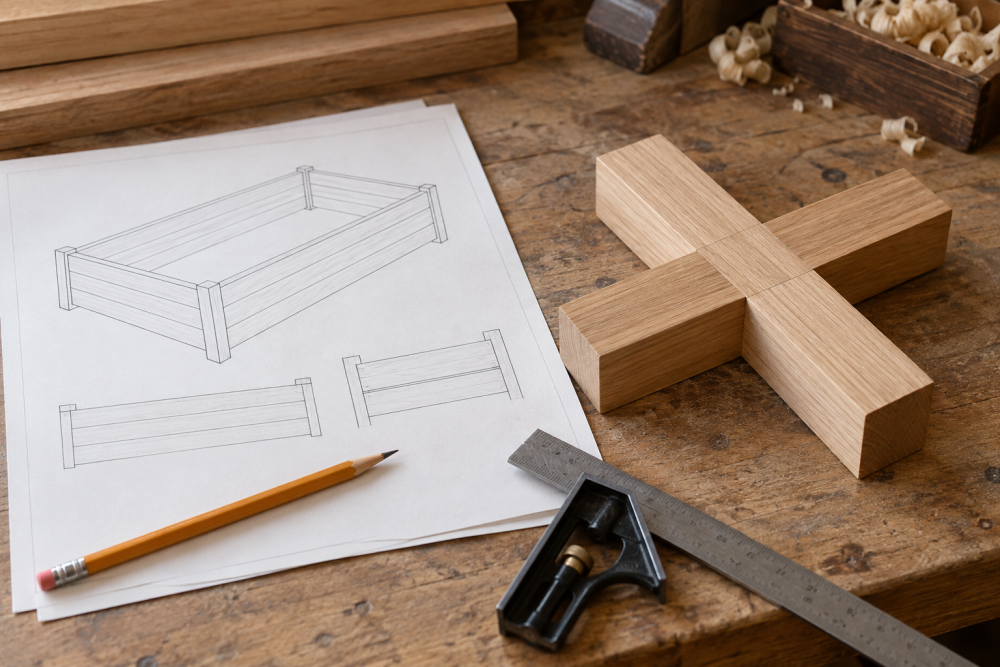
A half-lap joint joins two pieces of wood by removing half the thickness from each where they cross. The surfaces then sit flush, making this a useful joint for garden trellises, gate frames, and simple plant supports. It’s straightforward to lay out, but a sloppy cut leaves a loose joint or a frame that rocks. The key is to measure from the actual stock, mark both pieces together, and remove material in controlled passes.
Contents
Tools and materials
You’ll need the two frame members, a pencil or marking knife, a square, a tape measure, and a saw. A handsaw works well for one or two joints and gives you good control near the layout lines. For several joints, a circular saw or table saw is quicker, but you’ll need to set the cut depth carefully. A chisel and mallet help flatten the bottom of each notch; a shoulder plane or rasp can refine the fit.
A sharp pencil is enough for rough outdoor framing. For close-fitting work, a marking knife makes a finer line that’s easier to follow. A pair of clamps is useful for holding stock steady, but a solid bench stop or work surface can do the job for a small project.
Choose a cutting method
Match the method to the number of joints and the tools you already own. For a garden project, a small gap can often be pulled tight with a screw, but a deep overcut or badly mismatched notch is harder to hide and weakens the joint.
| Method | Best for | Trade-off |
|---|---|---|
| Handsaw and chisel | One or a few joints | Slow, but easy to control without power tools |
| Circular saw and chisel | Several joints in bulky stock | Fast kerfs; requires careful depth setup |
| Table saw with dado blade | Repeated, consistent joints | Efficient but involves setup and specialized equipment |
A standard woodworking handsaw is a sensible buy if you’re making occasional garden projects. There’s no need to purchase a dado blade for two joints. A circular saw with a depth setting can also work well; don’t freehand a series of overlapping cuts unless the stock is securely clamped and your hands are clear of the blade path.
Lay out the joint
Start with straight, square-ended stock. Measure its actual thickness with a rule or calipers rather than relying on its nominal size: a board sold as 2×4 is typically about 1½ inches thick, but lumber can vary. The recess in each member should be half the measured thickness. For stock measuring 1½ inches, that’s ¾ inch.
Mark the joint width from the piece that will cross the other member. If the crossing piece is 3½ inches wide, the notch should be 3½ inches long. Hold the two pieces in their intended position and transfer their edges directly, or measure and mark both pieces from the same reference end. This avoids small measuring differences that leave the assembled frame out of square.
Use a square to carry the lines across the face, both edges, and the end grain where visible. Mark the waste with an X on each piece. That simple step prevents the common mistake of cutting the keeper side of the line. If appearance matters, mark the show faces too, so the notches end up on the intended sides.
Cut the notches
Clamp the first piece so it cannot shift. With a handsaw, cut down along the two shoulder lines to the half-thickness depth. Keep the saw on the waste side of the line; you can remove a little more afterward, but you cannot put an overcut back. Make a series of cuts across the waste area, spacing them roughly ⅛ to ¼ inch apart. Saw no deeper than the depth line on the edge.
Remove the strips with a chisel, working from both ends toward the middle to reduce splintering. Pare the bottom gradually, checking it with a square. If using a circular saw, set the blade depth from a test piece and make closely spaced cuts between the shoulders. Finish with a chisel. Avoid cutting past the shoulder lines: even a short overrun remains visible and can start a split under load.
Repeat on the second piece, cutting its recess from the opposite face so the two pieces nest together. If you use a table saw, a crosscut sled or suitable workholding helps keep the shoulder cuts square. Don’t hold a small piece by hand close to the blade.
Test and fit
Bring the pieces together without glue or screws. A good fit seats with firm hand pressure and leaves the outside faces flush. If it stands proud, find the high spot and pare only that area. If the joint has a slight gap, a fastener may pull it closed, but don’t rely on a screw to correct a large mismatch; the frame may twist as it tightens.
Check the assembled corners with a square and measure the frame diagonally in both directions. Equal diagonal measurements indicate a square frame. If one side rocks on a flat surface, the notch bottoms may not be level or one shoulder may be too deep. Correct that before fastening.
Fasten for outdoor use
Half-laps gain strength from their broad contact faces, but garden lumber moves with moisture and outdoor joints face weather. For a small trellis or plant support, one or two exterior-rated screws through the overlap are often enough. Drill a pilot hole near the center of the overlap to reduce splitting, especially in dry stock or close to an edge. Use hot-dipped galvanized or stainless fasteners suited to your lumber and climate; ordinary indoor screws can rust and stain the wood.
For a gate or other frame that sees repeated movement, add a second fastener where there is enough material, and check that it won’t split the narrow shoulder. Exterior adhesive can help, but it is not a substitute for a sound fit and suitable mechanical fastening. Leave the joint exposed to drain rather than trapping water in a pocket, and seal cut end grain if you’re finishing the project. These steps won’t make the joint maintenance-free, but they help it stay tight through wet and dry seasons.