What's inside
As an Amazon Associate I earn from qualifying purchases. This post may contain affiliate links at no extra cost to you.
The best first projects for practicing straight, square cuts are small enough to build from a single board but useful enough to keep. A shop mallet, a simple step stool, and a small open box teach different cutting jobs without demanding cabinets, elaborate joinery, or expensive lumber.
For each project, the goal is the same: make the cut line clear, support the work, and check the result before moving on. A cut that is slightly out of square can often be corrected with careful sanding. A cut that is short cannot be lengthened, so measure twice and leave a little extra when you can.
As an Amazon Associate we earn from qualifying purchases at no extra cost to you.


Contents
Set up for accurate cuts
You can practice with a handsaw, circular saw, or miter saw. A handsaw is inexpensive and useful for learning to track a line, but it takes patience to keep the blade square. A circular saw is more versatile for sheet goods and longer boards; a straightedge guide improves accuracy. A miter saw makes repeatable crosscuts easier, but it costs more and still needs a properly supported board.
A sharp pencil, tape measure, combination square, and stable work surface matter more than a premium tool for these projects. If buying a saw, compare a basic backsaw for hand-cut practice with a circular saw and straightedge guide. A handsaw is fine for short cuts; a circular saw is the more practical choice for repeated cuts in wider stock.
Before cutting, mark an X on the waste side of the line. Check the line with a square, clamp the work, and keep the offcut supported so it cannot pinch the blade. Wear eye protection; when using a power saw, follow its manual and keep hands clear of the cut path.
Which project should you start with?
| Project | Main cuts to practice | Typical material | Best for |
|---|---|---|---|
| Shop mallet | Short crosscuts and squaring ends | Offcuts or a 1-by-3 | Low-cost first try |
| Open-top box | Repeated equal-length crosscuts | Four pieces of 1-by-4 | Consistency and fit |
| One-step stool | Longer crosscuts and matched parts | 2-by-8 and 1-by-8 boards | Building a useful, load-bearing item |
Board sizes vary between stores, and nominal dimensions are not the finished measurements. For example, a typical 1-by-4 is about ¾ inch thick and 3½ inches wide. Check your actual stock before laying out parts.
1. Shop mallet: simple cuts with forgiving joints
A mallet head made from three glued blocks is a good first exercise because the parts are small and the construction does not require tight-fitting joinery. Cut three pieces about 4 inches long from a straight, dry 1-by-3. Check each end against a square. Glue the pieces into a block, clamp them, and let the glue cure as directed. For a handle, use a scrap around 1 inch wide and 10 to 12 inches long, shaped to fit a slot or fastened to the head.
The main lesson is making the three blocks the same length. A difference of even ⅛ inch leaves the head uneven and takes time to flatten. Clamp the board before cutting; small loose offcuts can twist or fall. Avoid using brittle scrap or wood with cracks, since a mallet takes repeated impacts. This is a shop tool, not a decorative object, so clean glue squeeze-out and a comfortable handle matter more than a polished finish.
2. Open-top box: learn repeatable crosscuts
A small open box turns a few straight cuts into a useful test of consistency. For a box roughly 8 inches long, 5 inches wide, and 3½ inches tall, cut two long sides to 8 inches and two end pieces to 3½ inches. Those dimensions assume the end pieces fit between the long sides, each ¾ inch thick. Glue and nail or screw the corners, then attach a thin plywood bottom cut to fit.
Cut both matching pieces in one setup if your saw and clamping arrangement allow it. Otherwise, measure each from the same reference end and compare them before assembly. If opposite sides differ, the box may rack into a parallelogram rather than sit square. Check it by measuring diagonally from corner to corner: equal diagonal measurements indicate a square box. Small differences can be corrected while the glue is wet by shifting the corners and rechecking.
Choose straight, dry boards. Cheap construction lumber is fine for practice, but knots near the ends can split when nailed. Pre-drill near board ends if using screws, and do not force a warped piece into place; it can pull the box out of square.
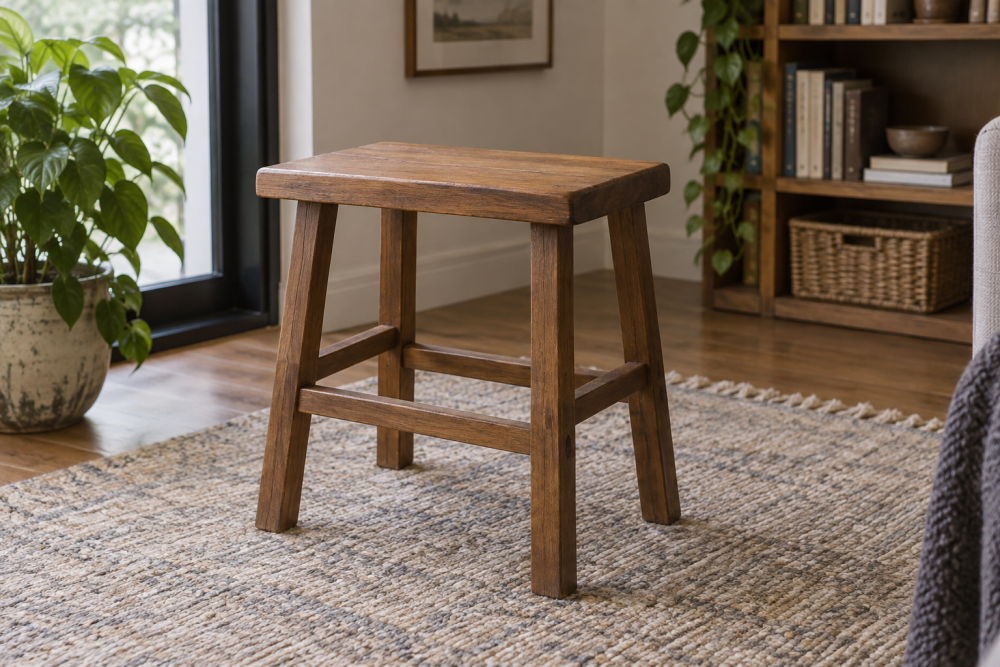
3. One-step stool: practice matched parts
A low stool adds longer cuts and a real stability check. A straightforward design uses a 12-by-16-inch top from ¾-inch plywood, two side panels around 8 inches high, and a lower stretcher between the sides. Make the side panels from ¾-inch plywood so their bottom edges and heights match. Cut the stretcher to fit between them, accounting for the actual panel thickness before cutting.
Dry-fit the pieces on a flat floor before fastening. If the stool rocks, check whether the side panels have matching heights and whether the bottoms are square to their edges. A small error at the bottom becomes obvious under load. Sanding can remove a slight high spot, but it cannot fix a panel cut too short. Keep this first version low, use sound material, and do not treat a practice build as a rated step ladder. Avoid particleboard and cracked lumber for a stool.
Check cuts and fix errors before assembly
After each cut, place a square against the board face and edge. If the cut leans, mark the high side and trim or sand it carefully. For repeated parts, stack them and compare their ends; a visible mismatch means one needs attention before glue-up. A sanding block is adequate for tiny corrections, but sanding a large error can round the edge and change the part’s width.
Keep a notebook with the measured length, actual result, and tool used. If every cut is slightly long, adjust your marking or cut just outside the line and pare back to it. If cuts are consistently out of square, slow down, improve support, and check the blade or saw setup. The mallet teaches control, the box teaches repeatability, and the stool shows why matching parts matter. Stop at the project that gives you useful practice without making accuracy feel like a guessing game.