What's inside
As an Amazon Associate I earn from qualifying purchases. This post may contain affiliate links at no extra cost to you.
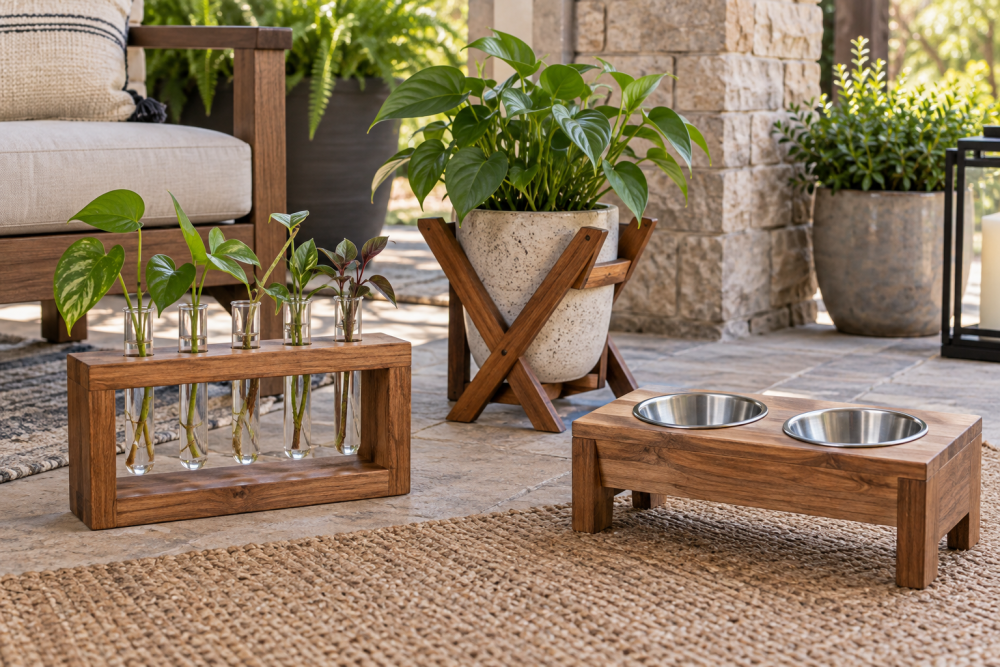
A wooden propagation station is a small, useful project for a weekend workshop. It gives cuttings a stable place to root, keeps water upright, and looks better than a row of jars on a windowsill. This version uses a hardwood base, wooden test-tube holders, and removable glass tubes. It is suitable for a confident beginner: the cuts are simple, but accurate drilling matters.
The finished station holds five tubes and measures about 14 inches wide, 3 1/2 inches deep, and 4 1/2 inches tall. You can adjust the length for more or fewer cuttings. Build it in spring when you are pruning houseplants or garden herbs, although the station works year-round anywhere the cuttings receive bright, indirect light.
Contents
Materials and Tools
Use a straight, dry board rather than construction lumber. Pine is inexpensive and easy to cut, while hardwood such as maple, oak, or beech gives the project a cleaner edge and better resistance to water splashes. A 1-by-4 board is nominally 3 1/2 inches wide, which is ideal for the base.
- One 18-inch piece of 1-by-4 lumber for the base
- One 14-inch piece of 1-by-2 lumber for the rear support
- Five glass propagation tubes with flat or rounded bottoms
- Wood glue and 1 1/4-inch brad nails or screws
- 120- and 180-grit sandpaper
- Water-based polyurethane, hardwax oil, or another wipe-on finish
- Tape measure, pencil, square, drill, and clamps
For the tube holes, buy a wood Forstner bit set that includes a bit close to the outside diameter of your tubes. Measure the tubes with calipers if possible. A hole that is 1/16 inch larger than the tube is usually a good target: loose enough for removal, but not so loose that the tubes rattle.
| Material choice | Advantages | Trade-offs |
|---|---|---|
| Pine | Cheapest, light, easy to drill | Soft surface dents easily; knots can tear out |
| Hardwood | Cleaner edges, heavier, more durable | Costs more and requires sharper bits |
| Painted plywood | Stable and easy to find in small pieces | Exposed edges need extra sealing |
Plan the Layout
Cut the base to 14 inches long. Mark five tube centers along its length, starting 1 1/2 inches from each end and spacing the remaining centers 2 3/4 inches apart. This leaves enough wood between holes while keeping the station compact.
Mark the centerline across the width of the base, about 1 3/4 inches from either long edge. Check that every mark is square to the front edge. If your tubes are wider than 1 1/4 inches, reduce the number of tubes or make the base wider. Do not crowd the holes; thin dividers can split during drilling.
The rear support is a simple upright strip. Its purpose is mostly visual and structural: it stops the station from sliding backward and gives the cuttings a backdrop. If you want a taller display, use a 1-by-3 instead of a 1-by-2, but a tall back can block light from the rear.
Cut and Drill the Parts
- Cut the base and rear support to length with a miter saw, circular saw, or handsaw. Check both ends with a square.
- Sand the cut ends with 120-grit paper. Round the exposed corners slightly so they do not catch on sleeves or skin.
- Fit the correct Forstner bit in your drill. Test it on scrap from the same board. Insert one tube to check the fit before drilling all five holes.
- Clamp the base to a solid work surface. Drill each hole straight down, stopping about 3/8 inch from the bottom face. A drill press makes this easier, but a hand drill works if you use a square as a visual guide.
- Ease the top edges of each hole with 180-grit sandpaper. Remove all loose fibers inside the holes; they can scratch glass or make tubes difficult to remove.
A common failure is drilling completely through the base. That leaves open holes where water can collect on the windowsill and weakens the wood around the tube. If you accidentally break through, glue a thin piece of scrap underneath, clamp it flat, and seal the repair before finishing.
Assemble the Station
Position the rear support along the back edge of the base. Apply a thin bead of wood glue to the joint, then clamp it square. Reinforce the joint with three 1 1/4-inch brads or screws from the front of the base into the support. Pre-drill if using screws, especially with pine near the ends.
Wipe away squeezed-out glue immediately. Dried glue prevents stain and finish from absorbing evenly. Let the assembly dry for the time stated on the glue bottle, usually at least 30 minutes before handling and several hours before sanding.
Sand the complete station with 180-grit paper. Pay attention to the top rim of each tube hole, the front corners, and the joint at the rear support. Do not sand so aggressively that the holes become oversized.
Finish and Waterproof the Wood
Apply two or three thin coats of water-based polyurethane, sanding lightly with 220-grit paper between coats if the label calls for it. Coat the inside walls of the tube holes with a small artist’s brush or cotton swab. These hidden surfaces receive the most repeated contact with damp glass.
A hardwax oil is easier to touch up and gives a warmer appearance, but it is not as moisture-resistant as polyurethane. For a station that will sit beside a sink or receive frequent spills, polyurethane is the safer choice. Even with a finish, place the station on a tray or cork mat. No wood finish makes the project permanently waterproof.
Choose and Use the Tubes
Buy replacement glass tubes with a diameter that matches your test hole. A pack of glass plant propagation tubes is usually cheaper than buying individual tubes, and extras are useful if one breaks. Tubes with a flat bottom stand more securely on their own, while rounded-bottom tubes often look cleaner but depend entirely on the wooden holder.
Wash the tubes before use. Fill them with room-temperature water, then place a stem cutting in each one with at least one node below the waterline. Remove leaves that would sit underwater. Replace the water every five to seven days, or sooner if it becomes cloudy. Keep the station in bright, indirect light; direct afternoon sun can heat the glass and stress new roots.
If the holes are too tight, do not force the tubes into place. Wrap sandpaper around a dowel and enlarge each hole gradually. If they are too loose, add a thin cork ring or a small silicone sleeve inside the hole. Avoid gluing the tubes into the wood, since cleaning and replacing them is part of normal use.
Skill Level and Useful Upgrades
This is a beginner woodworking project if you have a drill and can mark accurately. The main skills are measuring, drilling to a controlled depth, and keeping the rear support square. A benchtop drill press is helpful for perfectly vertical holes, but it is not worth buying solely for this project. A hand drill, scrap guide block, and patience are enough.
For a seasonal version, make the base longer in spring for several herb cuttings, or build a two-tube station for winter houseplant maintenance. You can also add a shallow drip tray beneath the base, label each tube with a small brass tag, or replace the rear support with a dowel rail. Keep any added hardware above the waterline and leave enough clearance to remove each tube without disturbing its neighbors.