What's inside
As an Amazon Associate I earn from qualifying purchases. This post may contain affiliate links at no extra cost to you.
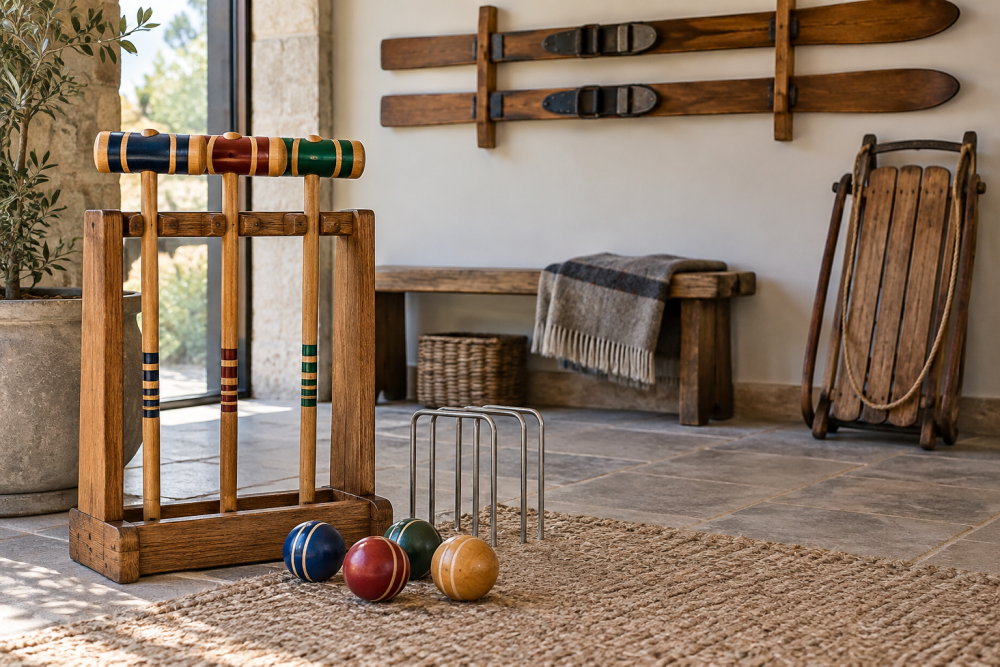
A simple rack keeps croquet mallets off the ground, protects their heads from knocks, and makes a backyard set easier to put away. This wall-style design holds four mallets and uses common 1-by-4 and 1-by-6 lumber. It suits a shed or covered porch; if it will live outdoors, use weather-resistant materials and a roofed location rather than relying on paint alone.
Contents
Size and layout
The rack is 30 inches wide and about 24 inches tall. Two horizontal rails support the mallet heads and handles. Cut shallow, rounded notches in the lower rail so the handles stay spaced apart. A flat upper rail keeps the mallet heads from tipping forward. This plan fits many standard croquet mallets, but measure yours before cutting: head widths and handle lengths vary.
For four mallets, leave about 6 inches between handle centers. Adjust the spacing to suit your set, keeping at least 1 inch of wood between neighboring notches. The rack mounts to a wall with its rails 14 inches apart vertically. Check that your mallet handles are long enough to reach both rails without the heads touching the floor.
Materials and tools
You will need one straight 1-by-6 board at least 30 inches long for the upper rail, one 1-by-4 at least 30 inches long for the lower rail, and two 1-by-4 side supports, each 24 inches long. Nominal 1-by lumber is typically about ¾ inch thick. A few feet of scrap can substitute for the supports if it is sound and straight.
Use exterior-rated screws if the rack will be in a damp shed, and indoor construction screws for a dry interior. For a painted finish, a good exterior primer and paint for wood helps protect the end grain, but it will not make the rack waterproof. Basic tools are a tape measure, pencil, saw, drill, screwdriver bit, and sandpaper. A jigsaw makes the handle notches easier; a round file or rasp works if you prefer to shape them by hand.
Choose the lumber
For a rack stored indoors, ordinary pine is inexpensive and easy to cut. Reject boards with a pronounced bow, twist, loose knots near screw locations, or splits at the ends. Cedar costs more but weighs less and handles occasional dampness better. Pressure-treated lumber is unnecessary for a rack under cover, and it can be rougher and less pleasant to handle indoors.
| Material | Best for | Trade-off |
|---|---|---|
| Pine | Dry shed or garage | Low cost; dents and swells more readily when damp |
| Cedar | Covered porch or humid storage | Better moisture tolerance; softer and usually pricier |
| Exterior plywood, ¾ inch | Side supports or a painted rack | Stable and convenient; exposed edges need sealing |
Cut and mark the parts
Cut the upper and lower rails to 30 inches and the side supports to 24 inches. Smooth the cut ends. On the lower rail, mark four handle centers, starting 4½ inches from one end and spacing the marks 7 inches apart. This leaves room at the sides and between handles. If your mallets have unusually thick handles, reduce the spacing only after checking that the notches will not break through the edges.
At each center, mark a U-shaped notch about 1¼ inches wide and ½ inch deep. Those dimensions fit many handles, but use a piece of scrap or the actual handle to test the fit. A notch that is too tight can bind when wood swells; one that is too wide lets the handle swing and knock against its neighbor. Cut just inside your lines, then widen gradually with a rasp until the handle sits securely.
Assemble the rack
Place the side supports vertically, 30 inches apart on their outside edges. Attach the upper rail across the top ends and the lower rail 14 inches below it, with the notches facing up. Keep the front faces flush. Drill two pilot holes at each rail-to-support joint, then drive 1¼- to 1½-inch screws. Pilot holes matter in narrow stock: skipping them can split the support near its end.
Before tightening everything, check the frame for square by measuring diagonally from corner to corner. The two diagonal measurements should be close; if one is longer, gently shift the frame before driving the screws home. Sand the edges and round the corners slightly so they do not snag clothing or scratch mallet handles.
Mount and finish
Find wall studs and fasten the rack through both side supports with screws long enough to penetrate the studs by at least 1½ inches. A 2½-inch screw is often suitable through a ¾-inch support and drywall, but confirm the wall layers before choosing. If studs do not line up with both supports, attach a horizontal mounting board across two studs first, then screw the rack to that board. Do not rely on drywall anchors alone for a loaded rack.
For a shed, a clear finish is optional. For a covered outdoor spot, seal all faces and especially the cut ends with exterior finish, following its label for recoat times. Let the finish cure before storing equipment. A rack exposed to direct rain will need regular inspection and maintenance, and moving it under cover is the more dependable fix.
Test and adjust
Hang the rack securely before loading it. Set each mallet head on the upper rail and rest its handle in a lower notch. The head should not tip forward, and neighboring heads should have enough clearance that they do not knock together when lifted out. If a handle slides out, deepen or reshape its notch slightly; if it catches, widen the notch with a few strokes of a rasp. Recheck the screws after the first week of use, then inspect the rack each spring for loosened fasteners, swelling, or finish failure.