What's inside
As an Amazon Associate I earn from qualifying purchases. This post may contain affiliate links at no extra cost to you.
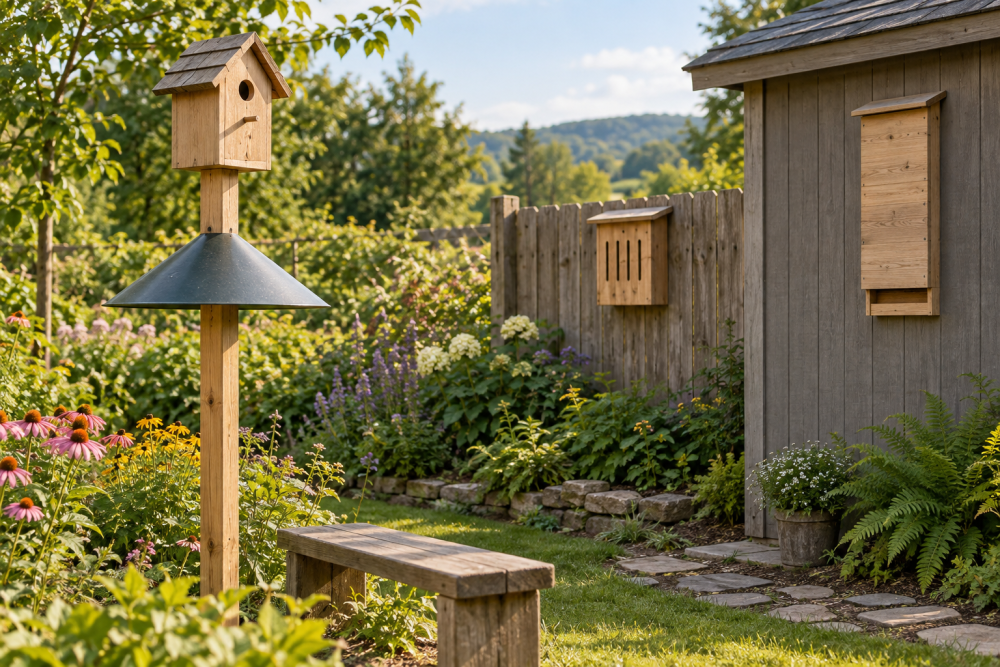
A butterfly house is a narrow wooden shelter with vertical slots, not a feeder or a place to keep butterflies captive. Its value is uncertain: butterflies may use it as a temporary refuge, but many ignore boxes. Build it if you enjoy the woodworking and have a sheltered spot to try it; don’t expect it to attract butterflies on its own.
Contents
Plan and materials
This plan makes a box about 8 inches wide, 12 inches tall, and 5 inches deep, with a sloped roof and three entry slots. Use untreated cedar or another rot-resistant, unfinished wood, about ¾ inch thick. Avoid pressure-treated lumber and painted or chemically treated interior surfaces. A single 1-by-6 cedar board, roughly 6 feet long, is usually enough, but check your cut list against the board’s actual width.
You’ll also need exterior-rated wood glue, 1¼-inch stainless or coated screws, a saw, drill, square, and exterior sealant for the roof joint. A search for untreated cedar boards can help compare local and shipped prices; for a small project, local lumber is often cheaper once shipping is included. A basic handsaw works, though a circular saw makes repeated straight cuts easier.
Cut list and layout
Cut a back 8 by 12 inches, a front 8 by 10 inches, two sides 5 inches deep with one edge sloped from 10 inches at the front to 12 inches at the back, and a floor 6½ by 4½ inches. Cut the roof 9 by 7 inches. These dimensions assume ¾-inch stock; dry-fit the pieces before assembly, because lumber thickness and saw kerf vary.
On the front, lay out three vertical slots, each about ⅜ inch wide and 3½ inches long. Space them evenly, keeping at least 1½ inches of solid wood between each slot and the edges. Drill a hole at each end of every slot, then connect the holes with a jigsaw or coping saw. Smooth the edges with sandpaper. Slots that are too wide admit rain and larger animals; narrow, rough openings can snag wings.
Assemble the box
Mark the floor position about 1 inch above the bottom of the front and back. This leaves a small drainage space below it. Drill two or three ⅛-inch drain holes through the floor, and add a few ventilation holes near the top of the back. Keep the holes small enough that they don’t weaken the board.
Glue and screw the sides between the front and back, with the taller ends at the back to create the roof slope. Pre-drill screw holes near board ends: cedar splits easily, especially when screws are driven close to an edge. Fit the floor level and secure it through the front, back, and sides. Don’t fill the lower gap with caulk; trapped water is a common cause of rot.
Choose a roof that sheds water
Use one solid roof board rather than a flat cap. The roof should overhang the front by about 1 inch and the sides by ½ inch, and slope down toward the front so rain runs away from the back joint. A small bead of exterior sealant along the rear roof seam helps, but leave the lower edge unsealed so moisture can escape.
| Roof choice | Advantages | Trade-offs |
|---|---|---|
| Cedar board | Simple to cut; matches the box and resists decay | Costs more than common softwood; still needs a good overhang |
| Plywood with a metal cap | Stable panel with strong rain protection | More cuts and edges to seal; metal can heat up in direct sun |
| Plain untreated pine | Inexpensive and easy to find | Shorter outdoor life; needs closer inspection and may warp |
For a straightforward build, cedar is the practical choice. If you already have exterior-grade plywood offcuts, a plywood roof is fine if all exposed edges are sealed. Don’t wrap the entire box in roofing material: a tight covering can hide leaks and slow drying. For a small amount of exterior sealant, choose a clear exterior wood sealant rated for outdoor use, and keep it off the inside surfaces and slot edges.
Weatherproof without trapping moisture
Sand splinters from the outside and break sharp corners lightly. Leave the interior bare and rough enough to provide grip; don’t paint, stain, or apply sealant inside. On the exterior, a penetrating oil or water-based outdoor finish can reduce weathering, but it is optional. Follow the label and let the finish cure fully before mounting. A heavy film finish that peels can hold water against the wood.
Common failures are a roof that is too short, unsealed end grain at the back, and a box mounted where wind-driven rain hits the slots. Check that water runs off the roof instead of pooling at the rear. If the roof board cups or the back seam opens, add a narrow exterior-rated flashing strip under the roof edge or replace the roof before water reaches the box interior.
Mounting and seasonal care
Mount the house securely to a post or tree about 4 to 6 feet above ground, in a sheltered location with some morning sun and afternoon shade. Keep it away from strong prevailing winds and sprinklers. A pair of screws through the back into a solid post is more reliable than a single nail; use corrosion-resistant fasteners. Don’t mount it over a busy walkway, where falling debris or maintenance will be inconvenient.
Butterflies are more likely to benefit from nearby nectar plants, native host plants, and a pesticide-free garden than from the box alone. Leave the house up through the season, then inspect it in late winter or early spring. Brush out loose debris, check the roof seam and drain holes, and repair any soft or split wood. Avoid opening or disturbing it if insects are using it. Reapply exterior finish only when needed, and keep the interior untreated.