What's inside
As an Amazon Associate I earn from qualifying purchases. This post may contain affiliate links at no extra cost to you.
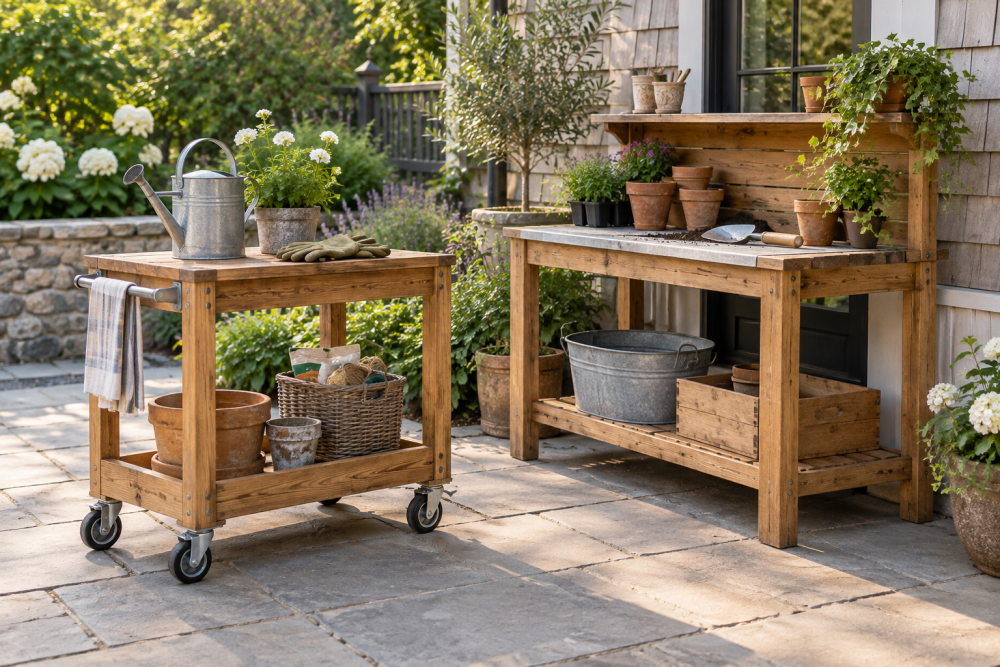
A wooden kitchen island cart adds prep space without committing to a permanent remodel. This version uses a simple plywood-and-hardwood cabinet, locking casters, and a replaceable butcher-block top. It is a good intermediate woodworking project: the cuts are straightforward, but accuracy matters because a crooked base will make the cart wobble and the doors or drawers bind.
Contents
Plan the Size and Function
A practical finished size is about 24 inches deep, 36 inches wide, and 36 inches high, including the casters and top. That gives useful workspace while leaving room to walk around it in most kitchens. If your aisle is narrow, tape the proposed footprint on the floor and leave at least 36 inches of clearance; 42 inches is more comfortable when two people use the kitchen.
Decide whether you want open shelves, doors, drawers, or a combination. Open shelves are the easiest and cheapest option, while doors hide clutter but require more fitting. For a first cart, use one open lower shelf and a towel bar rather than adding complicated drawers.
| Top material | Advantages | Drawbacks | Best choice when |
|---|---|---|---|
| Edge-grain butcher block | Durable, attractive, easy to refinish | Heavier and more expensive | You want a real cutting surface |
| Hardwood countertop panel | Good appearance and moderate cost | May need more careful finishing | You mainly need a worktop |
| Furniture-grade plywood | Light, stable, and inexpensive | Edges need banding; less resistant to knife cuts | Budget and low weight matter most |
Materials and Tools
For the base, buy one 4-by-8-foot sheet of 3/4-inch cabinet-grade plywood, plus solid hardwood for the front and back rails, shelf edging, and any trim. Avoid construction plywood; its voids and uneven face veneers make clean joinery difficult. A 1 1/4-inch-thick butcher-block top is a sensible choice. Make it 1 to 2 inches wider and deeper than the cabinet so you have a comfortable overhang.
Use four heavy-duty swivel casters, with at least two locking casters. Five-inch casters roll more easily over thresholds than 3-inch versions, but they raise the cart and may make it feel top-heavy. Choose casters rated for at least 100 pounds each. A cart this size can weigh 120 to 180 pounds once loaded, so the extra capacity is worthwhile. Heavy-duty locking swivel casters are a better investment than thin furniture wheels.
You will also need a circular saw or table saw, drill, pocket-hole jig or doweling jig, clamps, square, random-orbit sander, and a stud finder if the cart will sit near a wall. A 3/4-inch cabinet-grade plywood sheet is usually worth the extra cost. The cheaper sheathing plywood is fine for a painted utility cart, but not for a clear finish.
Cut the Cabinet Parts
For a 24-by-36-inch cabinet, cut two side panels 34 1/2 inches high by 23 1/4 inches deep. Cut a bottom panel 34 1/2 inches wide by 23 1/4 inches deep, fitting between the sides. Add a top frame made from front and back rails and shorter side rails. The frame supports the butcher block and prevents the plywood cabinet from spreading.
Cut an open shelf to fit between the side panels, leaving about 3 inches of clearance above the casters and bottom structure. If you want adjustable storage, drill rows of shelf-pin holes before assembly. Mark every part as you cut it. A single reversed side panel can put the finished cabinet out of square.
Assemble the Base
Build the lower box first. Apply glue to the panel edges, clamp the bottom between the sides, and secure it with 1 1/4-inch pocket screws or confirmat screws. Keep the front edges flush. Measure diagonally from corner to corner in both directions; the measurements should match within 1/8 inch. If they do not, push the longer diagonal until the box is square before the glue sets.
Install the upper rails flush with the top edges. Add a rear stretcher or full back panel. The back is not just cosmetic: it stops the cart from racking when you push it. A thin 1/4-inch back panel can work if it is glued and stapled into a rabbet, but a 3/4-inch stretcher is more forgiving.
Attach the shelf with pocket screws or shelf pins. Reinforce exposed plywood edges with 1 1/2-inch hardwood strips. Glue and clamp the strips, then flush-trim them after drying. Do not rely on iron-on edge banding on corners that will receive impacts; it tends to peel on a mobile cart.
Install the Casters and Butcher Block
Fasten the casters to four hardwood mounting blocks or a continuous plywood caster platform under the cabinet. Do not screw caster plates directly into the end grain of the side panels. Use bolts, washers, and locknuts where possible, or use screws at least 1 1/2 inches long in solid mounting blocks. Put the locking casters on the same end as the handle so you can lock them while pulling the cart toward you.
Sand the butcher block through 120, 180, and 220 grit. Ease the sharp edges with two or three light sanding passes. Attach the top with figure-eight fasteners, tabletop clips, or screws through elongated holes in the rails. Wood moves across its width, so do not glue the top solidly to the cabinet. Fixed screws can split the top or pull the cabinet out of square during seasonal humidity changes.
Finish, Cure, and Test
For a decorative worktop, apply three thin coats of a durable countertop-safe finish, sanding lightly between coats as directed. If you will cut directly on the surface, use a food-contact-safe butcher-block oil or oil-and-wax system and expect regular reapplication. Film finishes are easier to clean, but knife cuts show quickly and repairs are more involved. Do not treat an ordinary polyurethane-coated top as a cutting board.
Finish plywood edges before final assembly when possible. Seal all sides of the top, including the underside, to reduce uneven moisture absorption. Let the finish cure fully; “dry to the touch” is not the same as ready for food or heavy use.
Load the cart gradually and test it on the actual kitchen floor. Push from several directions, check for rocking, and tighten the caster hardware after the first week. If it rolls when locked, replace the casters rather than adding random shims. Keep heavy appliances low, never lean your full weight on an overhanging corner, and lock both casters before chopping or kneading.