What's inside
As an Amazon Associate I earn from qualifying purchases. This post may contain affiliate links at no extra cost to you.
Small hardwood projects are the best way to learn sanding and finishing. They are inexpensive enough to remake, small enough to control, and useful enough that mistakes are not wasted. A cutting board, shelf, plant stand, or small box will teach you more than sanding a scrap and throwing it away.
Start with a project that has flat surfaces, simple joinery, and no large investment in lumber. Avoid a dining table as your first finishing project. Large panels expose every sanding mark, glue smear, uneven edge, and dust nib, while a small project lets you work slowly and inspect each stage.
As an Amazon Associate we earn from qualifying purchases at no extra cost to you.



Contents
Choose a Project That Teaches the Right Skills
The best beginner project has enough surface area to practice sanding but not so much that the process becomes tiring. It should also use a hardwood with a forgiving grain pattern. Maple, cherry, and ash are good learning woods. Oak is durable and affordable, but its open pores make a perfectly smooth finish more difficult. Walnut looks excellent with a clear finish but costs more and can show sanding scratches clearly.
| Project | What you learn | Typical difficulty | Best first finish |
|---|---|---|---|
| Coasters | Edge sanding, end grain, small-area finishing | Easy | Wipe-on oil or water-based polyurethane |
| Cutting board | Flattening, progressive sanding, food-safe finishing | Easy to moderate | Mineral oil and board wax |
| Small shelf | Long straight edges, grain raising, brush technique | Moderate | Water-based polyurethane |
| Keepsake box | Inside corners, end grain, careful finish control | Moderate | Wipe-on varnish or shellac |
Four Good Beginner Projects
Hardwood coasters
Coasters are the cheapest useful practice project. Make four squares from 3/4-inch stock, roughly 4 by 4 inches. Break the sharp edges with 120-grit sandpaper, then sand the faces through 180 and 220 grit. You will practice keeping a sanding block flat and avoiding rounded corners.
Coasters also reveal a common finishing failure: water spots. A wipe-on oil is simple and attractive, but it offers less protection from standing water than polyurethane. For coasters that will see cold drinks, apply three thin coats of polyurethane rather than one heavy coat. Lightly scuff with 320-grit paper between coats only after the finish has dried completely.
End-grain or edge-grain cutting board
A small cutting board, around 10 by 14 inches, teaches sanding more thoroughly than coasters. Glue several hardwood strips together, trim the panel flat, and sand progressively. If you do not own a planer or drum sander, buy a panel that is already flat; trying to remove major unevenness with a random-orbit sander wastes time and creates dips.
Begin with 80 or 100 grit only when the surface has visible milling marks or glue squeeze-out. Otherwise, start at 120 grit. Move through 150 and 180 grit, and stop there. Sanding a cutting board to 320 grit can burnish the surface and make it less receptive to mineral oil without providing a useful benefit.
Use food-grade mineral oil and board wax, not cooking oil or ordinary polyurethane. Flood the board, wait 15 to 30 minutes, wipe it dry, and repeat until the wood stops absorbing the oil quickly. The cheaper option is fine here: plain food-grade mineral oil works well, and board wax is helpful but not essential.
A small floating shelf
A shelf gives you longer edges and a larger flat surface without requiring a full piece of furniture. A 24-inch shelf is enough to expose sanding problems. Sand the top, bottom, front edge, and ends with the same grit sequence. Do not finish only the visible top; unfinished faces absorb moisture at different rates and can contribute to cupping.
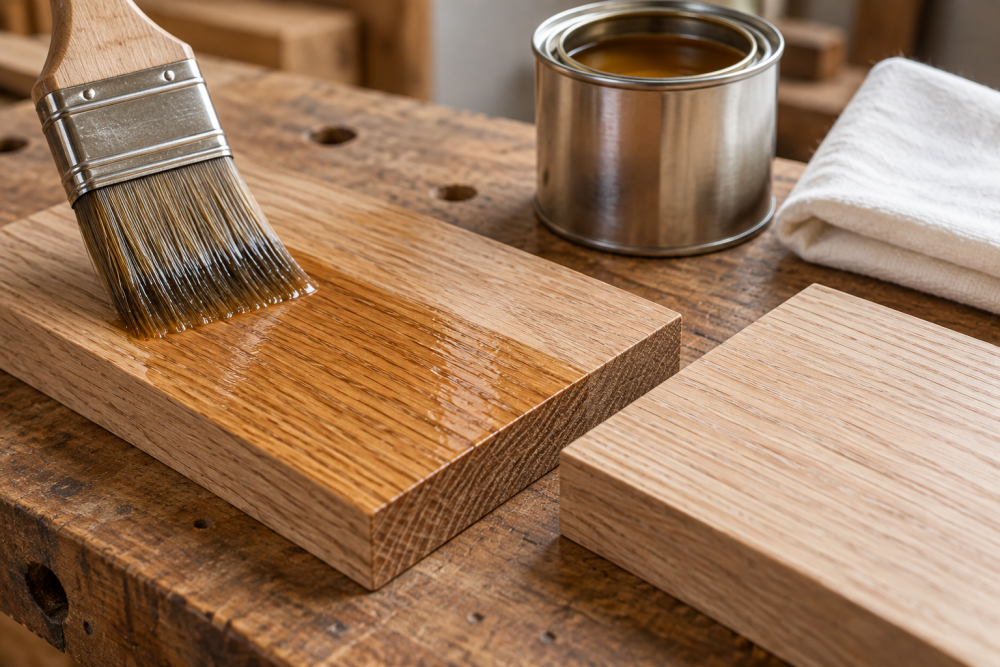
Water-based polyurethane is a practical first finish because it dries quickly, stays relatively clear, and produces less odor than many solvent-based products. Use a quality synthetic brush or foam applicator. Apply thin coats rather than trying to achieve full coverage in one pass. Runs at the front edge are the most common mistake, so inspect that edge immediately after brushing.
A water-based polyurethane is usually worth the modest extra cost for an indoor shelf. If the shelf is for a dry room and you prefer a softer, less plastic-looking surface, a wipe-on oil-varnish blend can be easier for a beginner, though it requires longer drying time.
A simple keepsake box
A small box adds inside corners and end grain, where finish often collects. Keep the design basic: four sides, a bottom, and a lid. Sand the parts before assembly where possible, especially the inside faces. After glue-up, remove squeeze-out with a damp cloth or chisel; dried glue spots often appear only after stain or finish is applied.
For a first box, use a clear finish rather than stain. Stain makes uneven sanding and glue contamination more obvious, particularly on pine and blotchy hardwoods. Shellac or wipe-on varnish gives you good control because you apply thin layers with a cloth. It will not provide the same toughness as a hard floor finish, but it is forgiving and easy to repair.
A Reliable Sanding Method
Sand with a flat sanding block on edges and by hand on broad faces. A random-orbit sander is faster on panels, but beginners often tilt it or move it too quickly. Keep the pad flat, use light pressure, and move at a steady pace. The sander should remove wood; your arms should not force it down.
Use a grit sequence such as 100, 120, 150, and 180, or 120, 150, and 180 when the wood is already smooth. Each grit should remove the scratches from the previous one. Wipe or vacuum the surface between grits. Under bright side lighting, pencil marks across the surface help show whether you have sanded evenly.
Do not skip grits to save time. Starting at 80 grit and jumping to 180 can leave deep scratches that remain visible under finish. Conversely, continuing to 400 grit does not correct poor sanding technique. Stop when the surface matches the finish you plan to use.
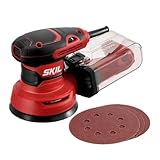
A 5-inch random-orbit sander with assorted discs is useful for shelves and panels. For coasters and small boxes, the cheaper option—a sanding block and quality paper—is perfectly adequate and gives better control around corners.
The Finishing Workflow
Before applying finish, remove dust with a vacuum and a clean, lightly dampened cloth. Do not soak the wood. Test the finish on an offcut from the same board, because the same product can look different on maple, oak, and walnut.
Apply the first coat thinly. Thick coats take longer to cure, sag on edges, and trap dust. Follow the label’s recoat time; “dry to the touch” does not always mean the finish is ready for another coat. Between coats, use 320-grit paper or a fine abrasive pad only to remove roughness. Do not sand aggressively through the finish on corners.
Most beginner failures are preventable: sanding across the grain, stopping before glue is removed, applying finish in a dusty area, and handling the project before it has cured. Give the finished piece at least 24 hours before light use, and longer if the label specifies it. For a first project, a clean, even finish matters more than a mirror-like sheen.