What's inside
As an Amazon Associate I earn from qualifying purchases. This post may contain affiliate links at no extra cost to you.
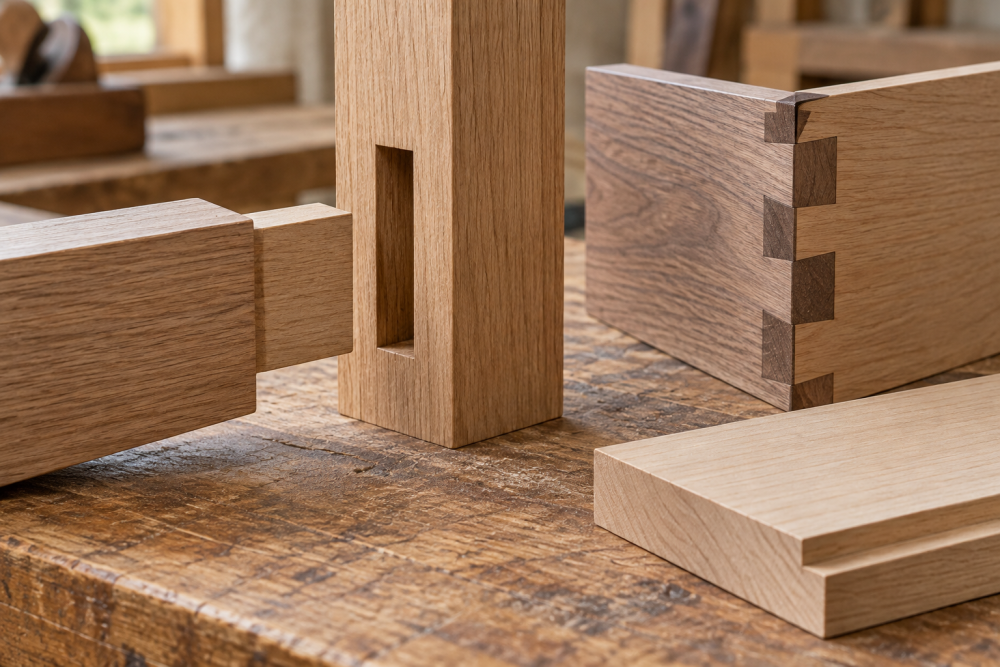
Box joints are one of the best ways to practice accurate woodworking because every cut has to line up with the next one. Unlike a decorative project where a small gap may go unnoticed, a box joint exposes errors immediately. The good news is that beginners do not need to start with a large blanket chest or expensive hardwood. Small projects let you tune the jig, learn how wood behaves, and recover from mistakes without wasting much material.
As an Amazon Associate we earn from qualifying purchases at no extra cost to you.


Contents
Choosing Your First Box Joint Project
Start with a project that has four sides, simple square parts, and no lid hardware. A small open box is ideal. Use 1/2-inch or 3/4-inch stock and keep the finished box between 4 and 8 inches wide. Larger boxes require more cuts, more glue-up pressure, and more opportunity for the joint to drift.
Soft maple, poplar, and clear pine are forgiving choices. Plywood can work, but its alternating layers make the joint look different and can chip at the edges. Avoid very brittle hardwoods such as thin oak or highly figured stock until your jig is producing clean results.
| Project | Recommended size | Skill level | Main lesson |
|---|---|---|---|
| Small open parts box | 4 x 6 x 3 inches | Beginner | Basic indexing and glue-up |
| Desk organizer | 6 x 10 x 4 inches | Beginner | Repeatability and layout |
| Small keepsake box | 6 x 8 x 4 inches | Beginner-plus | Flatness, sanding, and fitting a bottom |
| Tool tote | 12 x 20 x 8 inches | Intermediate | Longer joints and structural glue-ups |
Project One: Open Parts Box
This is the safest first project. Cut four equal-height pieces, with two long sides and two short sides. A finished box around 6 inches long, 4 inches wide, and 3 inches tall is large enough to handle but small enough to assemble without a fight.
Use a 1/2-inch box-joint finger width if your material is 1/2 inch thick. The fingers do not have to match the board thickness, but equal-width fingers are easier to lay out and look balanced. Mill all parts to the same thickness before cutting. Even a difference of 1/32 inch can leave a visible step at the corners.
Cut one test joint from scrap first. The fingers should slide together with light hand pressure. If the joint will not close, do not force it with a clamp; remove a small amount from the interfering area with a chisel or adjust the jig. A joint that is too loose can sometimes be improved with glue and finish, but gaps larger than about 1/32 inch remain visible.
After dry-fitting, mark the outside faces and arrange the parts in order. Apply a thin coat of glue to every mating face, then use a flat surface and light clamps. Too much pressure can bow the sides or squeeze out nearly all the glue. Check the diagonals before the glue sets; measurements within 1/16 inch are usually sufficient for a small open box.
Project Two: Desk Organizer
A desk organizer adds useful size without introducing complicated joinery. Build a long rectangular box with dividers installed afterward, or make two open compartments by adding a central partition. The outer box can use 3/4-inch stock, while the divider can be 1/2 inch thick and attached with a dado or a few brads and glue.
This project is good for learning that box joints must be cut consistently across several parts. If your table saw or router setup moves even slightly, the final finger pattern may not align. Before each cutting session, confirm that the jig is tight against the fence and that the workpiece is held flat.
A table saw box-joint jig can make repeatable cuts easier, but a homemade sled works just as well when its runners fit without side play. Beginners often spend money on a jig when the real problem is loose runners or an inaccurately sized indexing pin.
Round over or lightly chamfer the outside edges after assembly. This hides minor bruising and makes the organizer more comfortable to handle. Sanding should refine the surface, not correct badly mismatched fingers. Start with 120-grit paper and finish at 180 or 220 grit, depending on the finish.
Project Three: Small Keepsake Box
Once you can make an open box, add a bottom and a removable lid. A simple bottom can be glued directly to the lower edges, but a floating panel in a shallow groove is more stable and looks cleaner. For a first attempt, use a 1/4-inch plywood bottom and attach it underneath with glue and small brads.
Make the lid slightly smaller than the outside dimensions so it can be removed easily. A 1/16-inch clearance on each side is a practical starting point. Seasonal humidity changes the fit, especially with solid wood, so do not make a solid-wood lid dead tight in the shop.
For this project, a small brass box hinge set is optional. Hinges add layout work and can split thin sides if the pilot holes are skipped. A lift-off lid is cheaper, faster, and better for learning the joint itself.
Project Four: Small Tool Tote
A tool tote is the most demanding project on this list because the parts are longer and the box may carry several pounds. Keep the first version modest: about 12 inches long, 6 inches wide, and 8 inches tall. Use 3/4-inch stock and reinforce the handle where it passes through the end panels.
Long box joints magnify small errors. Cut all matching parts against a stop block, and do not reverse a board accidentally. Mark the inside face and reference edge on every piece before cutting. After assembly, install a hardwood dowel handle only after the box is square and the glue has cured.
For larger projects, a set of woodworking parallel clamps can help distribute pressure, but they are not essential for a small box. Four ordinary bar clamps, scrap cauls, and a flat workbench are enough for most beginner projects.
Common Box-Joint Failures
Uneven fingers: Usually caused by changing the pressure against the indexing pin or letting the workpiece lift. Keep steady downward and sideways pressure throughout every cut.
Gaps on one corner: The board may not have been square, or the reference face changed. Check stock with a reliable square before cutting. A 1/32-inch error at each end becomes obvious after four corners are assembled.
Burn marks: A dull blade, slow feed rate, or misaligned fence can overheat the wood. Use a sharp blade and steady feed. Do not stop with the blade buried in the cut.
Splintered exits: Add a sacrificial backer board and use a sharp blade with an appropriate tooth count. Lightly score the layout line with a knife when working brittle stock.
Joints that will not close: Never rely on clamps to force a poor fit. Find the high finger with layout dye or a pencil, then pare it carefully with a sharp chisel. The best beginner project is the one that teaches you to correct the setup before cutting the next part.