What's inside
As an Amazon Associate I earn from qualifying purchases. This post may contain affiliate links at no extra cost to you.
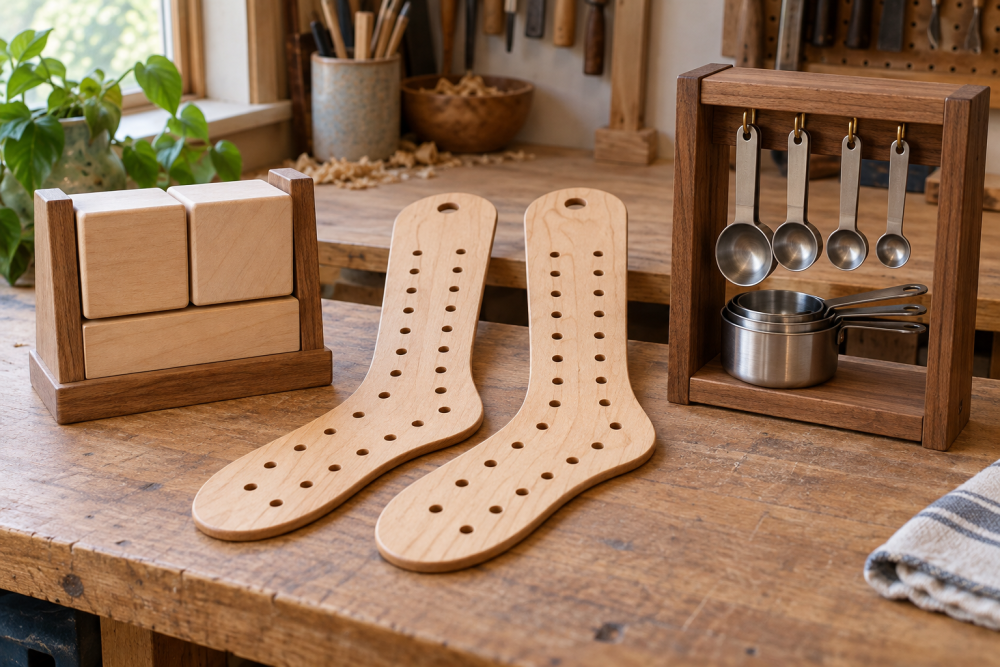
A wooden desk calendar with replaceable blocks is a small project that rewards careful layout more than fancy joinery. The build below uses two number cubes and three month blocks in a shallow wooden holder. You change the date by turning the cubes and swapping the month block; no paper, magnets, or moving mechanisms are needed.
Contents
How the calendar works
The two number cubes show dates from 01 to 31. Because a cube has six faces, use the 6 upside down as a 9. The month blocks carry four months apiece, one on each long face, so three blocks cover the year. A holder keeps the pieces upright and leaves enough room to lift them out.
This layout is compact, but the faces need to be planned before cutting. A block that fits tightly when unfinished may bind after paint or a humid spell. Aim for about 1/16 inch of clearance on each side of the moving pieces.
Materials and tools
Use straight-grained hardwood or stable plywood for the holder. Poplar is inexpensive and easy to work; maple or walnut costs more but resists dents and gives a darker, more furniture-like finish. For the blocks, use clear, dry stock without knots. A 3/4-inch-thick board is a practical starting point.
You’ll need a saw, square, ruler or calipers, drill and bits, sandpaper from 120 to 220 grit, wood glue, and a finish. A table saw makes repeatable cuts, but a handsaw and miter box can handle this small build. A combination square is useful for checking the holder and marking block faces accurately.
| Choice | Best for | Trade-off |
|---|---|---|
| Poplar | Low-cost painted calendar | Soft enough to pick up dents; paint hides its plain grain |
| Maple or birch | Clear finish and crisp lettering | Harder to cut and sand; typically costs more |
| Plywood holder | Quick, stable base | Visible plies need edging or a design that leaves them exposed |
Plan the dimensions
Choose block dimensions before building the holder. For a desk-size calendar, make each number cube 1 1/2 inches on each side and each month block 4 1/2 inches long, 1 1/2 inches wide, and 1 1/2 inches high. Cut three month blocks and two cubes. These dimensions leave room for large lettering while keeping the calendar easy to handle.
Make the holder’s inside width at least 9 1/2 inches: 4 1/2 inches for the month block, 3 inches for the two cubes, and about 2 inches of combined clearance and dividers. Set the inside depth to 1 5/8 inches so the pieces can be lifted out without tipping. A back rail around 2 1/2 inches tall keeps the blocks from falling backward. Test these dimensions with scraps first; actual stock thickness can vary.
Cut and assemble the holder
Cut a base about 10 1/2 inches wide by 2 1/2 inches deep, a back rail about 10 1/2 by 2 1/2 inches, and two end pieces sized to form the planned inside depth. Add a narrow divider between the month and number sections if you want the pieces to stay in separate groups. Dry-fit everything with the blocks in place before applying glue.
Check that the base sits flat and the back rail is square to it. Glue the joints, clamp without bowing the base, and wipe away squeeze-out before it hardens. If using screws, drill pilot holes to reduce splitting. A common failure is making the slot too narrow: even a small amount of finish can make blocks stick. Sand the inside faces and test the fit before finishing.
Make the date blocks
Cut two cubes from a square blank, keeping all faces equal. For the first cube, mark 0, 1, 2, 3, 4, and 5. For the second, mark 0, 1, 2, 6/9, 7, and 8. Together these faces can display every date from 01 through 31. The 6/9 face is the key: rotate it when needed, and orient the numeral clearly so it reads as a 6 one way and a 9 the other.
Cut three month blocks to equal length and mark four months on each long face. Arrange the months in calendar order around the faces so changing to the next month requires a simple turn or swap. Test the sequence on paper before engraving; once the lettering is cut, correcting an awkward order is difficult.
Use a carving tool, woodburning pen, or stencil and paint. A woodburning pen makes durable lettering, but practice on scrap first: a slow stroke can scorch wider than intended. Painted lettering is easier to revise, though it may wear on frequently handled edges. Keep numbers large enough to read from a seated position.
Sand, finish, and test
Sand the blocks and holder to 180 or 220 grit, easing sharp corners just enough to prevent splinters. Avoid rounding the block faces heavily; uneven faces can make the pieces rock. Apply a thin coat of water-based polyurethane, hardwax oil, or another finish suitable for indoor furniture. Let it cure fully before fitting the blocks. If the fit is tight, sand the holder—not the lettering—and remove dust before trying again.
Test every date from 01 to 31, including 09, 19, 26, and 29. These expose number-layout mistakes. Check that each month block can be removed without prying and that no date combination requires balancing a cube on an edge. For a seasonal variation, use contrasting woods or a simple painted border, but keep the moving faces unfinished until the lettering and fit are proven.