Key takeaways
- The router is intimidating at first. This step-by-step guide gets you making clean edges and grooves safely.
What's inside
As an Amazon Associate I earn from qualifying purchases. This post may contain affiliate links at no extra cost to you.
The router looks scary — a screaming bit spinning at 20,000 rpm — but once you understand a few fundamentals, it becomes the most rewarding tool in the shop. Let’s demystify it step by step.
Almost every ruined router cut traces back to one of two mistakes: the router was fed in the wrong direction, or it was asked to remove too much wood in one pass. Learning how to use a router is mostly learning to control those two variables. Bit choice, speed, and dust collection matter, but they are refinements sitting on top of direction and depth.
As an Amazon Associate we earn from qualifying purchases at no extra cost to you. Product prices and availability are accurate as of the date shown and are subject to change.


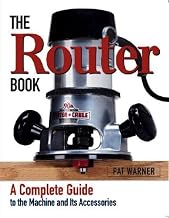


This guide assumes a handheld router — a motor in a base that you push across the wood — plus clamped-down workpieces, a shop vacuum, eye and ear protection, and a pile of scrap in the same species as your project. Everything here applies to a table-mounted router too, with one important reversal noted below.
Step 1: Understand feed direction
The single most important rule: feed the router against the bit’s rotation. Go the wrong way and it “climbs,” pulling out of control. For edge routing, that means moving left to right on the near edge. Master this before anything else.
The model that makes it stick: looking down at a handheld router, the bit turns clockwise. To cut against that rotation you travel counter-clockwise around the outside of a board, and clockwise around the inside of a cutout or a frame opening. Those two feel contradictory, which is why beginners get lost the first time they rout a picture frame. Mount the same router under a table and the bit now appears to spin counter-clockwise from above, so stock feeds right to left along the fence.
Fed correctly, the cutter pushes back at you and the router wants to stay against the edge — you are steering something that resists. A climb cut does the opposite: the bit grabs and drags itself along the wood faster than you intended, and a wavy edge is the best outcome.
One more habit worth building now. On a board where all four edges get routed, do the two end-grain edges first, then the long edges. End grain blows out at the exit corner, and the long-grain passes afterwards remove that damage.
Choosing a first router: what to weigh, in order
Routers sort into three groups. Compact or trim routers run about 1 to 1 1/4 horsepower with a 1/4 inch collet. Midsize routers sit near 1 3/4 to 2 1/4 horsepower and accept both 1/4 and 1/2 inch shanks. Full-size machines of 3 horsepower and up exist for router tables and large profile bits. Your first router is really a choice between the first two groups.
- Variable speed. The one feature to insist on. Large-diameter bits must run slower or they burn, chatter, and scare you.
- Collet quality and size. A two-piece self-releasing collet grips without a fight; cheap ones let bits creep downward mid-cut. A 1/2 inch option means far less bit deflection later.
- Depth adjustment you can feel. A geared or micro-adjust mechanism that holds its setting saves more time than any other convenience.
- Base and grip. A flat, concentric base and handles that let you press down rather than sideways. Try the switch: you should reach it without shifting your hold.
- Soft start and speed held under load. Soft start stops the startup twist; electronic feedback keeps rpm steady as the bit enters the wood.
Weigh them in that order. A midsize router with variable speed and a clumsy depth adjuster teaches you more than a single-speed router with a beautiful one, because the speed dial is what keeps a big bit from burning.
Variable-Speed Router
A variable-speed router lets you slow big bits down for control while you learn. Comfortable, powerful, and forgiving — exactly what a beginner needs to build confidence safely.
What changes as you move up the price bands
At the bottom of the market you are paying for a motor and little else: one fixed speed, a stamped base that may not run true to the bit, and a collet you will learn to distrust. In the middle band you get variable speed, soft start, a machined base, a decent collet, and usually a kit with both fixed and plunge bases — that is where a beginner should land. The top band buys smoother speed regulation under load, better dust shrouds, and above-table adjustment for router tables: real advantages that matter more to a cabinet shop than to a weekend project.
A compact router suits anyone doing edge profiles, chamfers, flush trimming, and small jig-guided dados, and it suits shops where a light one-handed tool wins. Skip it if you want rail-and-stile joinery, panel raising, or a table setup — those need a 1/2 inch shank and genuine power. Equally, skip a 3 horsepower machine as a first handheld router: heavy, tiring, and unforgiving of a wobble.
Step 2: Start with a round-over bit
The friendliest first bit is a round-over — it softens sharp edges and instantly makes projects look finished. Set a shallow depth, take light passes, and build up.
Buy carbide-tipped, and buy the bearing-guided version. The bearing rides the edge of the board and sets the horizontal cut for you, so height is the only thing you control. Set that height so the bottom of the cutter sits exactly flush with the face: slightly low leaves a step you must sand out, slightly high leaves a flat that shows up under finish. Test on scrap, adjust, test again.
Two setup details decide whether the cut is clean. Insert at least three quarters of the shank into the collet, but do not bottom the bit against the shoulder — back it out a fraction, then tighten firmly. And match speed to diameter: a small round-over is happy at full rpm, anything past an inch across belongs lower on the dial, and big panel bits belong at the bottom. Rim speed, not motor speed, is what scorches wood.
Then take the profile in two passes even when one looks possible. Around an eighth of an inch of material per pass keeps the motor from bogging and the router controllable, and the light final pass leaves an edge that barely needs sanding.
- ✔ Transforms plain edges
- ✔ Endlessly versatile
- ✔ Light passes = safe & clean
- ✔ Round-over is beginner-friendly
- ✘ Feed direction must be learned
- ✘ Loud — wear ear protection
Step 3: Practice on scrap
Clamp a practice board a foot or two long so the routed edge overhangs the bench, and make the same cut five times: full speed before contact, ease in at the corner, steady feed with no pausing, off the far end in one motion. Listen to the motor. A steady note means your feed rate is right, a drop in pitch means slow down or take less, and a rising whine with no chips means you have stopped cutting and started burning. Let the bit stop before setting the router down, and unplug before every bit change.
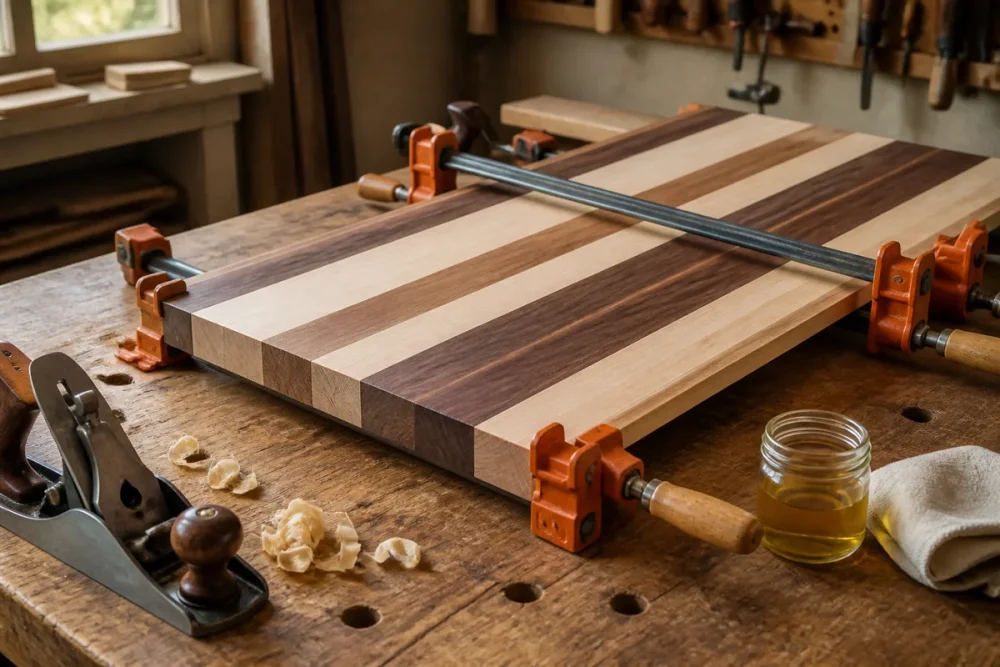
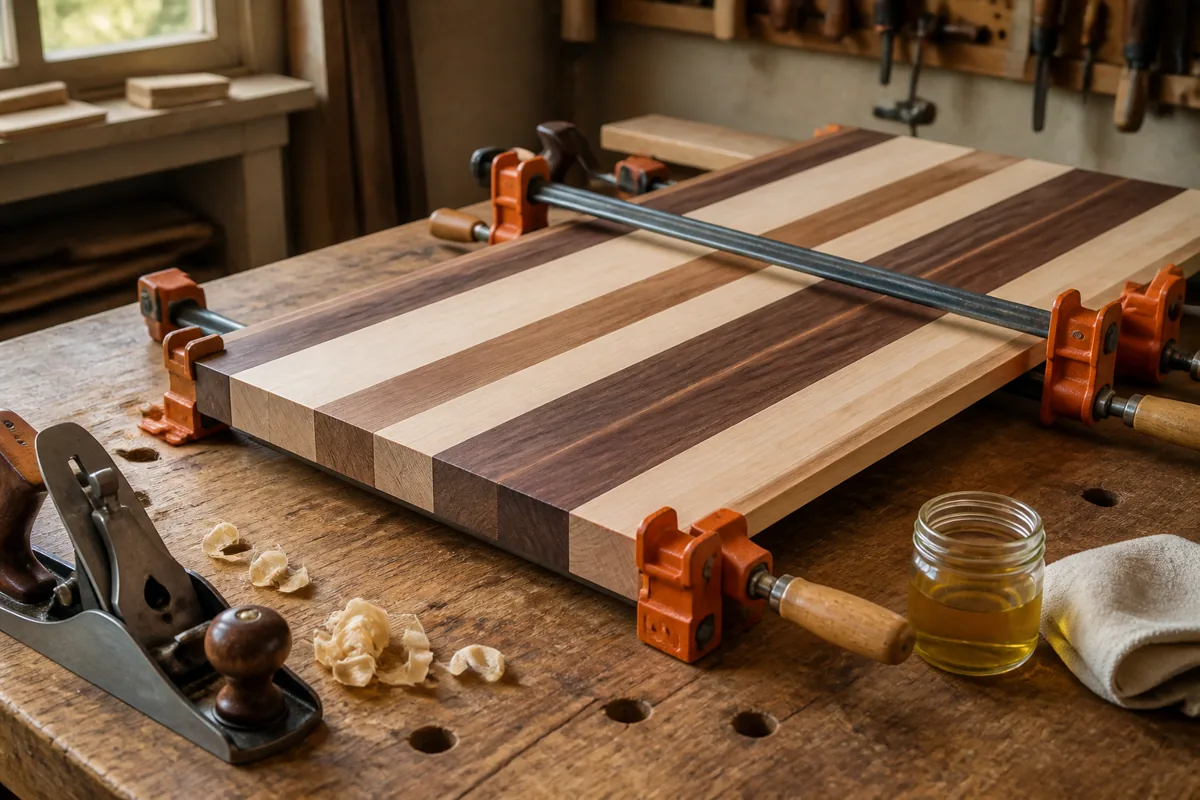
Always test on scrap first. Once you’re comfortable, a router opens up edges, grooves, and joinery. Put your new skills to work on a cutting board project.
Common beginner mistakes, and how to avoid them
- Full depth in one pass. It bogs the motor, tears the grain, and makes the router hard to hold. Reset the depth and go again.
- Routing parts that are too small. Profile the edge on a long board, then cut the small piece free. Never hold a part by hand near a bit.
- Tipping the base at the ends of a cut. Keep most of the base on the wood, or clamp a sacrificial block level with the edge to ride on.
- Creeping or pausing. A stationary bit burns in about a second, and burn is harder to remove than sanding marks.
- A dull or pitch-covered bit. Gummed carbide rubs instead of cutting. Clean bits with resin remover and replace them when the edges look rounded.
FAQ
Do I need a plunge base to start?
Not for edge work. A fixed base is steadier and easier to set for round-overs, chamfers, and flush trimming. You need a plunge base for cuts that begin or end in the middle of a board — mortises, stopped dados, inlay recesses, template work. Combo kits include both bases on one motor, which is why they are the standard first purchase.
How much can I cut in a single pass?
About an eighth of an inch of depth is a safe default for a handheld router, less in hard maple or with a wide bit. The real test is sound and feel: if the pitch drops or the router pulls against your grip, you are taking too much. A deep groove is simply several shallow passes with the depth reset between them.
Why is my edge coming out burned?
Burn means the bit spent too long in one place. The usual causes are pausing mid-pass, feeding too slowly, running a large bit at full speed, or a dull bit rubbing rather than cutting. Cherry and maple show it first. Fix the cause, then remove the marks with one very light final pass instead of sanding through a crisp profile.
Do I need a router table?
Not to begin with, but it solves the two things handheld routing does badly: small parts and repeatable cuts against a fence. Buy a midsize router with a 1/2 inch collet and you can mount that same motor in a table later — a good reason not to make a compact router your only one.