What's inside
As an Amazon Associate I earn from qualifying purchases. This post may contain affiliate links at no extra cost to you.
Contents
Why Start With a Block Plane?
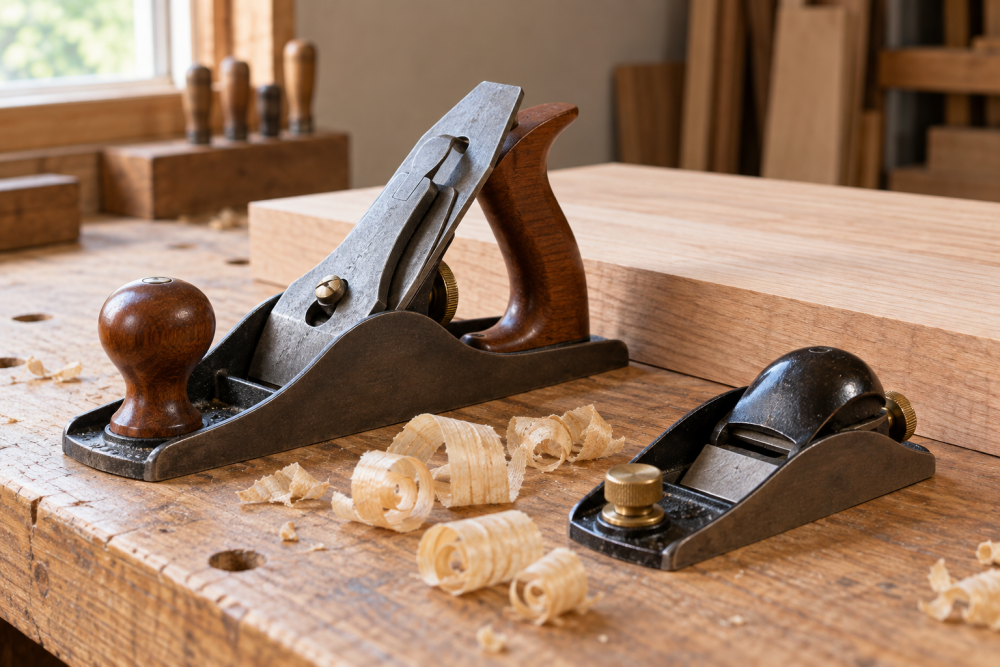
A block plane is one of the simplest hand planes to learn, but it rewards controlled technique rather than brute force. Its short sole fits small workpieces, its low cutting angle handles end grain well, and it can remove fine shavings for a clean final surface. The best beginner projects are small enough to hold securely and useful enough to justify the practice.
Before building, sharpen the blade and set it for a very light cut. A shaving around 0.1 to 0.2 mm thick is a good starting point. If the plane chatters, digs in, or leaves deep tracks, retract the blade and check that the sole is sitting flat on the wood. A dull blade makes every project harder and encourages excessive pressure.
As an Amazon Associate we earn from qualifying purchases at no extra cost to you.



Basic Tools and Materials
You need a block plane, a workholding method, a square, a pencil, a marking gauge or ruler, and sandpaper in roughly 120, 180, and 220 grit. A small bench vise or a pair of clamps is more useful than an expensive plane because the work must not move while you plane it.
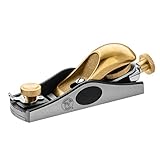
If you are buying your first plane, a low-angle adjustable block plane is the most versatile choice. A cheaper cast-metal plane is fine for learning if the blade can be sharpened and the sole is reasonably flat. Avoid models with loose adjustment hardware or a blade that cannot be held securely. These adjustable low-angle block planes are a practical category to compare.
| Project | Wood size | Main skill | Typical time |
|---|---|---|---|
| End-grain test block | 2 x 4 x 6 in. | Controlling tear-out | 30–45 minutes |
| Coaster set | 3/4 x 4 x 4 in. | Squaring and chamfering | 1–2 hours |
| Small shelf | 3/4 x 8 x 18 in. | Edge jointing and flattening | 2–4 hours |
| Wooden tray | 3/4 x 10 x 16 in. | Consistent edge work | 3–5 hours |
Project One: End-Grain Test Block
Start with a short hardwood block, about 2 inches thick, 4 inches wide, and 6 inches long. This is not just scrap: it lets you learn how the plane behaves before mistakes matter on a finished project.
Mark a pencil line across one end and clamp the block upright. Extend the blade only enough to produce a thin shaving. Plane from one edge toward the center, then reverse direction and plane from the other edge. This prevents the far edge from breaking out. Continue until the pencil line disappears evenly.
The common failure is tear-out: chunks break below the surface instead of forming shavings. Reduce the blade depth, skew the plane 20 to 30 degrees, and work toward the center from both sides. Hard, figured, or reversing-grain wood may still tear out. For this exercise, straight-grained softwood or maple is easier than oak with changing grain.
Project Two: Four-Sided Coasters
Coasters are ideal for learning repeatable dimensions and small chamfers. Cut four blanks about 3/4 inch thick and 4 inches square. They do not need to be perfectly identical at first, but aim to keep the finished pieces within 1/16 inch of one another.
Check each blank with a square. Plane the edges that are high, taking two or three light passes rather than one heavy pass. To make a simple chamfer, tilt the plane about 45 degrees and take one pass along each top edge. Add more passes only if the chamfer needs to be wider. A chamfer around 1/16 to 1/8 inch is enough to remove the sharp corner without making the coaster look overworked.
Plane end grain last and support the exit edge with a scrap block clamped tightly against it. This sacrificial piece prevents the block plane from breaking out a corner. Sand through 180 or 220 grit, then apply a finish suitable for occasional moisture, such as wiping varnish or a hardwax oil.
Project Three: Small Wall Shelf
A small shelf introduces longer, more demanding surfaces without requiring a full cabinet. Use a board roughly 3/4 by 8 by 18 inches. Choose a straight, clear board; warped or twisted stock can consume more time than the project deserves.
First inspect the board with a straightedge. Mark high spots with pencil, then plane with the grain using overlapping strokes. Keep the plane moving and use your free hand near the front of the tool to maintain even pressure. Do not press hard on the rear of the plane at the beginning of a stroke or the board may become hollow in the middle.
Plane the front and side edges square. Check frequently with a combination square rather than removing a lot of material and checking only at the end. If the board is already flat, use the block plane mainly to remove mill marks and soften the edges. That is faster and safer than trying to flatten the entire face by hand.
Install two simple brackets underneath, or cut a shallow keyhole-style mounting detail with other tools. The block plane’s job is to make the visible edges clean and comfortable, not to replace a jointer or thickness planer.
Project Four: Simple Serving Tray
A shallow tray gives you repeated edge work and a useful finished object. Glue up a panel about 10 by 16 inches, or use a solid board if it is stable. Add four side rails with butt joints or pocket screws, leaving a 1/4-inch lip above the panel.
After assembly, use the block plane to level small proud spots where rails meet. Plane along the grain on the outside edges and use short, careful strokes near corners. Chamfer every exposed edge lightly. The main failure here is rounding the edges through too many strokes in one area. Mark each edge with pencil and stop as soon as the line disappears evenly.
For small glued panels, a woodworking bench vise is convenient, but clamps and a non-slip mat are adequate for beginners. Finish with a food-safe product only if the tray will contact food; otherwise, a wipe-on varnish provides better moisture resistance.
Buying and Practice Advice
Do not begin with expensive exotic wood. Pine, poplar, beech, and straight-grained maple make inexpensive practice stock, although soft pine can dent under a plane. Keep a small sharpening setup nearby; a basic sharpening stone matters more than decorative features on the plane.
For every project, secure the work, check grain direction, take light cuts, and inspect the surface often. A block plane is most useful when it removes the last few thousandths of an inch accurately. Let the saw, router, or thickness planer do the heavy stock removal, then use the plane for fitting, edge treatment, and a surface you can feel is truly finished.