What's inside
As an Amazon Associate I earn from qualifying purchases. This post may contain affiliate links at no extra cost to you.
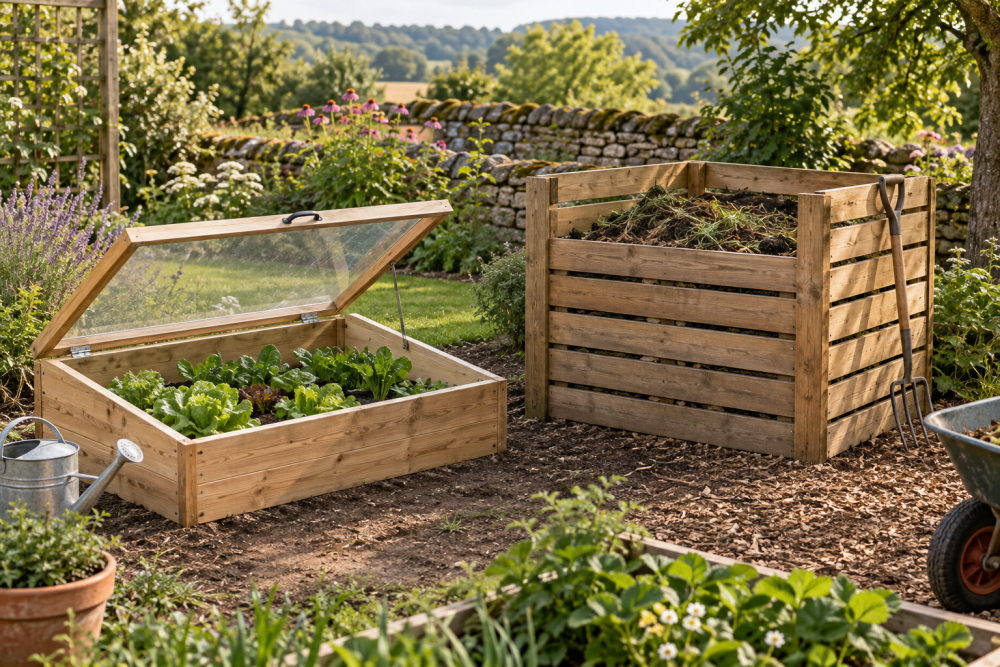
A wooden compost bin is a useful weekend project, but a fixed box quickly becomes awkward when you need to turn the pile or remove finished compost. Hinged access panels solve that problem. Build the bin with an open or slatted bottom, a removable or hinged front panel, and a top section that lets you add scraps without lifting a heavy lid.
This plan makes a roughly 36-by-36-inch bin, about 30 inches high. That size holds enough material for a small garden while remaining manageable to empty. Use untreated lumber only; pressure-treated wood can contain preservatives you may not want in compost. Cedar lasts longer, but ordinary untreated pine is the cheaper choice and is fine if you accept a shorter service life.
Contents
Materials and design choices
Plan on four corner posts, horizontal rails, slats for the sides, and two hinged access panels. Keep gaps between slats around 1/2 to 1 inch. Smaller gaps retain moisture and compost, while larger gaps improve airflow but allow material to spill out.
| Material choice | Advantages | Trade-offs |
|---|---|---|
| Untreated pine | Low cost, easy to cut, widely available | May rot in two to five years, especially on wet ground |
| Cedar | Better rot resistance and lighter weight | Costs more and can split near screw holes |
| Wire mesh panels | Excellent airflow and fast construction | Less attractive and can bow under a heavy, wet pile |
For the wooden version, buy four 4-by-4-by-36-inch posts, approximately twelve 1-by-6-by-36-inch boards for slats, and enough 1-by-3 or 1-by-4 stock for rails and the access panels. Use exterior-rated screws, preferably 2 1/2 inches long for most joints. Galvanized or stainless hardware resists rust better than interior screws.
You will also need four heavy-duty outdoor hinges, two latches, a drill, a saw, a square, a tape measure, and a 1/8-inch drill bit for pilot holes. A box of galvanized exterior wood screws is usually a better buy than using leftover indoor drywall screws.
Choose the location first
Set the bin on bare soil, not concrete or a sealed patio. Soil organisms and worms can enter from below, and excess liquid can drain away. Choose a partly sunny location with enough room to open the front panels fully. Avoid placing it directly against a fence or shed; leave at least 18 inches behind the bin for inspection and airflow.
Spring and fall are the easiest seasons for this project because the ground is workable and the pile is active. In winter, frozen soil makes leveling difficult. In very hot summer weather, work early in the day and keep lumber shaded so boards do not warp before assembly.
Cut and prepare the parts
Cut the four posts to 36 inches. Cut side and back slats to approximately 36 inches, checking the actual distance between your posts before cutting a full batch. Lumber dimensions vary, and a nominal 1-by-6 board is usually only about 5 1/2 inches wide.
Make each front access panel about 16 to 18 inches high. A two-panel arrangement works better than one large door because each panel is lighter and less likely to sag. Cut four panel rails and enough slats to fill the two frames, leaving the same 1/2- to 1-inch ventilation gaps used on the bin walls.
Round sharp corners with sandpaper and seal the end grain if you want to extend the life of pine. Do not coat the inside with paint, stain, or wood preservative unless the product is specifically suitable for contact with compost. A water-repellent end-grain sealer can be applied only to exposed cut ends.
Assemble the bin
Lay two posts parallel on a flat surface. Position three horizontal rails between them: one near the top, one near the middle, and one about 4 inches above the ground. Drive two screws through each rail into the posts. Check that the frame remains square by measuring both diagonals; they should be within about 1/8 inch of each other.
Build the opposite side the same way. Stand both side frames upright and connect them with back rails. Attach the back slats, starting at the bottom and working upward. Use a scrap block as a spacer to keep the gaps consistent. Do not bury the lowest wood directly in soil. Keeping it 3 to 4 inches above ground greatly reduces rot.
Attach the front rails between the posts, but leave the front opening clear for the panels. If the bin racks or twists while you work, clamp a temporary diagonal brace across the back until all rails and slats are installed.
Build and install the hinged access panels
Assemble each panel as a simple rectangle. Place the vertical stiles on a flat surface, fit the top and bottom rails between them, and add the slats across the frame. Pre-drill every screw hole near board ends. Without pilot holes, pine can split and cedar can crack around the screw head.
Hold the panels in the opening with a 1/4-inch gap on each side and about a 1/2-inch gap at the bottom. That clearance prevents swelling from locking the doors shut after rain. Install two hinges per panel, or three if a panel is wider than 18 inches or built from heavy hardwood. A pair of outdoor gate hinges is generally stronger than small cabinet hinges.
Mount hinges to the front rails or posts, not just to a thin slat. Test each panel through its full swing before installing the latches. Add a simple hook-and-eye, barrel bolt, or gate latch near the top. The latch must hold the panel closed against the pressure of wet compost; a decorative magnetic catch is not strong enough.
Finish and use the bin
Level the bin with a shovel or four small pavers beneath the posts. Do not permanently set the posts in concrete unless you need a fixed structure; compost bins are easier to relocate and clean when they remain movable.
Start the pile with a layer of coarse twigs, then alternate nitrogen-rich material such as fresh grass and vegetable scraps with carbon-rich material such as dry leaves, shredded cardboard, and straw. Keep the pile damp like a wrung-out sponge. If it smells sour or stays slimy, add dry material and turn it. If it dries out, add water while mixing.
Common failures are easy to prevent. A bin with no ventilation becomes anaerobic, a door mounted without clearance swells shut, and a panel with only one hinge sags within weeks. Inspect the screws and hinges each spring. If the pine begins to rot at the bottom, replace the affected slat rather than rebuilding the entire bin. For a lower-cost build, ordinary pine, basic galvanized hinges, and reclaimed untreated boards are reasonable choices; spend more on exterior screws and sturdy latches, where failure is most frustrating.