What's inside
As an Amazon Associate I earn from qualifying purchases. This post may contain affiliate links at no extra cost to you.
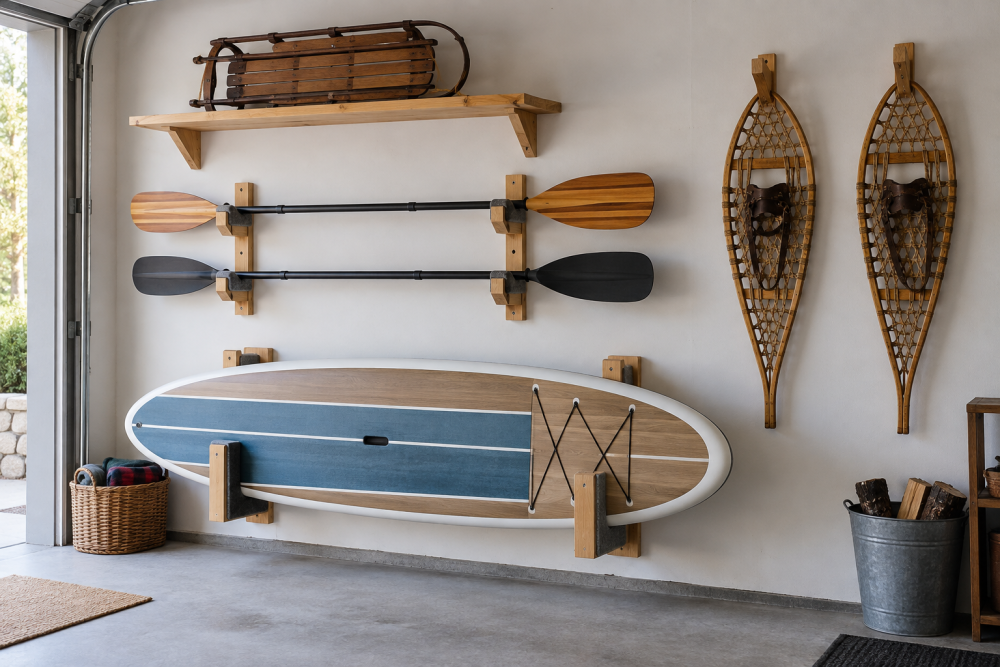
A simple wall-mounted rack keeps wooden kayak paddles off the floor, away from garage traffic, and easy to reach. This design uses two horizontal rails with padded notches, sized for a pair of paddles but easy to adapt. It suits a beginner with a saw, drill, and a clear patch of wall.
Contents
Size and layout
Build the rack about 30 inches wide and mount the two rails 24 to 30 inches apart vertically. That spacing supports most one-piece paddles without crowding the blades; measure your own paddle first, especially if it has an unusually wide blade or a long shaft. Each rail gets two broad, shallow notches, so the rack can hold two paddles. For more capacity, add notches rather than stacking paddles on top of one another.
Choose a spot with enough clearance to lift the paddles out without hitting a car, shelf, or ceiling. Check the wall for studs before cutting wood. A rack is only as secure as its fasteners and the surface they enter.
Materials and tools
Use a straight 1-by-4 board, 8 feet long, for the rails and wall cleats. Pine is inexpensive and adequate in a dry garage. A hardwood offcut is tougher and less prone to denting, but is not necessary for a lightly loaded paddle rack. You will also need 2-inch wood screws for assembly, screws long enough to reach studs, sandpaper, and foam pipe insulation or felt for padding.
A handsaw or circular saw, drill, tape measure, pencil, and square are enough. A jigsaw makes the notches easier to shape. If you need one, a basic jigsaw for woodworking is useful here, but a handsaw and a few straight cuts can also make a square-sided cradle.
Compare simple rack options
| Option | Best for | Trade-off |
|---|---|---|
| Notched wooden rails | Two or more paddles stored horizontally | Requires careful layout and wall fastening |
| Hooks with padding | Quick storage with minimal cutting | Paddles can roll or concentrate pressure at small contact points |
| Floor stand | Renters or walls that cannot be drilled | Uses floor space and can tip if poorly braced |
For a permanent garage setup, notched rails spread the load and keep the shafts from rolling. If you cannot drill into the wall, a floor stand may be a better choice than relying on adhesive hooks, particularly for heavy wooden paddles.
Cut the rails and mark the notches
Cut two 30-inch lengths for the horizontal rails. From the remaining board, cut two 30-inch cleats to fasten behind them. Sand the cut edges smooth. On each rail, mark two U-shaped or square-bottomed notches, centered roughly 8 inches apart. Leave at least 3 inches of wood at each end and enough material between the notches to keep the rail stiff.
Size each notch to the paddle shaft, then add about 1/4 inch of clearance for padding. A typical shaft may fit in a notch about 1 1/2 to 2 inches wide, but measure rather than assume. Make each notch roughly 1 inch deep. Deeper cuts hold the paddle more securely but remove more strength from the rail; shallow, padded notches are usually enough for indoor storage.
Cut the sides of each notch with a jigsaw, then remove the waste with another cut or a chisel. Round the inside corners slightly and sand thoroughly. Sharp edges and splinters can scratch a wooden shaft or catch on a blade.
Assemble and pad the rack
Center a cleat behind each rail and fasten it with 2-inch screws, spacing the screws about 6 inches apart. Predrill near the board ends to reduce splitting. The cleat gives the rail more depth and creates room for screws that will attach the rack to the wall. Check that the finished rails are straight and that the notches line up.
Cut short strips of foam pipe insulation or felt to cover the notch bottoms and sides. Secure foam with a small amount of adhesive or staples placed where they cannot contact the paddle. Do not use rough, exposed screw heads as padding: they can mark the finish and become a snag point. A suitable foam pipe insulation is inexpensive and easy to replace when it compresses or tears.
Keep the padding thin enough that the paddle sits below the notch edges. Thick foam can make the shaft perch loosely and roll out when bumped.
Mount the rack to the wall
Use a stud finder or tap-and-probe method to locate two studs, then mark their centers. Hold the lower rail level at your chosen height and drive two structural screws through the cleat into studs. Repeat for the upper rail, checking that the rails are vertically aligned and spaced to support the paddle near its ends. Use screws long enough to pass through the cleat and drywall and penetrate the stud by at least 1 1/2 inches.
If the studs do not line up with the rail’s screw positions, add a horizontal mounting board secured to two studs, then attach the rack to that board. Drywall anchors alone are a poor choice for a loaded rack that may be bumped; they can loosen over time. A stud finder can speed up layout, though checking its marks with a small pilot hole is still sensible.
Test and maintain
Before storing a paddle, pull down firmly on each rail and inspect for movement. Place one paddle in the rack, check that it sits securely in both rails, then add the second. If the rack shifts, remove it and improve the fastening rather than adding more weight. Keep paddle blades clear of nearby tools and avoid storing a paddle where direct heat or a leaking roof can damage the wood.
Check the screws and padding every few months, or after a hard bump. Tighten loose fasteners, replace compressed foam, and sand any rough spots before they touch the paddle. The rack should hold the paddles without pinching them; if a shaft binds in a notch, widen it slightly instead of forcing the fit.