What's inside
As an Amazon Associate I earn from qualifying purchases. This post may contain affiliate links at no extra cost to you.
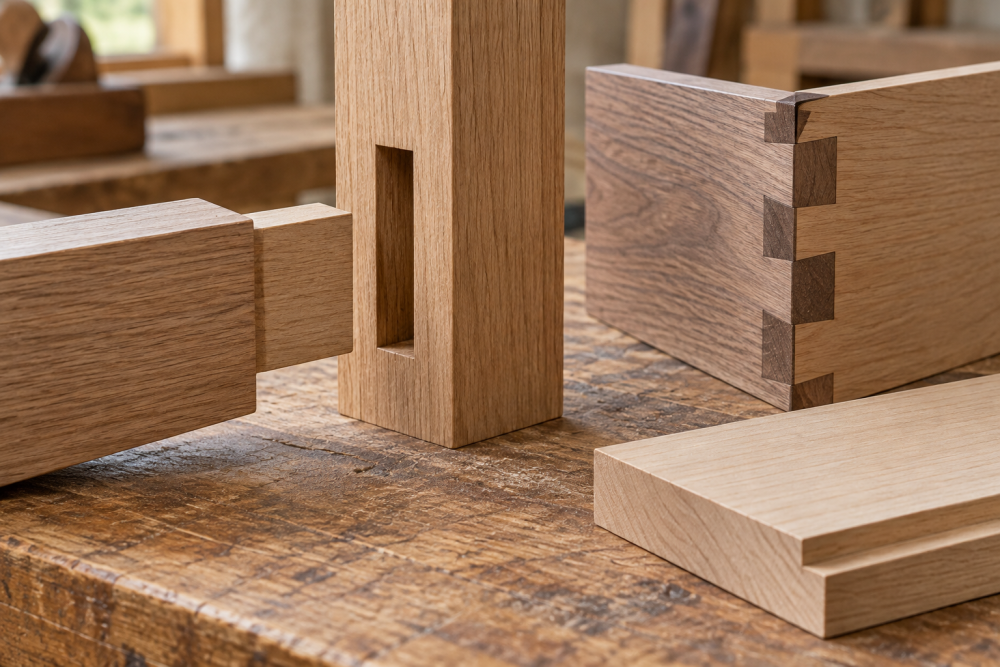
A rabbet is a square-edged recess cut along the edge or end of a board. It is simple to describe and unforgiving to cut: a small error in width or depth can leave a visible gap at a joint. The best way to learn is to make a few small parts where you can check the fit before committing to a larger project.
Start with straight, flat stock, mark the cut clearly, and make test cuts in offcuts from the same board. For a basic practice rabbet, aim for a shoulder that meets the mating piece without a gap and a depth that leaves enough wood for a sturdy joint. These projects build accuracy without requiring a full cabinet or a pile of expensive lumber.
As an Amazon Associate we earn from qualifying purchases at no extra cost to you.



Contents
Choose a cutting method
A table saw with a dado stack is fast for repeatable rabbets, but it requires careful setup and appropriate guards and push blocks. A standard blade can also cut a rabbet in multiple passes; it is slower, and the shoulder may need a cleanup pass. A router with a straight bit and edge guide offers good control on small work, though the bit can burn wood if the feed is too slow. A hand plane is quiet and inexpensive if you already own one, but it takes practice to keep the shoulder square.
If you are buying for occasional small projects, a basic router straight bit and edge guide can handle useful work beyond rabbets. If you already have a table saw, a pair of table-saw push blocks is a more practical safety purchase than a specialty cutter for a first practice project.
| Method | Good fit for | Trade-off |
|---|---|---|
| Router and edge guide | Short rabbets and small panels | Can burn or chatter; make several shallow passes |
| Table saw | Long, straight rabbets and repeated parts | Needs a stable setup and careful workholding |
| Hand plane | Quiet practice and fine fitting | Slow; keeping the shoulder square takes skill |
1. Picture-frame corner sample
Cut four short pieces of straight-grained softwood, about 3/4 inch thick and 6 inches long. On each piece, make a rabbet along one end, roughly 1/4 inch deep and 1/2 inch wide. The rabbet should be wide enough to receive the end of another piece. Use offcuts to tune the fit before cutting all four corners.
This is a useful first exercise because the joint exposes both width and depth errors. If the mating end sits proud of the face, the rabbet may be too shallow. If it rocks or leaves a gap at the shoulder, the cut may be uneven or the stock may not be square. Clamp the sample dry before gluing; a clamp can hide a poor fit by forcing the parts out of alignment.
For a real picture frame, use a separate plan for the miters and rabbet dimensions. This practice version is about getting a square shoulder, not producing a finished frame.
2. Small open-top box
Build a simple box about 5 by 7 inches with 1/2- to 3/4-inch-thick sides. Cut rabbets at the ends of two opposite sides, then fit the other two sides into them. A depth near one-third of the stock thickness is a sensible starting point: for 3/4-inch stock, try 1/4 inch. Set the width to match the mating side’s thickness, then test on scrap.
The box makes you repeat the same cut, so it shows whether a fence or guide has shifted. Check each rabbet with a square and measure depth in at least two places. If one end is deeper, the box may close unevenly even if the pieces seem to fit separately. Use glue and light clamping pressure; excessive force can bow thin sides.
For a clean result, mark the show faces and keep them oriented consistently. Plywood is stable, but its layers can splinter at the edge. Solid pine is easier to plane or sand, though knots and grain changes can cause tear-out.
3. Short shelf with a recessed back
Make a small wall shelf or desk organizer from a 6-by-10-inch panel and two short side pieces. Cut a rabbet along the back edge of the panel to accept a thin back, such as 1/4-inch plywood. For a 3/4-inch panel, a 1/4-inch-deep rabbet is usually enough for a light-duty back; increase the width only enough to seat the plywood without forcing it.
This project teaches a long, continuous cut. A fence that is not parallel to the blade or router bit can make the rabbet taper. Check the setup at both ends, and take a shallow first pass to verify the line. If using a router, do not try to remove the full depth in one pass; two or three passes reduce strain and help limit burning.
The back helps keep a small shelf square, but it is not a substitute for sound mounting hardware. For anything carrying substantial weight, use a design with appropriate fasteners and wall attachment rather than relying on a thin back panel alone.
4. Tray with a sliding lid
A small parts tray with a sliding lid is a good next step because it requires two parallel rabbets. Cut matching grooves near the top inside edges of the long sides, then fit a thin plywood or solid-wood lid into them. Start with a 1/4-inch-thick lid and a groove slightly wider than that—about 9/32 inch is a practical test dimension if your cutter or setup allows it.
Do not aim for a friction fit. Wood moves with humidity, and a lid that slides perfectly in a dry shop may bind later. Make the groove deep enough to capture the lid, but leave a little side-to-side clearance. Test with the actual lid material, since nominal plywood thickness can vary.
For this project, a reliable combination square helps check that both rabbets sit at the same height. A cheaper square is fine if its blade is straight and it reads consistently; verify it by drawing a line, flipping it, and checking whether the line still matches.
Practice before cutting
Use a sharp cutter, secure the work, and keep hands clear of the cutting path. On a table saw, avoid balancing narrow stock by hand; use a suitable sled or stable support. On a router, clamp the board and keep the base fully supported at the edge. Wear eye and hearing protection, and follow the tool maker’s instructions for guards and bit limits.
Make one test rabbet, measure its depth, and fit the mating part before repeating the cut. If the shoulder is ragged, check blade or bit sharpness and grain direction. If the rabbet is too wide, reset the fence or guide rather than trying to disguise the gap with glue or filler. Small projects are useful practice precisely because they make these mistakes cheap to fix.