What's inside
As an Amazon Associate I earn from qualifying purchases. This post may contain affiliate links at no extra cost to you.
Contents
Start with the whole drawing
Before cutting, read the plan from front to back. A woodworking plan is more than a picture with dimensions: it may include an overall drawing, part views, a cut list, assembly order, hardware notes, and details about materials or finish. The pieces need to agree with one another. If the cut list says a rail is 24 inches long but the drawing appears to show 22 inches, stop and resolve the mismatch before making sawdust.
Find the finished dimensions first: overall width, depth, and height. Check whether those measurements include projecting parts such as a tabletop overhang, feet, or a handle. Then note the intended use and location. An indoor shelf and a garden bench may look similar on paper but need different materials, joinery, and finishes.
Learn what the drawing views show
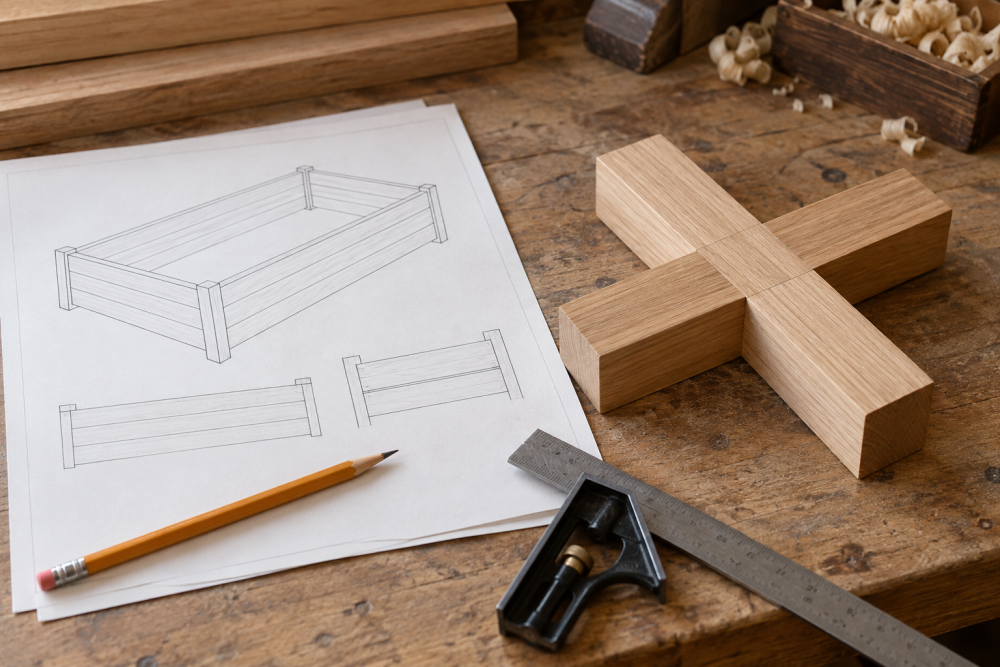
Plans commonly use front, side, and top views, plus an exploded view that separates parts to show how they fit. Read the views together. A front view may show a cabinet’s width and height but hide its depth; the side view supplies that missing measurement. An exploded view helps explain assembly but is not necessarily drawn to scale.
Look for detail drawings around joints, holes, and edges. A small inset may specify a 1/4-inch groove or a 3/8-inch roundover that is hard to see in the main view. Dashed lines often indicate hidden edges, while arrows and labels point to specific dimensions or parts. If a line type or symbol is not explained, do not guess. Check the plan’s notes or legend.
Check units, dimensions, and tolerances
Confirm whether the plan uses inches, millimeters, or both. One inch equals 25.4 millimeters; mixing systems can turn a small mistake into a part that will not fit. Also distinguish a fraction from a decimal: 3/8 inch is 0.375 inch, not 0.38 if a close-fitting joint is involved.
Dimensions usually describe the finished part, but verify this against the notes. Lumber sold as a “1-by-4” is not actually 1 inch by 4 inches. Its typical finished size is 3/4 by 3 1/2 inches, though actual stock varies. That difference matters when a plan calls for a panel to fit between rails. Measure your material, and write the actual thickness on your cut list.
Look for allowances such as “trim to fit,” “leave long,” or “cut after assembly.” Those instructions protect you from small variations in stock and assembly. A part that must fit a specific opening should often be measured against the real opening rather than cut solely from a nominal dimension.
Read the cut list and material notes
A cut list names each part, its quantity, and its finished dimensions. Mark every piece on the plan so you know where it goes. Then check the list against the drawings: a plan with four identical legs should not have only three listed. Note whether dimensions are for solid lumber, plywood, or a combination, and check plywood thickness. “3/4-inch plywood” is commonly thinner than exactly 3/4 inch.
Wood movement matters, especially for wide solid-wood panels. Across the grain, wood can change width as humidity changes; plywood is more stable. A tabletop fixed rigidly across its width can split or pull fasteners loose. If the plan calls for buttons, clips, or elongated screw holes, those details let the top move. Do not replace them with a row of tight screws just because it seems simpler.
Plan the cut layout before buying lumber. Look for knots, cracks, cup, or twist that could land in a visible or structural part. Buying a little extra is sensible, but the amount depends on the plan and stock condition. For a beginner’s small project, one extra board or a few inches of spare length may prevent a stalled build; large blanket allowances can waste money.
Understand joints, hardware, and assembly order
Identify every joint before choosing tools. A butt joint with screws is quick and suitable for many utility projects, but it relies on fasteners and can loosen under repeated racking. A mortise-and-tenon joint is stronger and more involved, while pocket screws can be a practical middle ground for frames when their location and load are appropriate. The plan’s joint choice affects accuracy, strength, appearance, and setup time.
Check hardware notes for screw length, hinge size, and required clearances. A screw that is too long can break through the far face; one that is too short may not hold. Drill a pilot hole when appropriate, especially near the end of a board, to reduce splitting. If the plan specifies a particular fitting but gives no dimensions, compare the actual hardware with the drawing before drilling.
Assembly order matters. Some parts become inaccessible once a panel or back is installed. Dry-fit the pieces first, without glue, to confirm that the joints close and the assembly is square. Glue makes a misaligned frame harder to correct, not easier.
Compare plan dimensions with common stock
| Plan calls for | What to check | Common problem |
|---|---|---|
| 1-by-4 lumber | Measure actual width and thickness; often about 3/4 by 3 1/2 inches | Assuming the name is the finished size |
| 3/4-inch plywood | Measure the sheet; thickness can be slightly under 3/4 inch | A dado sized for a true 3/4 inch may be loose |
| 24-inch finished opening | Check whether the dimension is inside or outside the frame | Cutting the shelf 24 inches when it needs clearance |
| Cut-to-fit part | Assemble the surrounding parts and measure the real gap | Following a nominal number despite stock variation |
Make a cutting and tool plan
Before cutting, mark each part with its name and finished length. Separate rough cuts from final cuts: leaving a part slightly long and trimming it accurately is often safer than trying to make a perfect cut in one pass. A stop block helps repeat identical lengths, while a square and tape measure catch basic layout errors. For common measuring tasks, a combination square is a useful addition to a basic kit.
Choose tools based on the work, not the plan’s implied shopping list. A circular saw and straightedge can handle many plywood cuts; a table saw is faster for repeated, narrow rips but requires careful setup and safe handling. A circular saw guide can improve long straight cuts without the cost or storage needs of a large saw. The trade-off is that you must support the sheet securely and make more layout and setup checks.
For a first build, write down the sequence: break down sheet goods, cut oversized parts, mill or square edges, make final cuts, dry-fit, then assemble. If a dimension remains unclear, pause and check the plan or project source. One careful question is cheaper than replacing a board cut too short.