Key takeaways
- A step-by-step method for cutting oak, maple and walnut with a jigsaw: blade TPI, speed dial, orbital setting, support and the mistakes that cause burning and bevel drift.
What's inside
As an Amazon Associate I earn from qualifying purchases. This post may contain affiliate links at no extra cost to you.
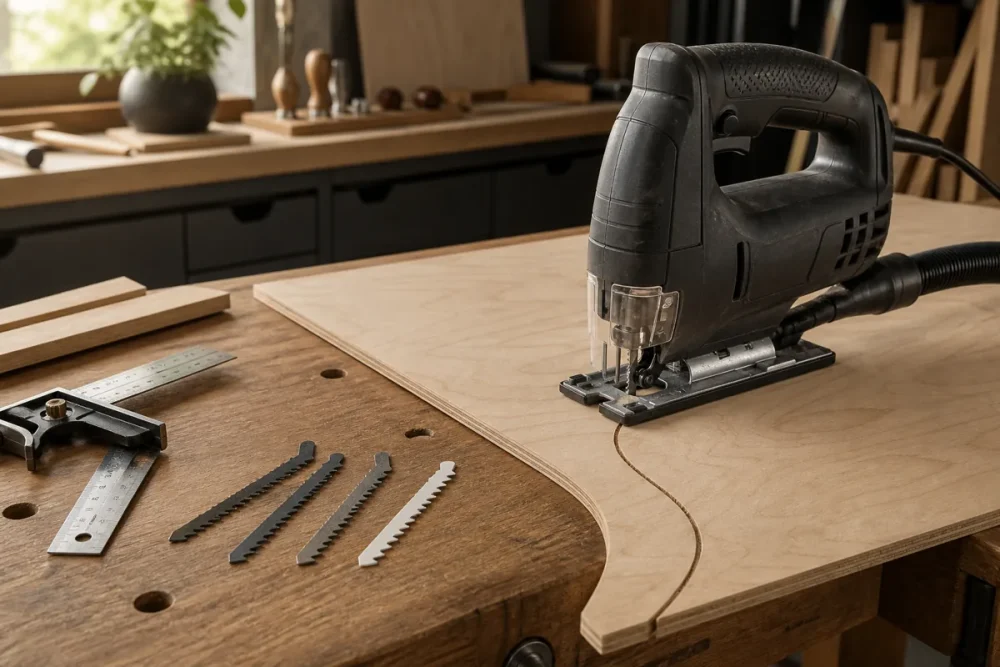
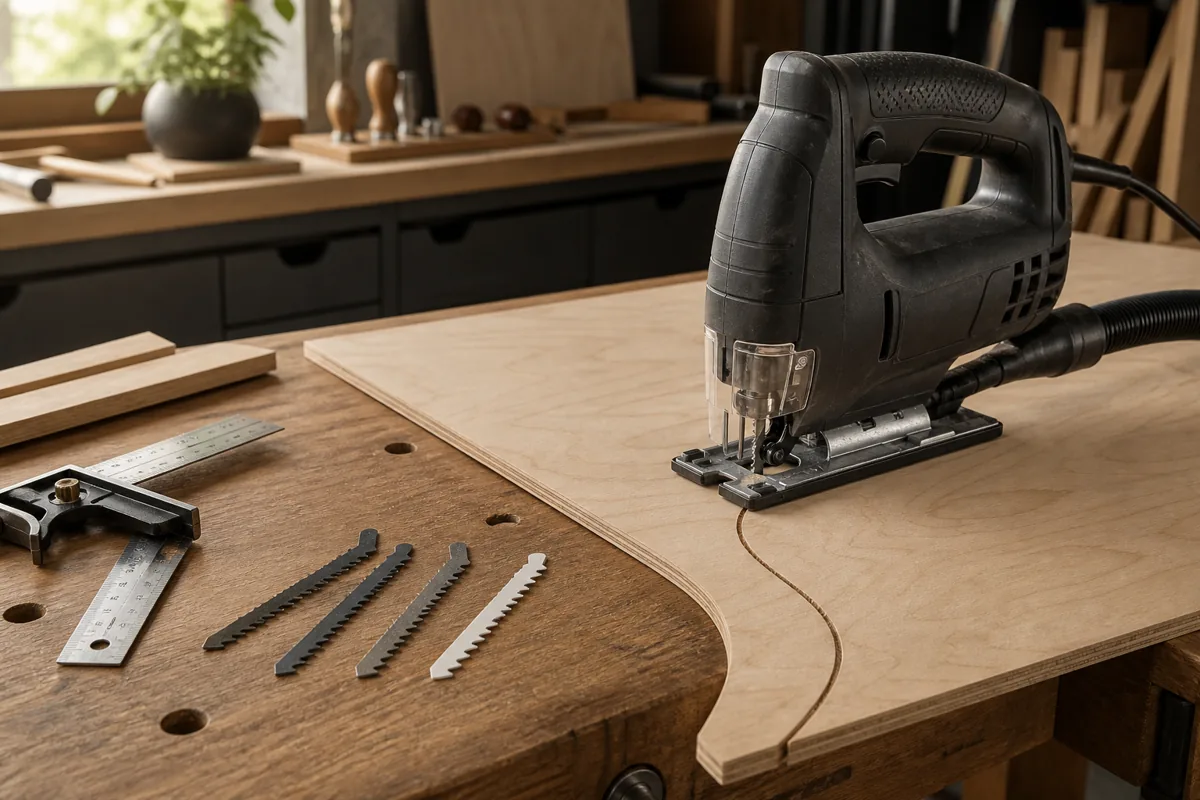
Rip a length of 3/4 in white oak with a jigsaw and the trouble shows up in the first six inches: the blade wanders off the line, the edge comes out beveled a degree or two even with the shoe set at zero, the top face splinters, and hard maple starts to smell like a campfire. A jigsaw for cutting hardwood is not the wrong tool. It is a tool with a thin, unsupported blade, and hardwood punishes every setup mistake that plywood forgives.
What follows is the procedure in order: blade, settings, support, then the cut. Most of it works with the jigsaw already sitting on your bench. Where the tool itself is genuinely the limit, roughly past 1-1/2 in of thickness, I say so.
As an Amazon Associate we earn from qualifying purchases at no extra cost to you. Product prices and availability are accurate as of the date shown and are subject to change.




Choose the blade before you touch the saw
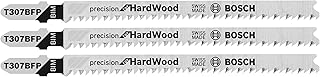
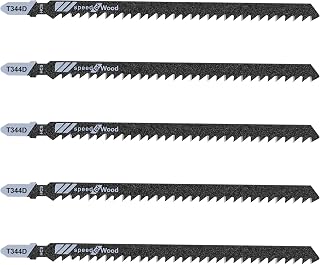
Blade choice decides most of the outcome. Hardwood needs ground, side-set teeth rather than milled ones, enough teeth to shear the fibers cleanly, and enough body stiffness to resist bowing. The coarse universal blade that shipped with your saw was made for framing lumber, and it will burn oak.
| Blade | TPI | Best hardwood use | Watch for |
|---|---|---|---|
| Clean-cut wood (T101B pattern) | 10-12 | 3/4 in oak, maple, walnut, cherry | Needs a slower feed than you expect |
| Reverse tooth (T101BR pattern) | 10-12 | Veneered or prefinished panels | Cuts on the downstroke, hold the saw down |
| Bi-metal progressive | 8-10 | 1-1/4 in to 2 in stock | Costs more, survives twisting |
| Narrow scroll | 12-14 | Curves down to about 3/8 in radius | Deflects the moment you push |
| Fast wood, milled teeth | 6 | Rough cuts you will trim later | Heavy tearout on both faces |
Steps 1 to 4: set up the saw and the work
1. Match blade length to thickness. The blade must run at least 1 in longer than the stock so the teeth clear the underside on every stroke. Teeth that never exit carry packed gullets, and packed gullets rub instead of cut, which is where scorch marks begin. A 4 in blade handles 3/4 in stock; go 5 to 6 in for 2 in material.
2. Square the shoe. Unplug the saw or pull the battery, set the bevel to the zero detent, then check it with a small square against the flat of the blade, not the teeth. Detents are often a half degree off, and one degree of error across 3/4 in leaves about 0.013 in of taper, enough to open a glue line.
3. Speed high, orbital off. On a six-position dial, hardwood likes 5 or 6 with the orbital lever at 0. Orbit kicks the blade forward on the upstroke, which clears chips in construction lumber but tears oak and shoves the blade off your line. Scorching in cherry or maple? Drop one speed notch and feed slightly faster, not slower.
4. Support the work, tape the line, good face down. A jigsaw cuts on the upstroke, so splintering lands on the top surface. Clamp the board show face down over 2 in rigid foam or scrap plywood, run blue painter’s tape along the cut path, and draw your line on the tape. On veneered panels, tape both faces and switch to the reverse-tooth blade.
Clean-cut and bi-metal jigsaw blade sets
A mixed pack of 10 to 12 TPI clean-cut, reverse-tooth and bi-metal blades costs less than one hardwood board and solves more problems than a new saw will. Get T-shank if your saw accepts it; the grip is more secure than U-shank.
Steps 5 to 10: making the cut
5. Cut on the waste side with a cleanup margin. Leave 1/32 in if you will plane or sand to the line, 1/16 in if a flush-trim bit and template will finish the edge. Asking a jigsaw to land exactly on a finish line freehand gives you a wavy edge.
6. Start at full speed with the blade clear of the wood. Rest the front of the shoe on the board with the blade hanging past the edge, let the motor reach full stroke, then feed in. Starting with the teeth in contact makes the saw hop and chips teeth.
7. Let the blade set the pace. Push only hard enough to keep a steady motor note and a steady chip stream, roughly 8 to 12 in per minute in 3/4 in oak. Extra push bows the blade backward, and a bowed blade cuts a bevel no shoe adjustment can fix. Steer by pivoting the whole saw, never by leaning it.
8. Relief cuts before tight curves. A 1/4 in wide standard blade wants about a 1 in radius; a narrow scroll blade holds roughly 3/8 in. Tighter than that, saw straight kerfs into the waste every 1/2 in so it breaks away in pieces and the blade never twists in the kerf.
9. Support the offcut and hold your feed to the end. A sagging offcut pinches the blade in the last inch and tears the corner off. Clamp scrap underneath and do not slow down at the exit.
10. Clean the edge in two grits. A block plane or 80 grit on a hard block removes the mill marks, 120 grit blends them, and that is enough for glue-up or finish. Curves get 80 grit on a shaped block or a spindle sander. Skip 60 grit unless there is a real hump to knock down.
What a jigsaw for cutting hardwood can and cannot do
Deflection grows with depth of cut, so wander you never notice in 3/4 in stock becomes an out-of-square face in 2 in hard maple. If a thick cut is unavoidable, run a progressive bi-metal blade near 8 TPI, use a corded saw in the 6.5 to 7 amp class or an 18V brushless model with a high-capacity pack (DeWalt XR, Milwaukee FUEL and Makita LXT all have capable versions), halve your feed rate, and leave 1/8 in of margin. For repeat cuts in thick hardwood, a bandsaw is the honest answer.
- ✔ Cuts curves and interior openings no table saw can touch
- ✔ One cheap blade change covers hardwood, plywood, plastic and metal
- ✔ You move the tool instead of the panel, which is safer on wide stock
- ✘ Blade deflects in stock past about 1-1/2 in
- ✘ Dense hardwood demands feed rates that feel painfully slow
- ✘ Edges nearly always need planing, sanding or a flush-trim pass
Variable-speed orbital jigsaws
Look for a true adjustable speed dial, a lockable orbital selector, tool-free blade change and a metal shoe with a blade guide roller. Barrel-grip bodies suit curve work; top-handle saws are easier to control on long straight cuts.
Common mistakes
Most ruined hardwood cuts trace back to four habits: leaving the orbital lever wherever the last plywood job left it, running the coarse blade that came in the box, pushing harder when the cut slows instead of changing the blade, and cutting good face up so the tearout lands where it shows. A fifth is stretching one blade past 15 or 20 feet of oak. Blades are consumables, and a fresh one costs less than a ruined board.
Frequently asked questions
Can a jigsaw really cut 2 in hardwood? Yes, with a 5 to 6 in progressive bi-metal blade around 8 TPI, orbital off, full speed and a feed of roughly 4 to 6 in per minute. Expect the bottom of the cut to drift, so leave 1/8 in and clean up with a plane, router and template, or sander.
What TPI should I use on oak and maple? Use 10 to 12 TPI in 3/4 in stock, 8 to 10 for 1-1/4 in and thicker, and 12 to 14 on a narrow scroll blade for curves. More teeth means a cleaner edge and a slower feed.
Why is my jigsaw cutting at an angle? In order of likelihood: too much forward pressure bowing the blade, a dull or already bent blade, a shoe that is not truly square at the zero detent, and a worn guide roller. Entry-level saws with loose guides drift more no matter how careful you are.
Get the blade right, kill the orbital action, clamp the work good face down, and feed slowly enough that the motor sounds unbothered. That combination turns a jigsaw into a tool you can trust for curves, cutouts and rough sizing in oak, maple, walnut and cherry, with a predictable 1/32 in left for the block plane.
Check prices on Amazon →