What's inside
As an Amazon Associate I earn from qualifying purchases. This post may contain affiliate links at no extra cost to you.
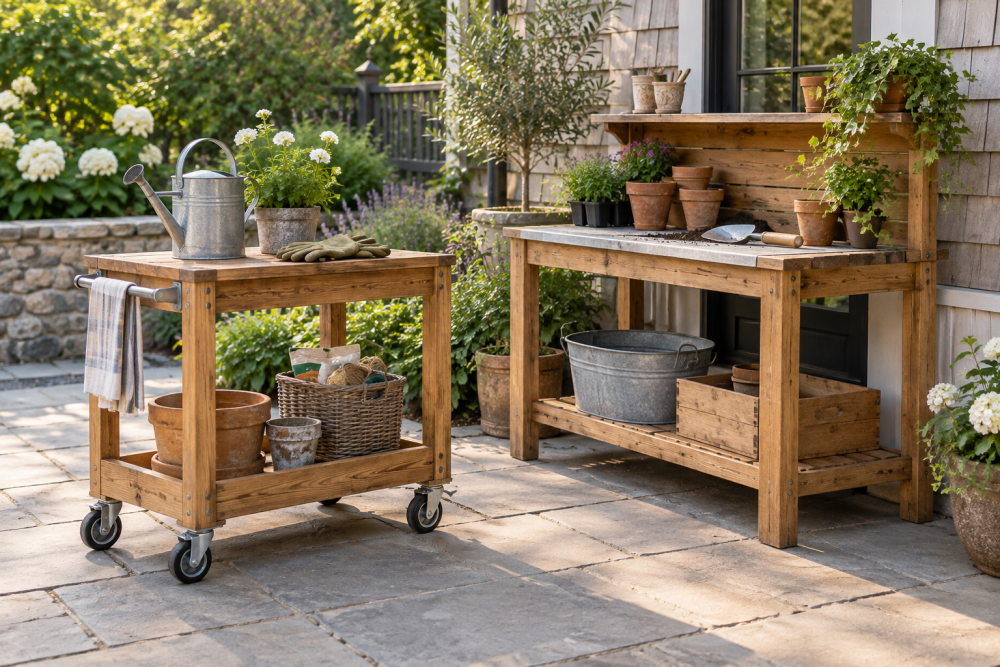
A compact potting bench can be built to fit a porch, greenhouse, or narrow strip beside a shed. This design is 36 inches wide, 20 inches deep, and about 36 inches tall. Its 24-by-20-inch removable work surface lifts out for cleaning or can be replaced with a shallow tray. The bench uses ordinary construction lumber and exterior-rated fasteners; careful sealing matters more than buying premium wood.
Contents
Plan the bench and choose materials
Measure the spot before cutting. Leave room to stand in front and lift the work surface straight up. The dimensions below suit a seated or standing gardener; adjust the legs if you want a different working height. Keep the bench out of standing water, even if you use rot-resistant lumber.
| Material | Advantages | Trade-offs |
|---|---|---|
| Untreated cedar | Light, easy to work, naturally more decay-resistant than pine | Costs more; can split near screw ends |
| Untreated pine | Inexpensive and widely available | Needs a good exterior finish and may not last as long when wet |
| Pressure-treated lumber | Useful for parts likely to stay damp | Often wet and heavy when sold; not the best choice for a surface used to handle potting mix |
For a simple, affordable build, use dry untreated pine and seal it, or choose cedar if the bench will live outdoors under a roof. Avoid using freshly treated lumber for the removable work surface. Wear eye protection and a dust mask when cutting; follow the lumber label for handling and finish recommendations.
Materials and tools
Buy four 2-by-2s for the legs and frame, and 1-by-4 boards for the removable top and lower shelf. A practical shopping list is two 8-foot 2-by-2s, four 6-foot 1-by-4s, exterior-rated screws about 1⅝ and 2½ inches long, and four small blocks or cleats for the lift-out surface to rest on. Pick straight boards without large knots where screws will go. A box of exterior wood screws is a sensible upgrade over general-purpose interior screws, which can rust outdoors.
You’ll also need a saw, drill/driver, tape measure, square, clamps, and sandpaper. A circular saw makes repeatable cuts easier, but a handsaw is fine for this small project if you take time to mark square lines. A compact circular saw is optional, not essential.
Cut list
Cut the 2-by-2s into four 34½-inch legs and four frame rails: two at 33 inches and two at 17 inches. Cut four 1-by-4 top slats to 24 inches, and cut enough shelf boards to cover a 33-by-17-inch area, leaving small drainage gaps. The frame rails fit between the legs, so the outside width and depth become about 36 by 20 inches. Cut the shelf boards after measuring the assembled frame if your lumber varies.
For the removable top, arrange the four 24-inch slats side by side with roughly ⅜-inch gaps. Their combined width will be about 14 inches, so add two cross-cleats underneath, each cut to about 16 inches. Adjust the slat count or spacing if you want a wider surface; keep the finished top no larger than the bench frame unless you prefer an overhang.
Assemble the frame
Build the upper frame first. Lay the two 33-inch rails parallel, fit the 17-inch rails between them at each end, and check that the corners are square. Predrill through the long rails into the short rails, then fasten with 2½-inch exterior screws. Predrilling is especially important in 2-by-2 stock, which can split when screws are driven near an end.
Attach one leg at each corner, flush with the outside of the frame and with the frame’s top edge about 1½ inches below the top of the legs. Use two screws through each frame side into each leg. Stand the assembly on a flat floor and check for wobble. If it rocks, loosen a joint and square the frame before tightening; a slightly twisted base makes the removable top sit unevenly.
Install the lower shelf rails between the legs, about 6 inches above the floor. Use the same 33- and 17-inch lengths, then screw the shelf boards across them with narrow gaps. The shelf stores pots and bags, but don’t load it with heavy soil bags until you’ve checked that all joints are tight.
Make the removable work surface
Lay the top slats flat, space them evenly, and screw the two cross-cleats underneath. Use 1⅝-inch screws and keep their tips short of the top face. Set the panel on the frame and mark its position. Screw four small support blocks to the inside faces of the frame rails, positioned so the top drops into place without binding. Leave about ⅛ inch of clearance around the panel for seasonal wood movement and easy removal.
Test the fit before finishing. The top should lift out with two hands but should not slide around when you press near a corner. If it catches, plane or sand the edge lightly rather than forcing it. A removable panel is convenient for rinsing off soil, but it is not a watertight catch tray: potting mix and water will fall through the gaps.
Sand, seal, and maintain
Sand sharp edges and splinters, especially around the lift-out panel. Apply an exterior-rated water-repellent finish or paint according to its label, letting the wood dry between coats. A clear exterior wood sealer preserves the wood’s appearance, while paint can offer more coverage but hides the grain. Neither finish makes the bench maintenance-free; inspect it each spring and touch up bare or peeling areas.
Keep the bench level and avoid leaving wet compost against the legs. If you want a cleaner surface for mixing soil, place a removable plastic tray on the slats rather than sealing the wood in an attempt to make it waterproof. Replace a cracked top slat as soon as it becomes loose, and retighten screws after the first few weeks of use as the lumber dries.