What's inside
As an Amazon Associate I earn from qualifying purchases. This post may contain affiliate links at no extra cost to you.
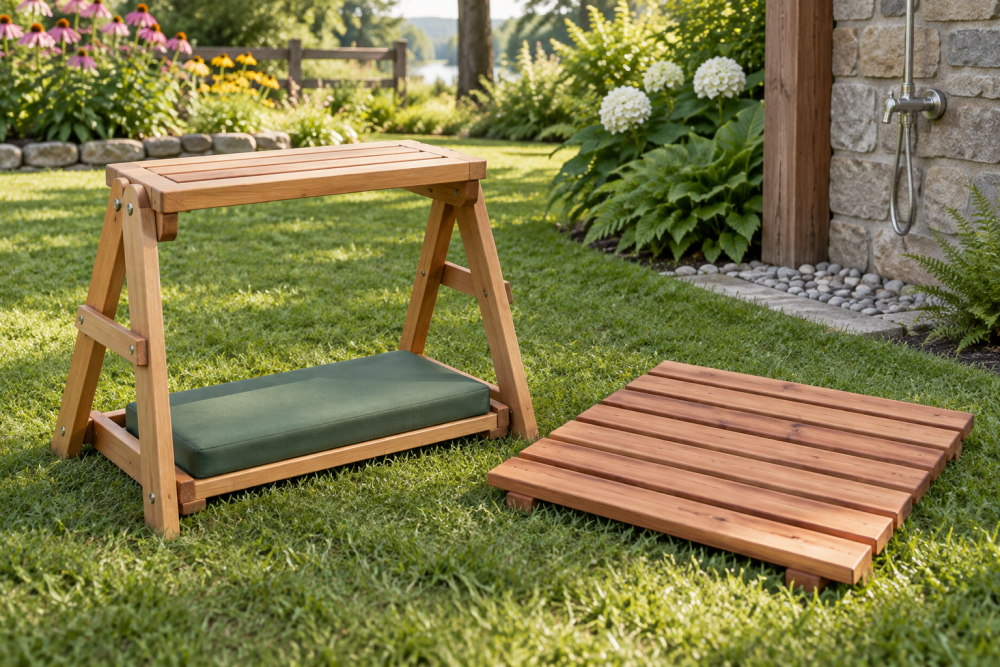
A cedar shower mat is a straightforward weekend project: a set of narrow boards spaced over two cross rails so water can drain and air can reach the underside. The key choices are the mat’s size, the slat gaps, and how you fasten the boards. This plan makes a mat about 24 by 36 inches, sized to stand beside an outdoor shower. Adjust the length to suit your space, but keep the finished mat stable and easy to lift for cleaning.
Contents
Plan and materials
Use cedar boards that are rated for outdoor use and are free of large knots, splits, and pronounced warping. A typical 1×3 cedar board measures about ¾ inch thick by 2½ inches wide. For this plan, cut 11 slats to 24 inches and two support rails to 34½ inches. The rails run beneath the slats, parallel to the 36-inch length. With 11 slats and roughly ⅜-inch gaps, the mat will be about 24 inches wide.
Buy a little extra stock to allow for defects and trimming. You’ll also need exterior-rated screws, a drill, a saw, a tape measure, a square, and sandpaper. A cedar 1×3 board is a practical choice for the slats. For the rails, use cedar offcuts or exterior-rated 1×2 stock. Avoid pressure-treated lumber for a mat that will be in regular contact with bare feet.
Choose the right fasteners
Fasteners stay wet, so ordinary interior screws can rust and stain the cedar. Stainless steel resists corrosion well, while coated deck screws cost less and are usually adequate if the coating is intact and compatible with cedar. Brass is corrosion resistant but relatively soft; it can snap if driven hard into a small pilot hole. Use screws long enough to pass through the slat and bite into the rail, but not so long that they emerge underneath.
| Fastener | Advantages | Trade-offs |
|---|---|---|
| Stainless steel | Strong corrosion resistance; good for frequent wetting | Costs more than coated screws |
| Exterior-coated deck screw | Lower-cost and widely available | Damaged coatings can corrode; check the manufacturer’s guidance for cedar |
| Brass screw | Resists rust and has a traditional appearance | Soft; requires careful drilling and driving |
For a simple, durable build, use 1¼-inch stainless or cedar-compatible coated screws. A stainless steel deck screw is worth the added cost if the shower area stays wet most of the year. If the mat can dry between uses, a quality exterior-coated screw is a reasonable budget option.
Cut and prepare the wood
Cut 11 slats to 24 inches and two rails to 34½ inches. The rails should sit about 3 inches in from each end of the slats. That leaves a short overhang while supporting the boards close to their ends. If your shower floor is uneven, make a cardboard template first or check the mat’s footprint with scrap pieces before cutting the full set.
Sand the top faces and round the edges lightly with 120-grit sandpaper. Pay particular attention to the corners and the end grain, where splinters are most likely. Don’t round the edges so heavily that the boards lose a flat seating surface against the rails. Dry-fit the slats on a level bench and reject any board that rocks badly or has a crack near a screw location.
Assemble the mat
Set the two rails parallel on a flat surface, with their outside edges about 3 inches from the ends of the slats. Lay the first slat across both rails, square it to them, and fasten it with one screw at each rail. Drill pilot holes first; a bit around ⅛ inch is a useful starting point for these small screws, but test on scrap because cedar varies and screws differ. Keep each hole centered on the rail and at least ½ inch from the slat’s edge.
Use a ⅜-inch spacer between slats. A scrap of plywood or a stack of craft sticks can work, but measure the first few gaps with a ruler to ensure the spacer is consistent. Fix each slat with two screws, one over each rail. Drive screws until their heads sit flush, not deeply buried. Overdriving can crush the soft cedar and leave a shallow cup that holds water.
Before fastening the final slat, measure the overall width and adjust the last gap if needed. A slightly different end gap is less noticeable than a mat that ends up too wide for its shower area. If the slats are badly cupped, bowed, or uneven in thickness, don’t force them flat with screws; the tension can split a board or leave the finished mat rocking.
Finish and place it
Leave cedar unfinished for a low-maintenance mat that will weather to gray. It still needs rinsing and periodic drying, especially if it sits on a surface that stays damp. An exterior oil or water-repellent finish can slow water uptake and preserve more of the original color, but it will need renewal. Use a product labeled for exterior wood and follow its drying and recoat directions before putting the mat into service. A finish formulated for exterior cedar is a sensible option if color retention matters to you.
Place the mat on a firm, reasonably level surface, not directly over mud or a puddle. After showers, lift it occasionally so both sides can dry. Check the screws and slats at the start of each season. Replace a split board promptly; a loose slat can shift underfoot. If the mat feels slippery, scrub off soap film and algae rather than applying a smooth finish. A little routine cleaning and airflow do more for a safe, long-lasting mat than adding extra fasteners or a thick coating.