What's inside
As an Amazon Associate I earn from qualifying purchases. This post may contain affiliate links at no extra cost to you.
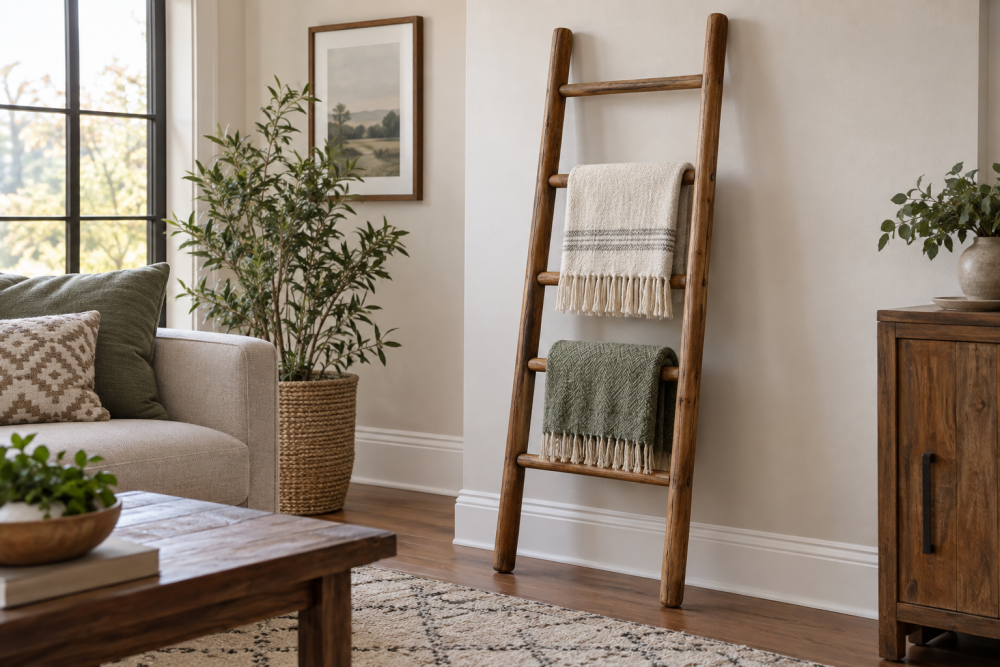
A compact wooden blanket ladder is a useful beginner woodworking project: it stores quilts and throws without taking much floor space, and it can be built with basic tools. This version uses two vertical side rails and four round dowel rungs. The finished ladder is about 60 inches tall, 16 inches wide, and shallow enough to lean against a wall in a bedroom, living room, or guest room.
Contents
Project Overview
The ladder is decorative rather than structural. It is designed to hold folded or draped blankets, not to support a person. A 60-inch height works well beside a chair or sofa, while a 48-inch version is easier to fit under low windows or into a small apartment. Keep the overall width between 14 and 18 inches; wider ladders need longer dowels and are more likely to twist when loaded.
| Part | Recommended size | Reason |
|---|---|---|
| Side rails | 1 x 3 boards, 60 inches long | Lightweight, stable, and easy to handle |
| Round dowels | 1-inch diameter, four at 14 inches | Strong enough for blankets without looking bulky |
| Rung spacing | 12 inches on center | Leaves room for thick throws to hang freely |
| Overall width | About 16 inches | Fits beside most furniture |
Materials and Tools
Buy two straight 1 x 3 boards, each at least 60 inches long, and a 1-inch hardwood dowel long enough to cut four 14-inch rungs. Pine is the least expensive choice and is fine if you inspect it carefully. Select boards with minimal bowing and avoid large knots near the rung holes. Hardwood rails cost more but resist dents and usually stay straighter.
For the rungs, a hardwood dowel is preferable to a softwood dowel. A cheap pine dowel can work for light blankets, but it may dent during drilling or split at the ends. If you want a rustic painted ladder, the cheaper dowel is usually adequate. For a clear finish, spend more on a straight, smooth hardwood dowel.
You will also need a tape measure, pencil, combination square, drill, 1-inch Forstner or brad-point bit, drill guide or drill press, 120- and 180-grit sandpaper, wood glue, clamps, and a finish. A 1-inch hardwood dowel is easier to sand and gives cleaner-looking rungs. If you do not own a drill press, a portable drill guide helps keep the holes square.
Cut and Mark the Rails
Cut both side rails to 60 inches. If you do not have a saw suitable for long, straight cuts, most home centers can make rough cuts, but verify the final length and square the ends at home. Mark the inside face of each rail so the layout remains consistent.
Starting 6 inches up from the bottom, mark the first rung center. Add 12 inches for each remaining center, giving you marks at 6, 18, 30, and 42 inches. This leaves 18 inches above the top rung, which provides a useful area for the upper blanket fold. Mark both rails with the same measuring setup rather than measuring each one independently.
Clamp the rails together with their bottom ends aligned and transfer the marks across both boards at once. This prevents a common failure: rungs that are slightly staggered from side to side. Label the top and bottom ends before separating the boards.
Drill the Rung Holes
Use a 1-inch bit for a snug dowel fit. Test the bit on scrap from the same board before drilling the rails. The hole should accept the dowel with firm hand pressure. If the fit is loose, glue can fill only a small gap; a visibly sloppy hole will weaken the joint and make the ladder rack.
Place each rail on a sacrificial board and drill from the inside face. Stop when the bit just breaks through the outside face, then finish from the outside. This two-sided method reduces tear-out. A drill press produces the most accurate results, but a drill guide and careful clamping are suitable for a small project.
Keep the holes square to the face of the rails. Angled holes make assembly difficult and can force the rails to bow inward. If a hole wanders, do not enlarge every hole to compensate. Replace the rail or use a slightly larger dowel only if the change can be made consistently on both sides.
Sand and Assemble
Sand the rails with 120-grit paper, then move to 180 grit. Ease every outside edge with two or three passes of sandpaper; sharp edges are uncomfortable when blankets are removed. Sand the dowel lightly with 180 grit, but do not reduce its diameter near the joint areas.
Dry-fit all four rungs before applying glue. Set the rails parallel on a flat surface and check that the ladder does not rock. Measure the distance between the rails at the top, middle, and bottom. The measurements should be within about 1/8 inch. If they are not, check for a reversed rail or a misaligned hole.
Apply wood glue inside each hole and to the ends of the dowels. Assemble one side, then bring the second rail into place. Use clamps across the rails, placing scrap blocks between the clamps and wood to prevent dents. Wipe away squeeze-out with a damp cloth, but do not flood the joints with water. Check square by measuring diagonals; adjust the clamps until the two diagonal measurements are nearly equal.
Finish and Use
Let the glue cure according to its label, usually at least 24 hours before sanding or loading the ladder. Fill small dents with stainable wood filler if needed, then sand lightly with 180 grit. For a natural look, use a wipe-on clear finish. For a farmhouse or seasonal display, paint is more forgiving and hides mismatched wood.
Apply two or three thin coats rather than one heavy coat. Sand lightly between coats when the finish requires it. A water-based polyurethane dries quickly and keeps pale pine from turning strongly amber. Oil-based finish gives warmer color but requires better ventilation and longer drying time.
Lean the ladder against a wall with its feet about 8 to 12 inches away. Keep it away from a heating vent, fireplace, or damp bathroom wall. If children or pets may climb on it, anchor the top rail to a wall stud with a small strap or bracket. Load blankets evenly and inspect the rungs after the first few uses. A loose rung is easier to repair immediately than after the joint has enlarged.