What's inside
As an Amazon Associate I earn from qualifying purchases. This post may contain affiliate links at no extra cost to you.
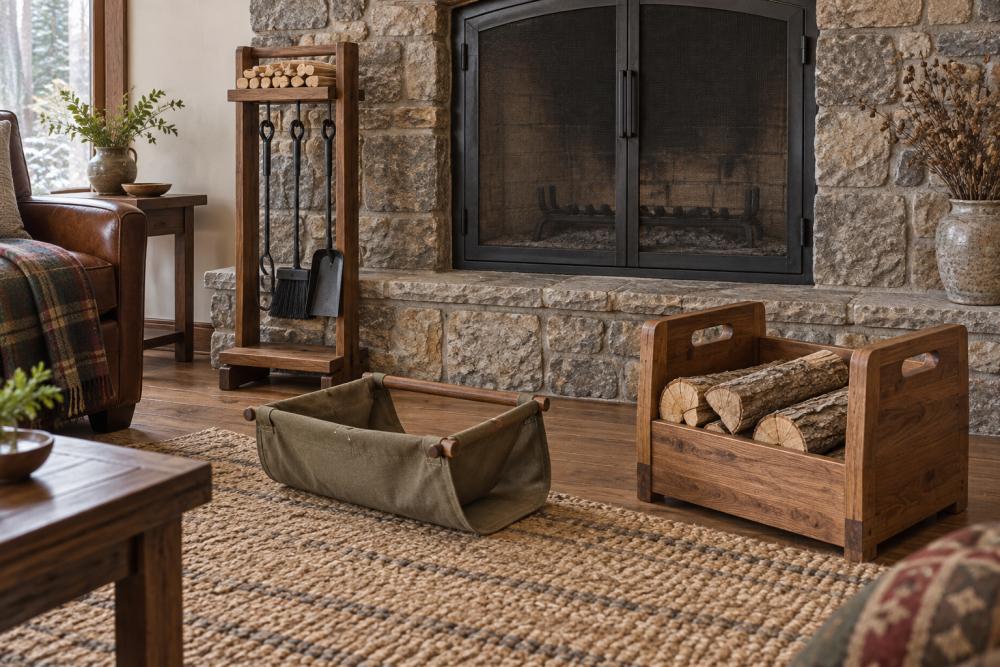
A compact hearth stand keeps fireplace tools upright and gives kindling a dry, orderly place to wait. For a first woodworking project, a simple box-style stand is easier to build than a turned or welded rack, and it can be sized to fit your hearth. This plan uses common lumber, basic cuts and screws. The shelf sits low enough to load without making the stand top-heavy.
Contents
Finished size and layout
Build the stand about 24 inches tall, 18 inches wide and 10 inches deep. That footprint suits a small set of fireplace tools and a modest kindling supply. Adjust the width if your tool handles need more room, but measure the actual tools first: long handles can lean into one another and make a narrow stand tip-prone.
The design has two side panels, a bottom, a back rail, a top rail and a slatted kindling shelf. The shelf is roughly 5 inches above the floor, leaving air beneath it and room to sweep out ash. Keep stored kindling away from the firebox opening and follow the clearance guidance for your fireplace or stove.
Materials and tools
Use straight, dry 1-by-10 boards for the sides and base, plus 1-by-2 stock for the rails and shelf slats. Pine is inexpensive and easy to cut; hardwood is tougher but costs more and may be harder to drill cleanly. Avoid treated lumber, which is not appropriate for an indoor hearth accessory. A fireplace tool set is useful for checking the required stand height and handle spacing before you cut.
You’ll need a saw, drill/driver, tape measure, square, clamps, sandpaper and wood screws. A miter saw makes repeat cuts convenient, but a circular saw and guide work fine. If you still need a basic cordless drill/driver, a modest homeowner model is enough for pilot holes and assembly; high torque is not a requirement.
Choose a shelf style
| Shelf style | Build effort | Best for | Trade-off |
|---|---|---|---|
| Three spaced slats | Low | Airflow and easy sweeping | Small pieces can fall through |
| Solid board | Lowest | Short kindling and quick assembly | Dust and damp can collect underneath |
| Five narrow slats | Moderate | Small splits and more support | More cuts and screw locations |
Three slats are a good starting point for ordinary split kindling. Use gaps of about 1 inch, measured after assembly. If your kindling pieces are thinner, add slats or use a solid shelf. A solid shelf is not unsafe by itself, but it holds dust more readily and offers less airflow if damp wood is stored on it.
Cut list and assembly
Cut two side panels to 24 by 10 inches, the base to 16 by 10 inches, and the top and lower rails to 16 inches. Cut three shelf slats to 16 inches. These dimensions assume the sides sit outside the 16-inch-wide base and rails, producing an overall width of about 18 inches. Check your actual board thickness before cutting: nominal “1-inch” lumber is usually about ¾ inch thick.
Mark the shelf height 5 inches from the bottom edge on both side panels. Attach a 1-by-2 support cleat to the inside of each panel at that mark. Drill pilot holes first, then screw the cleats in place. Set the slats across the cleats with even gaps and fasten each end with one screw. Do not overtighten near a board edge; that is a common cause of splits.
Assemble the base between the side panels, keeping the bottom edges flush. Add the lower rail across the back, near the top, and the top rail across the front. Use two screws at each end of the rails, with pilot holes. Check for square by measuring diagonally from corner to corner; the two measurements should be close. If they differ by more than about ⅛ inch, loosen the joints and adjust before the screws are fully tight.
For a more secure tool rest, drill holes in the top rail sized to the tool handles, or fit hooks on the back rail. Measure the handles and allow a little clearance rather than guessing. A hole that is too large lets a tool wobble; one that is too small may split the rail when you force a handle through.
Stability and finishing
Set the stand on a flat surface and test it with the tools installed. Push gently from the front and sides. If it rocks, level the feet or correct a twisted joint before adding weight. If it tips easily, widen the base, shorten the height or add a securely fastened weight low inside the stand. Do not rely on a heavy load of kindling to stabilize a narrow design.
Round sharp corners and sand through 120- or 150-grit paper. A clear finish or paint is optional; let any coating cure fully before the stand goes near heat. Keep the wood stand well away from flames, hot ash, stove surfaces and any location where sparks may land. This is a storage rack, not a fire screen. A water-based interior wood finish is an easy-clean option, but unfinished wood is perfectly adequate if you prefer to skip the extra step.
Common beginner mistakes
The most frequent problem is cutting from nominal lumber dimensions rather than measuring the boards in hand. That can leave rails too long or the assembled stand wider than planned. Dry-fit the parts before fastening, and trim as needed. Another mistake is placing the shelf too high, which makes loading kindling awkward and raises the center of gravity. Keep the shelf low, use pilot holes, and test stability with the actual tools and wood you plan to store.
For a first build, keep the shape square and the joints simple. Careful measuring, straight cuts and a stable footprint matter more than decorative details. If your hearth is unusually narrow or your tools are oversized, change the dimensions before buying lumber rather than trying to force a standard plan into the space.