What's inside
As an Amazon Associate I earn from qualifying purchases. This post may contain affiliate links at no extra cost to you.
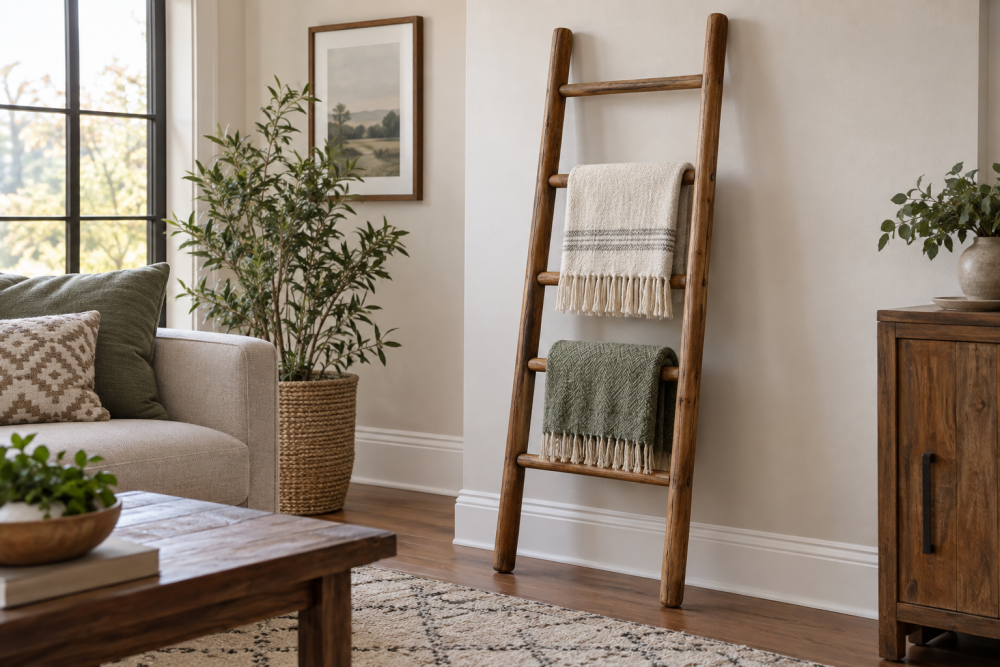
A wooden quilt ladder is a straightforward weekend project: two tall rails, a set of rounded rungs, and a finish that suits the room. This version stands about 5 feet tall and 18 inches wide, with five rungs spaced 10 inches apart. It leans against a wall, so it needs a stable floor and a secure place to rest; it is not a climbing ladder.
Contents
Size and layout
The dimensions below work for folded quilts and throws. Adjust the width if your quilts are especially large, but keep the ladder narrow enough to lean securely. Use straight, dry lumber. A bowed rail can make the ladder twist, and damp wood may shrink around the rungs after assembly.
Plan on two 1-by-3-inch rails, each cut to 60 inches, and five 1-inch-diameter hardwood dowels, each cut to 18 inches. The dowels fit between the rails, making the overall width about 23 inches. If you want the ladder to be 18 inches wide overall, shorten the rungs to about 13 inches instead.
Materials and tools
You’ll need the rails, hardwood dowel, wood glue, sandpaper, and a clear or painted finish. For a durable rung, choose a hardwood dowel rather than a soft, low-grade closet rod. A 1-inch dowel is comfortable to grip and less likely to sag under folded quilts than a thinner one. Use a 1-inch hardwood dowel rod if local stock is limited.
Useful tools include a saw, drill, 1-inch Forstner or spade bit, tape measure, square, clamps, and a roundover bit or rasp. A drill press makes the rung holes more consistent, but a handheld drill works with a guide block and careful layout. A 1-inch Forstner bit usually leaves a cleaner, flatter-bottomed hole than a spade bit, though either can work for this project.
Choosing the rung joint
There are two practical ways to attach the rungs. Through-holes are stronger and easier to align, but the dowel ends show on the outside. Blind holes look tidier, though they require accurate drilling depth and leave less glue surface if the holes are shallow.
| Method | Best for | Trade-off |
|---|---|---|
| Through-holes | Simple tools and a sturdy joint | Rung ends remain visible; trim them flush after glue-up |
| Blind holes | A clean outside face | Harder to drill evenly; a shallow or misaligned hole weakens the joint |
For a first build, use through-holes. Drill both rails together, clamped face to face, so the rung holes line up. Do not force a dowel into an undersized hole; that can split a rail. Test the fit on scrap from the same board before drilling the finished pieces.
Cut and mark the rails
Cut both rails to 60 inches and check that their ends are square. Mark the rung centers 5, 15, 25, 35, and 45 inches from the bottom end. That leaves 5 inches of rail below the lowest rung and 15 inches above the highest one. The extra top section gives quilts room to drape without crowding the end.
Clamp the rails together with their long edges flush and mark each center across both pieces. At each mark, draw a line square across the rail face. Accurate marks matter: even a small mismatch can make the ladder rack or twist during assembly.
Drill and round the parts
Mark the center of each rail’s width, then drill a 1-inch hole at every rung location. Keep the drill square to the face. A scrap board clamped behind the rails helps reduce tear-out as the bit exits. If using blind holes, set a depth stop for holes about ¾ inch deep and drill corresponding holes on both rails.
Cut the dowels to length after checking the actual gap between the rails. For through-holes, make each rung roughly ⅛ inch longer than that gap; this gives room to trim the ends flush. Ease the exposed rung edges with a roundover bit, rasp, or sandpaper. Also soften the rail corners and ends. Rounded edges are more comfortable around fabric and less likely to catch a quilt than sharp corners.
Assemble the ladder
Dry-fit every rung before applying glue. If the rails won’t sit parallel or a rung needs hammering, correct the fit now. Brush wood glue into the holes, insert the rungs, and clamp the rails parallel on a flat surface. Measure the distance between rails at the top, middle, and bottom; it should match at all three points. Wipe away squeeze-out while it is wet, then leave the assembly clamped for the glue maker’s recommended time.
With through-holes, trim the rung ends flush after the glue cures, using a flush-cut saw or careful sanding. Avoid using a standard saw that can gouge the rail face. Sand from 120 grit to 180 or 220 grit. A flush-cut pull saw is useful here, but careful sanding is a reasonable low-cost alternative if the ends protrude only slightly.
Finish and use
Apply a water-based clear finish, oil, or paint according to its label. A clear finish keeps the grain visible; paint hides mixed or patched lumber more effectively. Sand lightly between coats if the product calls for it. Let the finish cure fully before hanging quilts, since uncured finishes can transfer odor or stick to fabric.
Set the ladder on a level floor and lean it against a solid wall. A small rubber pad or felt-backed grip at the feet can reduce sliding and protect the floor. Do not use it to climb, hang heavy objects, or support children. If it rocks, slips, or feels loose, stop using it until you correct the footing or joint. Store quilts evenly across the rungs rather than piling their full weight on one narrow section.