What's inside
As an Amazon Associate I earn from qualifying purchases. This post may contain affiliate links at no extra cost to you.
Small projects are a good way to learn accurate miter joints because the parts are short, the cuts are easy to handle, and a mistake wastes little stock. Start with a square-edged picture frame or tray rather than a large cabinet: each has four corners, so you can see whether your saw, measuring method, and clamping setup are working.
A miter joint joins two pieces cut at an angle—usually 45 degrees for a square frame. Four cuts that are each slightly off can leave a visible gap, even when every piece looks close on its own. Choose straight, dry lumber, make test cuts, and check the assembled shape before adding glue.
As an Amazon Associate we earn from qualifying purchases at no extra cost to you.


Contents
What to practice before choosing a project
Accurate miters depend on more than the saw setting. The workpiece needs firm support, the cut ends need to be clean, and opposite parts need to match in length. For a basic square frame, set the saw near 45 degrees, then cut two pieces to the same long-point length and two more to a second matching length. “Long point” means the farthest tip of the angled end.
Use a stop block when cutting matching parts. Measure the first piece, cut it, and use it to set the stop for its mate. Don’t measure each piece separately; small marking differences add up. After cutting, dry-assemble the project on a flat surface and check it with a square. If the corners close on the inside but open on the outside, or vice versa, the angle is likely off. If one corner closes and another gaps, suspect unequal lengths, a bowed board, or poor clamping.
A quality miter saw makes repeated cuts faster, but it isn’t required for a first project. A miter box and backsaw can work well on small, narrow stock if you cut slowly and hold the work securely. Whichever tool you use, make a test cut in scrap and check it before cutting project parts.
Best beginner projects compared
| Project | Useful size | What it teaches | Main challenge |
|---|---|---|---|
| Small picture frame | 6 × 8 inches | Four matching corners and clean end grain | Keeping all parts equal and square |
| Desk tray | 8 × 10 inches | Longer miters and a flat assembly | Clamping all four sides without shifting |
| Napkin holder | About 6 × 6 inches | Short parts and repeatable cuts | Safe control of narrow stock |
| Small open-top box | 5 × 5 × 3 inches | Multiple corners and a fitted bottom | Maintaining square during glue-up |
1. Make a small picture frame
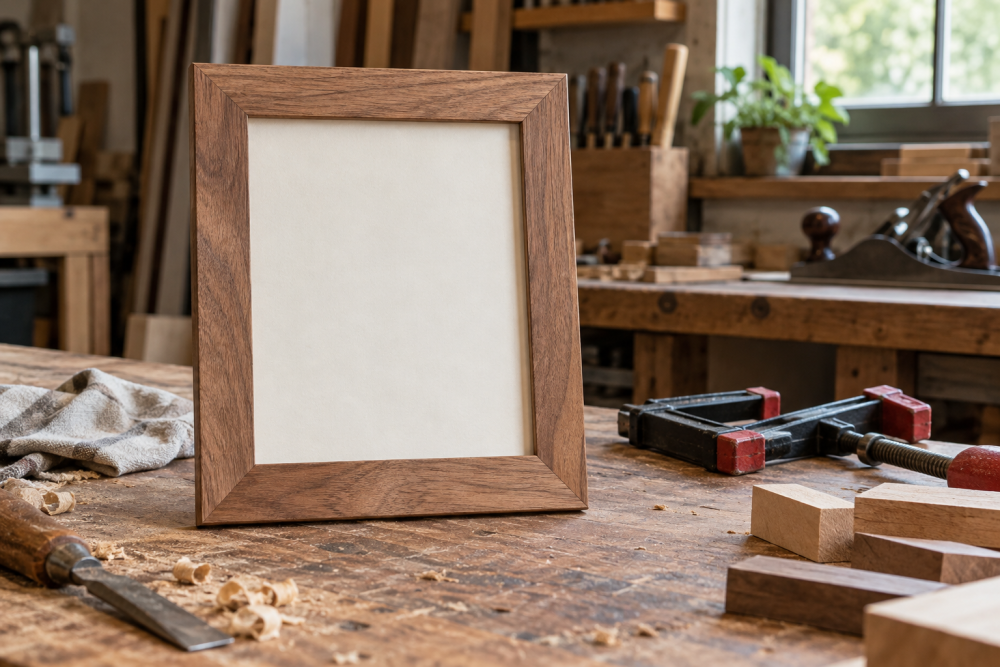
A picture frame is the clearest first exercise because it uses four 45-degree cuts and has no complicated joinery. Start with straight stock around 1½ inches wide and ½ inch thick. Make a frame for a 6 × 8-inch picture, but size the inside opening to the actual picture or mat; nominal dimensions can be misleading.
Cut and dry-fit the four sides before routing or cutting a rabbet for the glass and backing. That order avoids weakening narrow pieces before you know the miters fit. Tape the pieces together on the back for a quick check, or use a frame clamp. A small gap at a corner may be filled, but filler won’t make a visibly open joint structurally sound. If the gap is wider than a thin hairline, correct the cut rather than hiding it.
2. Build a shallow desk tray
A tray adds longer sides and exposes errors that a tiny frame can conceal. Use four pieces of straight stock about 2 to 3 inches tall, with a plywood or solid-wood bottom fitted inside. A finished footprint around 8 × 10 inches is manageable and useful for keys or desk supplies.
Cut matching sides in pairs, then dry-fit them around the bottom. The bottom should sit flat; don’t force a bowed panel into a misaligned frame. Painter’s tape stretched across the outside corners can pull small joints together, but it offers limited pressure on a large tray. A band clamp is easier to control. Check the diagonals from opposite corners: if they differ, the tray is out of square. Adjust it before the glue sets.
3. Try a napkin holder
A napkin holder is compact and quick to build, making it a good project for testing short cuts. Two side panels can be joined by a front and back rail with mitered ends, while a base supports the napkins. Keep the sides wide enough to handle safely—around 3 inches is more comfortable than a very narrow strip.
Short pieces are easy to knock out of position against a saw fence. Use a hold-down or a sacrificial backing board, and keep hands clear of the blade path. If your saw does not support the stock securely, cut longer pieces first and trim them to final length afterward. This project is less suitable for learning long miters, but it’s useful for practicing repeatability without using much lumber.
4. Make a small open-top box
A small box combines four mitered walls with a bottom panel. Build one roughly 5 inches square and 3 inches high. Cut the sides as matched pairs, dry-fit them around the bottom, and check both diagonals before glue-up. The bottom can sit in shallow grooves or be glued to the lower edges; grooves take more setup but give the bottom more support.
Boxes reveal whether you can keep several joints tight at once. A band clamp is a practical choice, while a simple strap clamp is cheaper and often adequate for a small box. Don’t over-tighten: excessive pressure can bow thin walls or slide the parts out of alignment. Check the corners again after tightening.
Tools and setup worth buying
For occasional small work, a miter box and backsaw are a reasonable low-cost starting point. They’re slower than a powered saw, but can produce clean cuts on narrow stock with practice. A powered saw is easier when you plan to make repeated cuts or move on to larger projects. Neither tool excuses checking the actual cut angle.
A band clamp helps hold four-sided assemblies evenly; for a single small frame, painter’s tape or a basic frame clamp may be enough. Add a reliable combination square and a pencil to your setup. Use a fine-tooth blade appropriate for clean crosscuts, and keep a piece of scrap nearby for calibration cuts.
Glue-up without losing the fit
Dry-fit every assembly and make sure the parts sit flat before applying glue. Spread a thin, even coat on the miter faces, then clamp gently. Wipe squeeze-out with a damp cloth if the finish will be clear, but avoid soaking the wood. Let the assembly cure according to the glue label before removing the clamp or sanding.
If the joint opens during clamping, stop and reset it; more pressure usually makes the problem worse. A snug, square assembly is more valuable than a fast glue-up. Once you can repeatedly cut and assemble a small frame without visible gaps, move on to wider stock or a box with a fitted bottom.