What's inside
As an Amazon Associate I earn from qualifying purchases. This post may contain affiliate links at no extra cost to you.
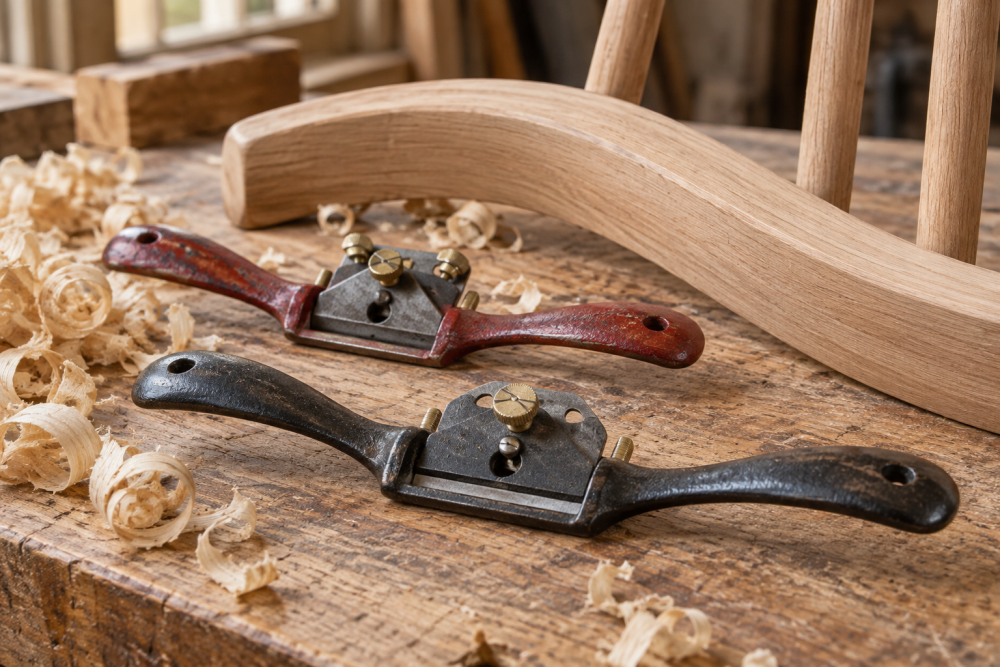
A spokeshave is most useful when a project has a curve that is too tight for a plane and too broad for a rasp. It removes controlled, thin shavings from edges, tapers, and convex surfaces. The best beginner projects are not complicated furniture. They are small parts where you can see the curve clearly, stop often, and replace the work if you cut too far.
Start with straight-grained hardwood or softwood about 1 to 2 inches thick. Avoid figured grain until you can keep the tool cutting cleanly. A sharp blade matters more than an expensive body, so budget for a honing setup and a way to hold the work securely. A basic woodworking spokeshave is enough for learning, provided its blade can be sharpened and adjusted.
Contents
Choosing the Right First Project
Choose a part with a single broad curve before attempting compound curves. The curve should be visible from the side and should have at least 1/4 inch of extra material outside the layout line. That waste margin gives you room to learn the tool without ruining the final shape.
| Project | Difficulty | Typical stock | What it teaches |
|---|---|---|---|
| Rounded tool handle | Beginner | 1-1/4 to 1-1/2 inch square | Grain direction, blending facets, stop cuts |
| Cabinet door pull | Beginner | 3/4 to 1 inch thick | Convex edges and repeatable layout |
| Small serving spoon | Beginner to intermediate | 2 inch thick blank | Long concave cuts and changing grain |
| Chair or stool stretcher | Intermediate | 1-1/4 to 2 inch diameter blank | Long curves, tapering, and symmetry |
| Rocking-horse runner | Intermediate | 2 inch thick laminated blank | Large, consistent curves over long edges |
Project One: A Rounded Tool Handle
A short handle for a marking knife, awl, file, or small mallet is the best first exercise. Cut a blank approximately 8 inches long and 1-1/4 inches square. Mark the centerline on all four faces, then saw off the corners to make an octagon. The spokeshave removes the remaining facets and turns the octagon into a smooth oval.
Clamp the blank in a vise with the grain running so the blade cuts downhill into the fibers. Begin with the spokeshave set for a very fine cut, roughly 0.005 to 0.010 inch. Take short strokes near the ends and longer strokes through the middle. Check the diameter with calipers every few passes; a handle that varies by more than 1/16 inch will feel noticeably uneven.
The common failure is digging a hollow near one end. This happens when pressure is applied to the front or rear of the tool instead of keeping the sole flat. Stop 1 inch from the end, reverse the work, and cut from the other direction. Finish with a sharp scraper or 150-grit abrasive. This project is inexpensive enough that pine or poplar is fine for practice, although a finished handle is more durable in ash, maple, or beech.
Project Two: A Curved Cabinet Pull
A cabinet pull gives you a useful project with a short, controlled convex curve. Use a blank about 8 to 12 inches long, 2-1/2 inches wide, and 1 inch thick. Draw the front profile with a simple rise of 1/2 to 3/4 inch, then bandsaw or jigsaw just outside the line. Drill mounting holes before final shaping so the part is easier to hold flat.
Use the spokeshave across the cut edge to remove saw marks and establish the curve. Keep the tool moving; stopping in the middle of a stroke creates a shallow dip that is difficult to sand away without changing the profile. A wooden template cut from cardboard or scrap plywood helps you compare both ends and make several pulls alike.
For a production run, a set of woodworking calipers is useful, but a cardboard profile and a ruler are adequate for one or two pulls. The cheaper option is fine here because consistency comes from the template, not from precision measuring equipment.
Project Three: A Small Serving Spoon
Spoon making teaches a different kind of curved work: a convex back and a concave bowl. The spokeshave is appropriate for the back and handle, but it does not replace a carving gouge for hollowing the bowl. Start with a spoon blank around 12 inches long, 3 inches wide, and 2 inches thick in straight-grained cherry, maple, or birch.
After sawing the outline, shape the back with the spokeshave in diagonal passes. Leave the bowl area about 1/8 inch thick before switching to a gouge. On the handle, work from the middle toward each end so the fibers are less likely to lift. Tear-out is especially common where the handle transitions into the bowl; reduce the blade projection and take cuts no thicker than a sheet of paper.
This is a good winter shop project because the part is small and can be worked at a bench. Green wood is easier to carve but may distort as it dries. Dry stock is more predictable for a first spoon, even though it takes more effort.
Project Four: A Chair or Stool Stretcher
Once you can make a smooth handle, try a tapered stretcher for a stool or small chair. Use a straight blank 18 to 24 inches long. Mark the finished diameter at several stations, such as 1 inch, 6 inches, 12 inches, and 18 inches. A gentle bow of 1 to 2 inches is enough to make the spokeshave work meaningful without making the part difficult to control.
Make a series of saw cuts to remove most of the waste, then shave down to the layout marks. Rotate the stretcher frequently and measure at every station. Do not try to create the entire curve by eye. A long spokeshave stroke can flatten the high point or make the ends too thin. A woodworking bench vise with wooden jaws is worth having for this project, though a simple clamp and V-block setup will work for a one-off part.
Project Five: A Rocking-Horse Runner
A rocking-horse runner is an advanced seasonal project, best started in late fall or winter when you can spend time refining a full-size template. Glue up a blank at least 2 inches thick, bandsaw the side profile, and leave 1/8 inch for spokeshave cleanup. The long edge must be fair from end to end; any hollow will make the rocking motion uneven.
Use a winding stick, straightedge, and flexible curve to check the work. Take diagonal cuts first, then long cuts with the grain. The cheapest spokeshave can do this job if its blade is sharp, but an adjustable adjustable spokeshave saves time when moving between rough and fine cuts. It is not essential for a single runner.
Setup and Common Mistakes
Before every project, hone the blade and test it on scrap from the same board. If the shave comes out dusty, chatters, or starts below the intended surface, stop and sharpen. Keep the sole clean, tighten both handles evenly, and make adjustments in tiny increments.
Most curved-part failures come from poor support, cutting against the grain, or trying to remove too much material. Use a sharp saw for waste removal, a spokeshave for controlled shaping, and abrasive paper only for final blending. That division of labor produces cleaner curves and teaches the tool without turning every mistake into a ruined project.